My Top Tips To Sew Your Own Amaya Shirt

As my YouTube subscribers will know, I have just finished making the Amaya Shirt from Made My Wardrobe. Today I am mopping up, resetting my machine and trying to sort some other little projects/alterations/fixes which have been piling up for a while now. However, before I completely forget how I made it I wanted to share my tips, tricks and honest feedback on my making journey for the Amaya Shirt.

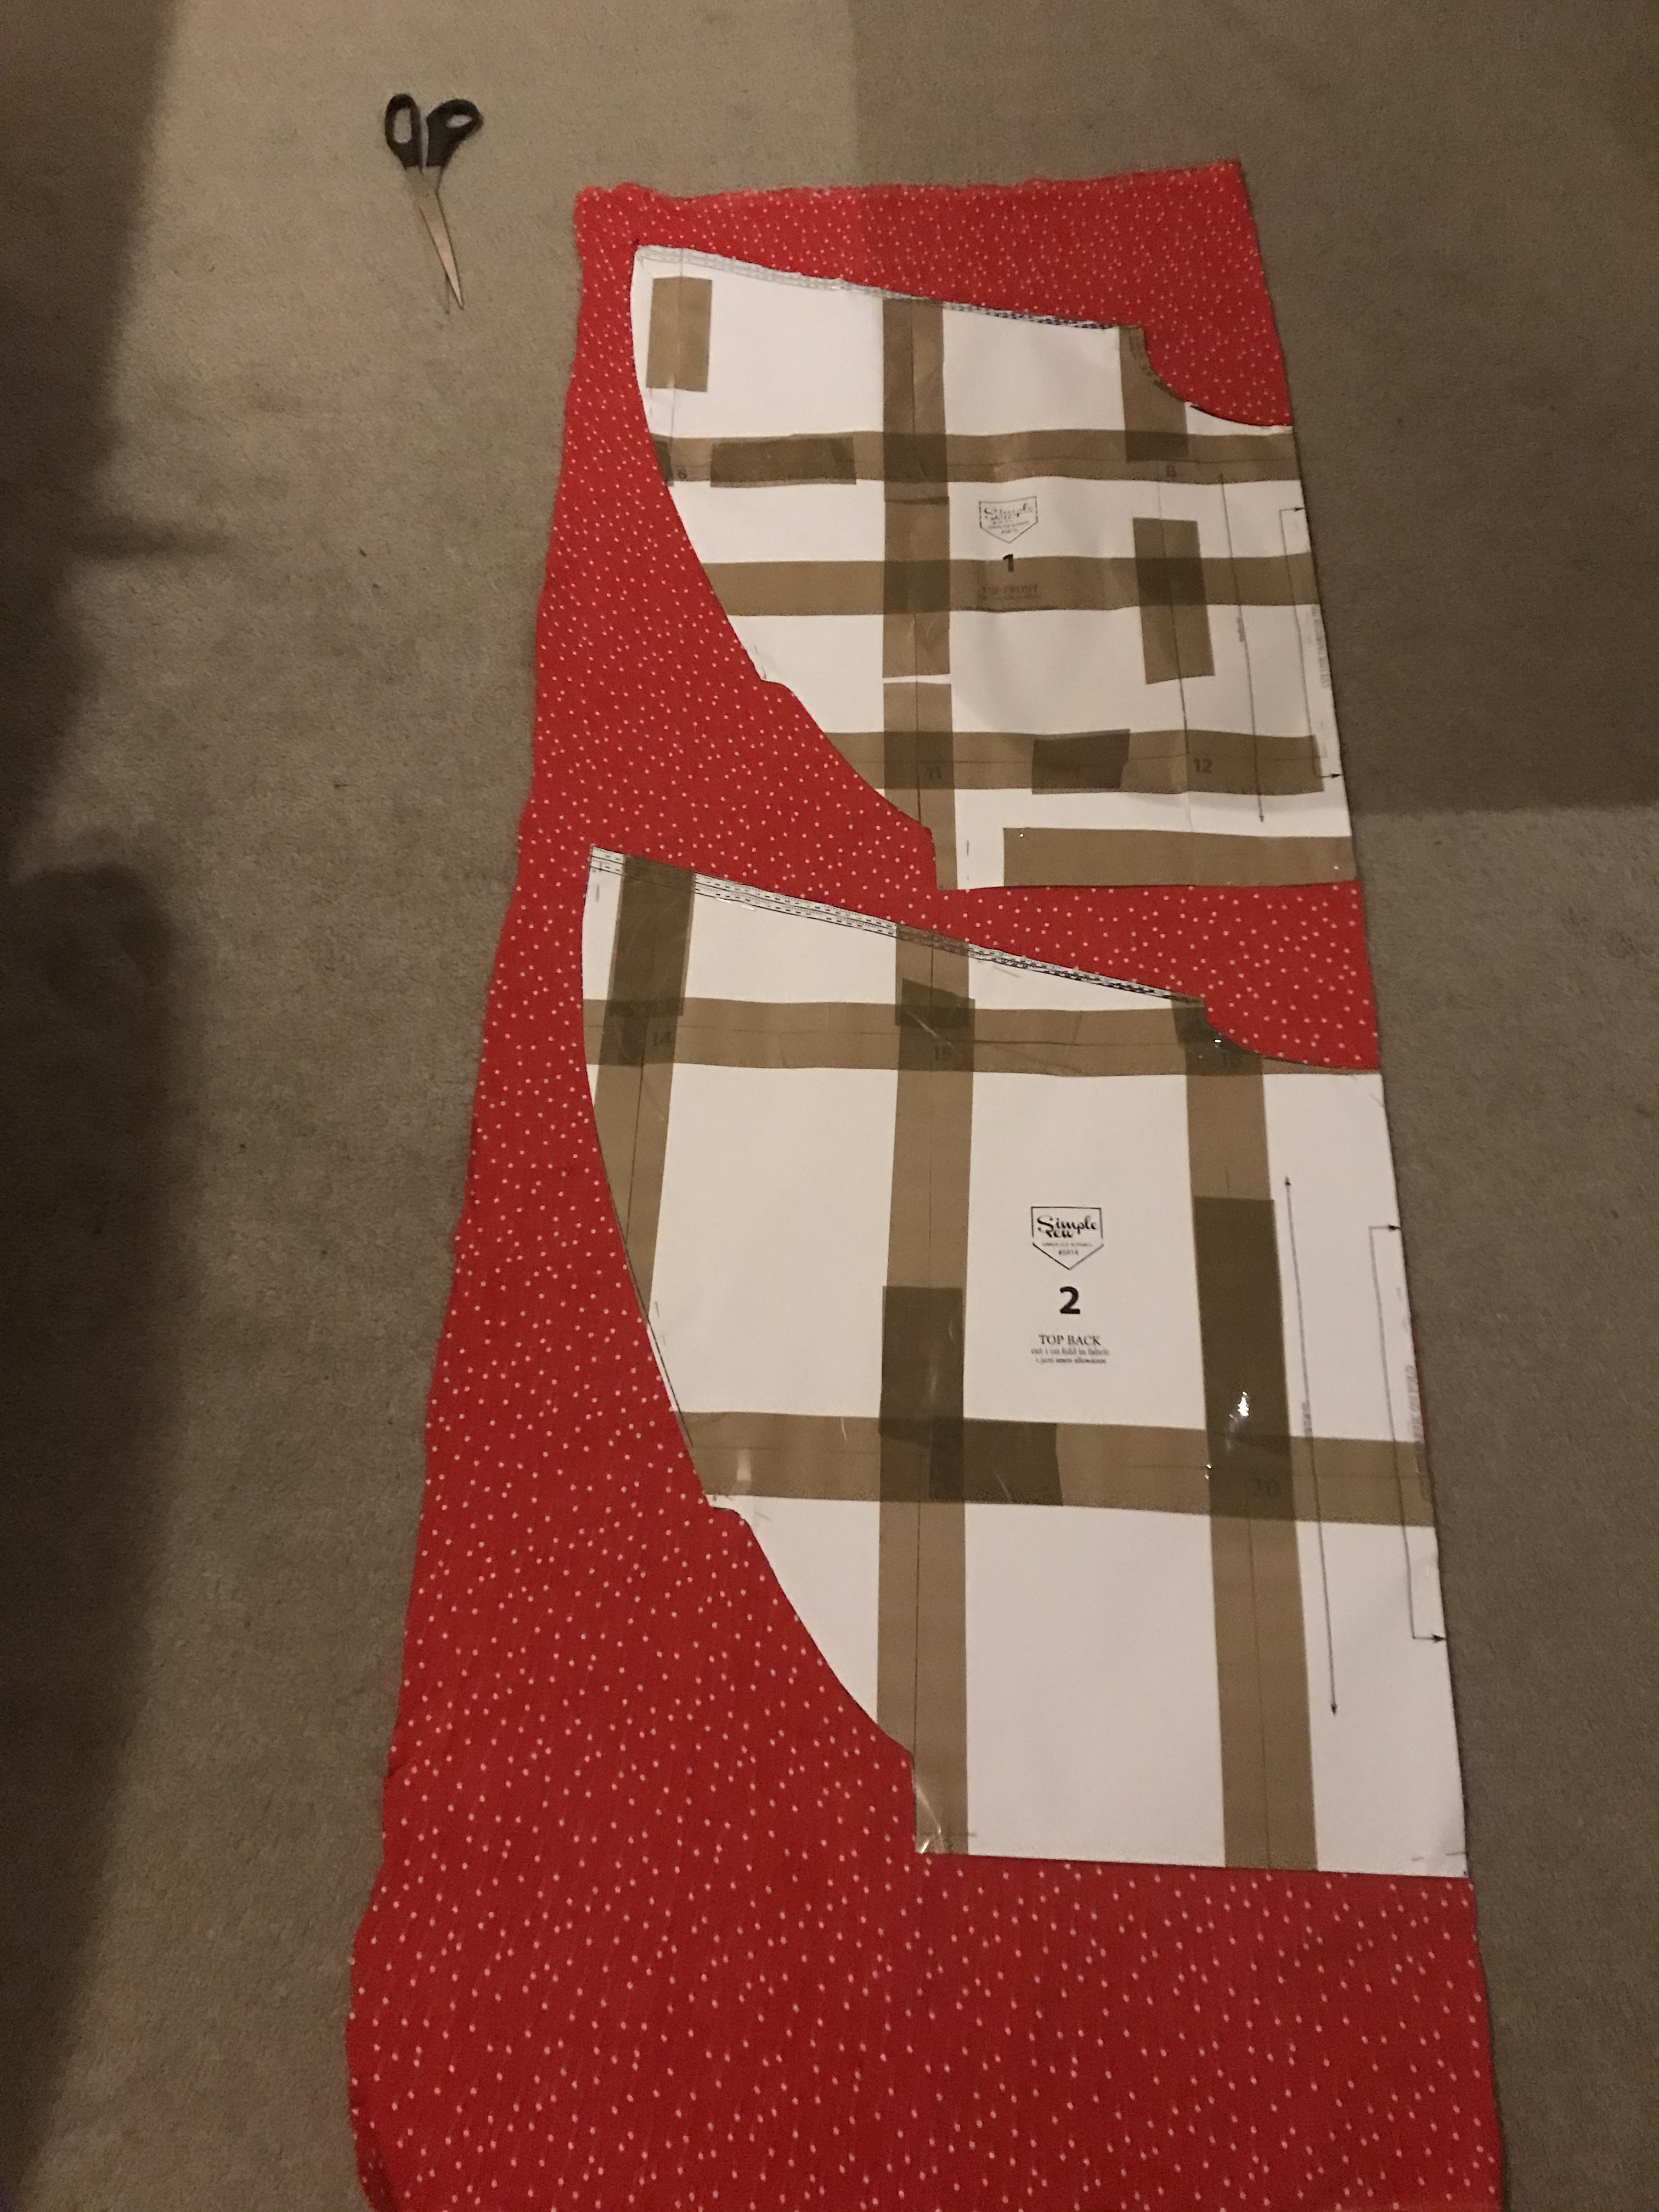
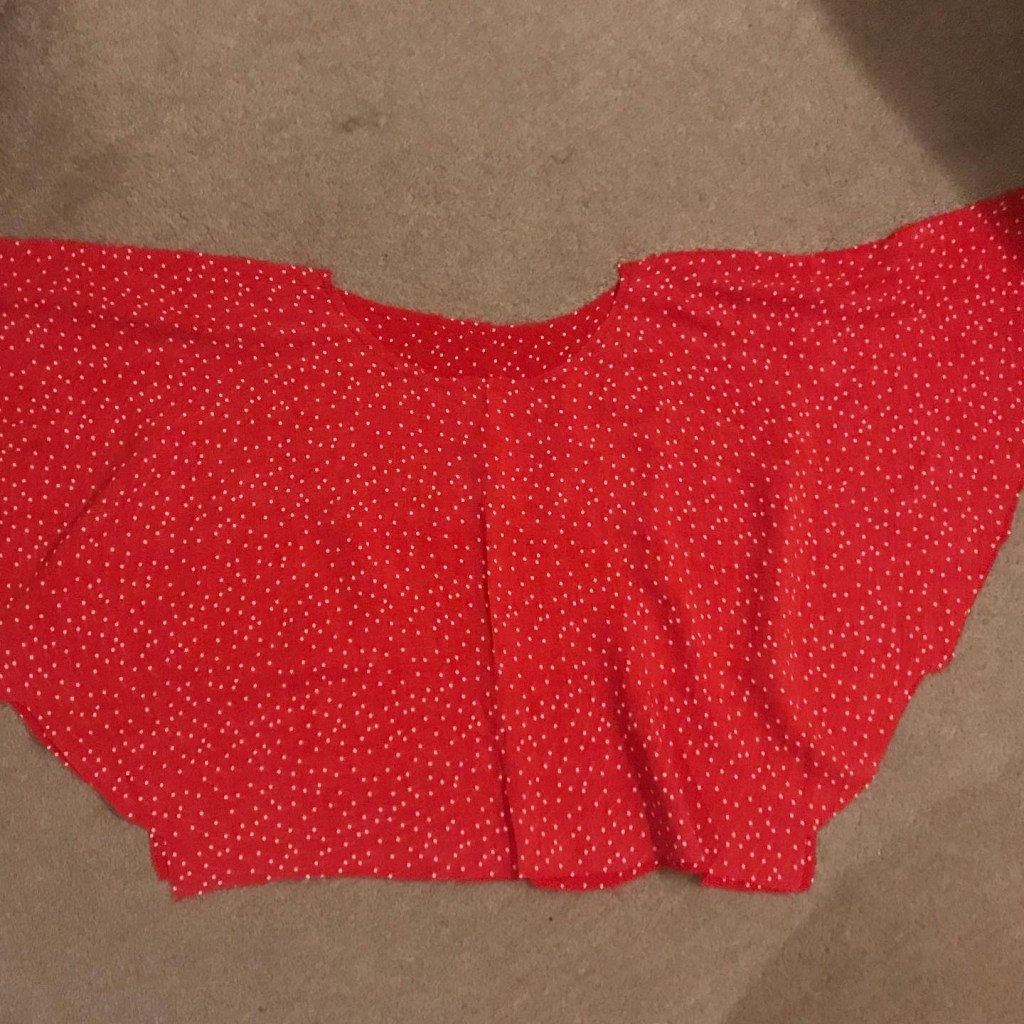
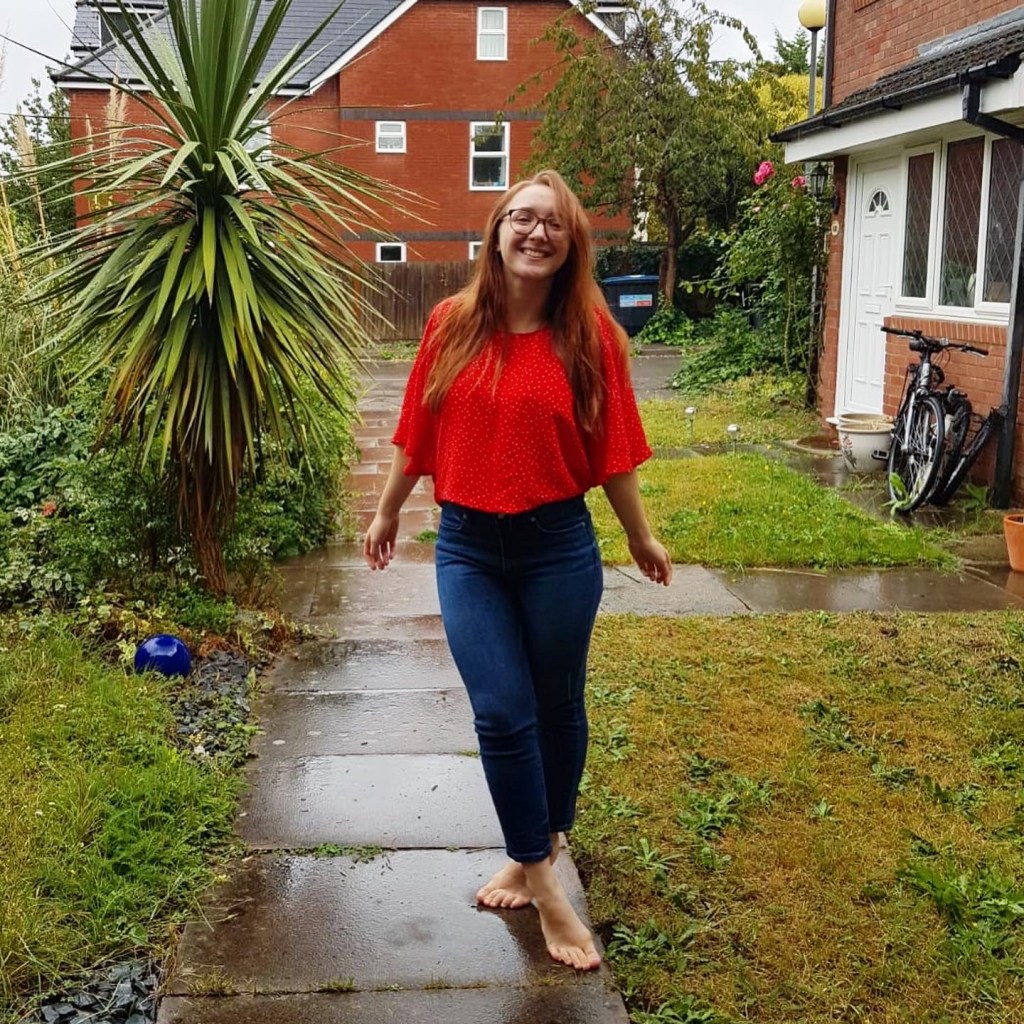
Firstly, here it is in all her gorgeous, flute-sleeved glory. Honestly I would never have thought of making this pattern originally, it was very much the case that the fabric came first. I bought this stunning red spot cotton from The Rag Shop with no clue at all what I was going to make with it. For transparency I almost never do that, I’m always very project lead but I thought, you know what? I’ve got to have it. When I posted about it online and asked for recommendations Steph from The Rag Shop got in touch and suggested the Amaya Shirt. I was intrigued and although its a little out of my comfort zone fashion-wise I decided to take the plunge.

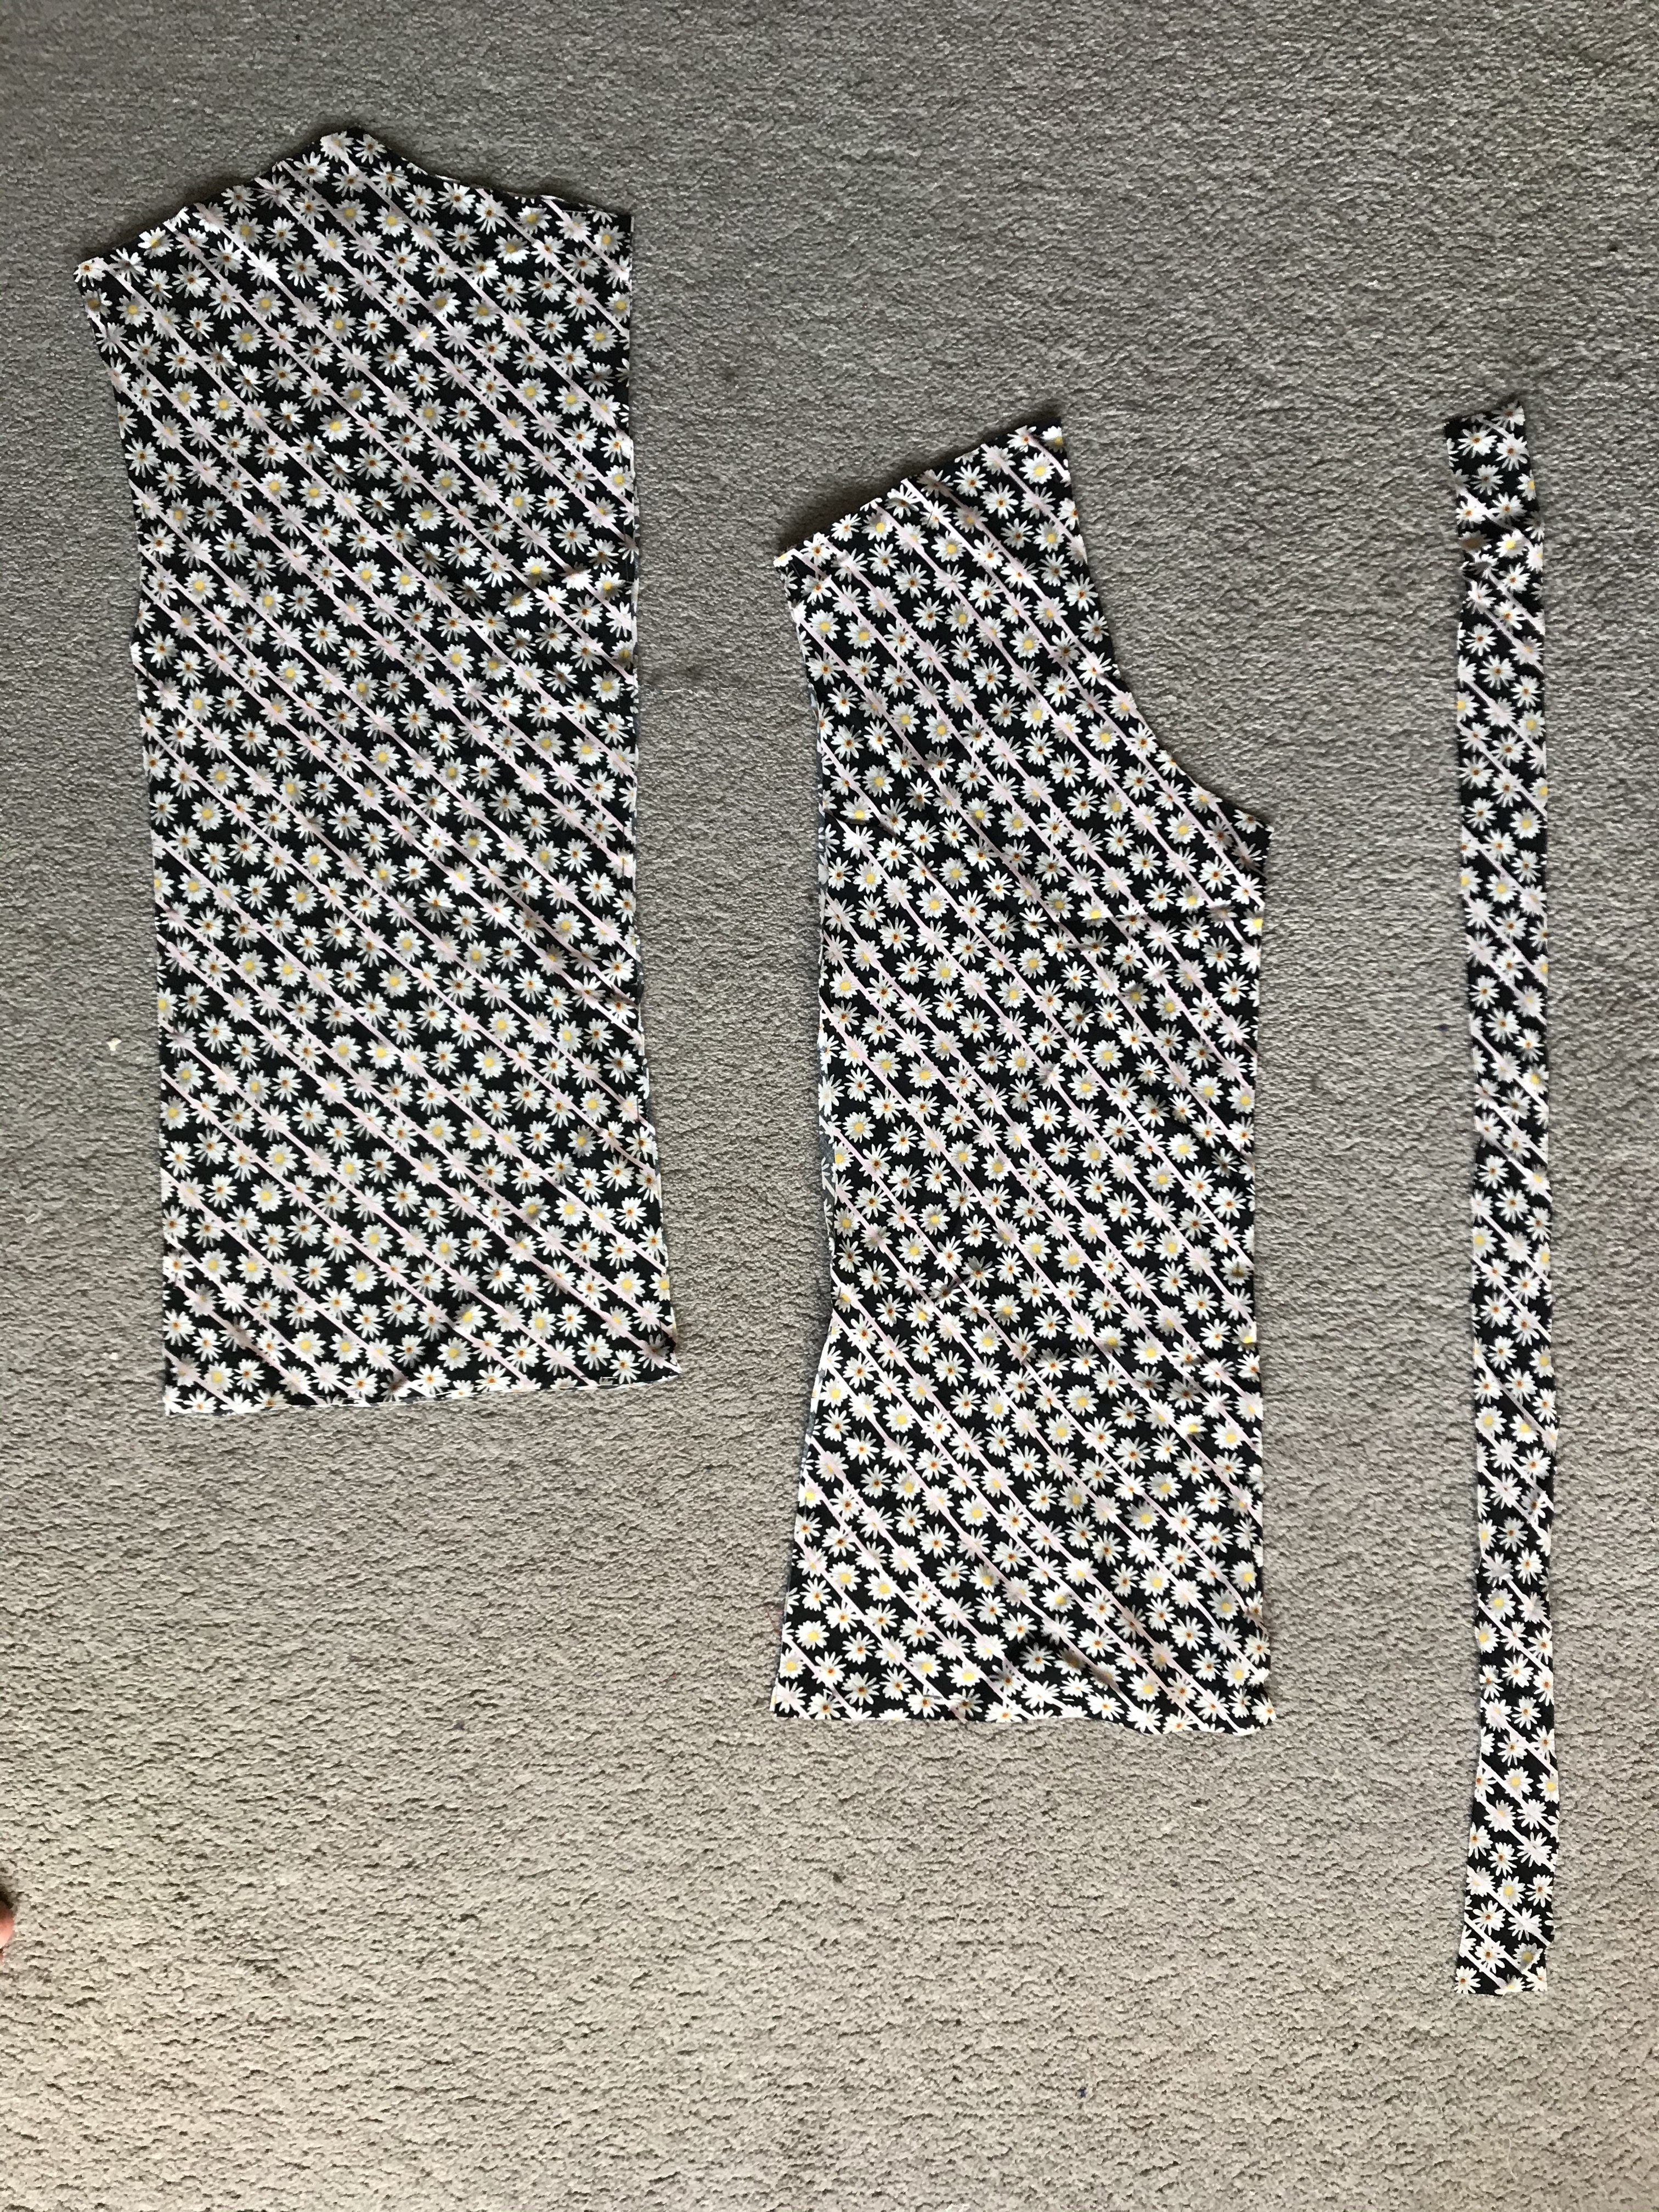
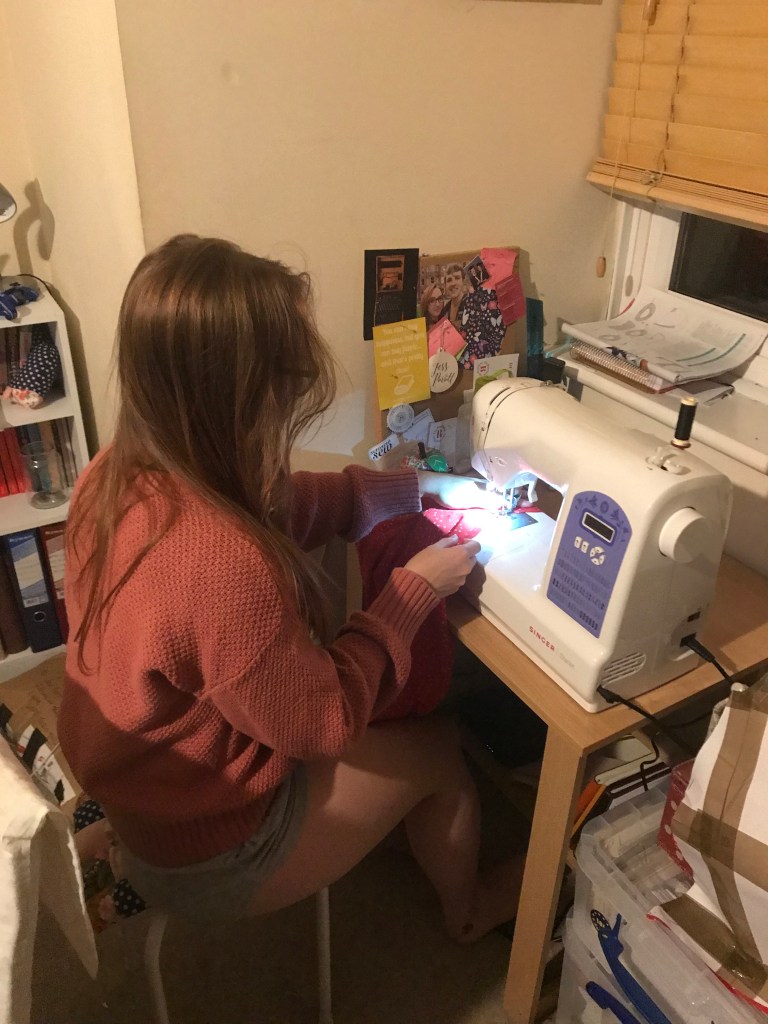
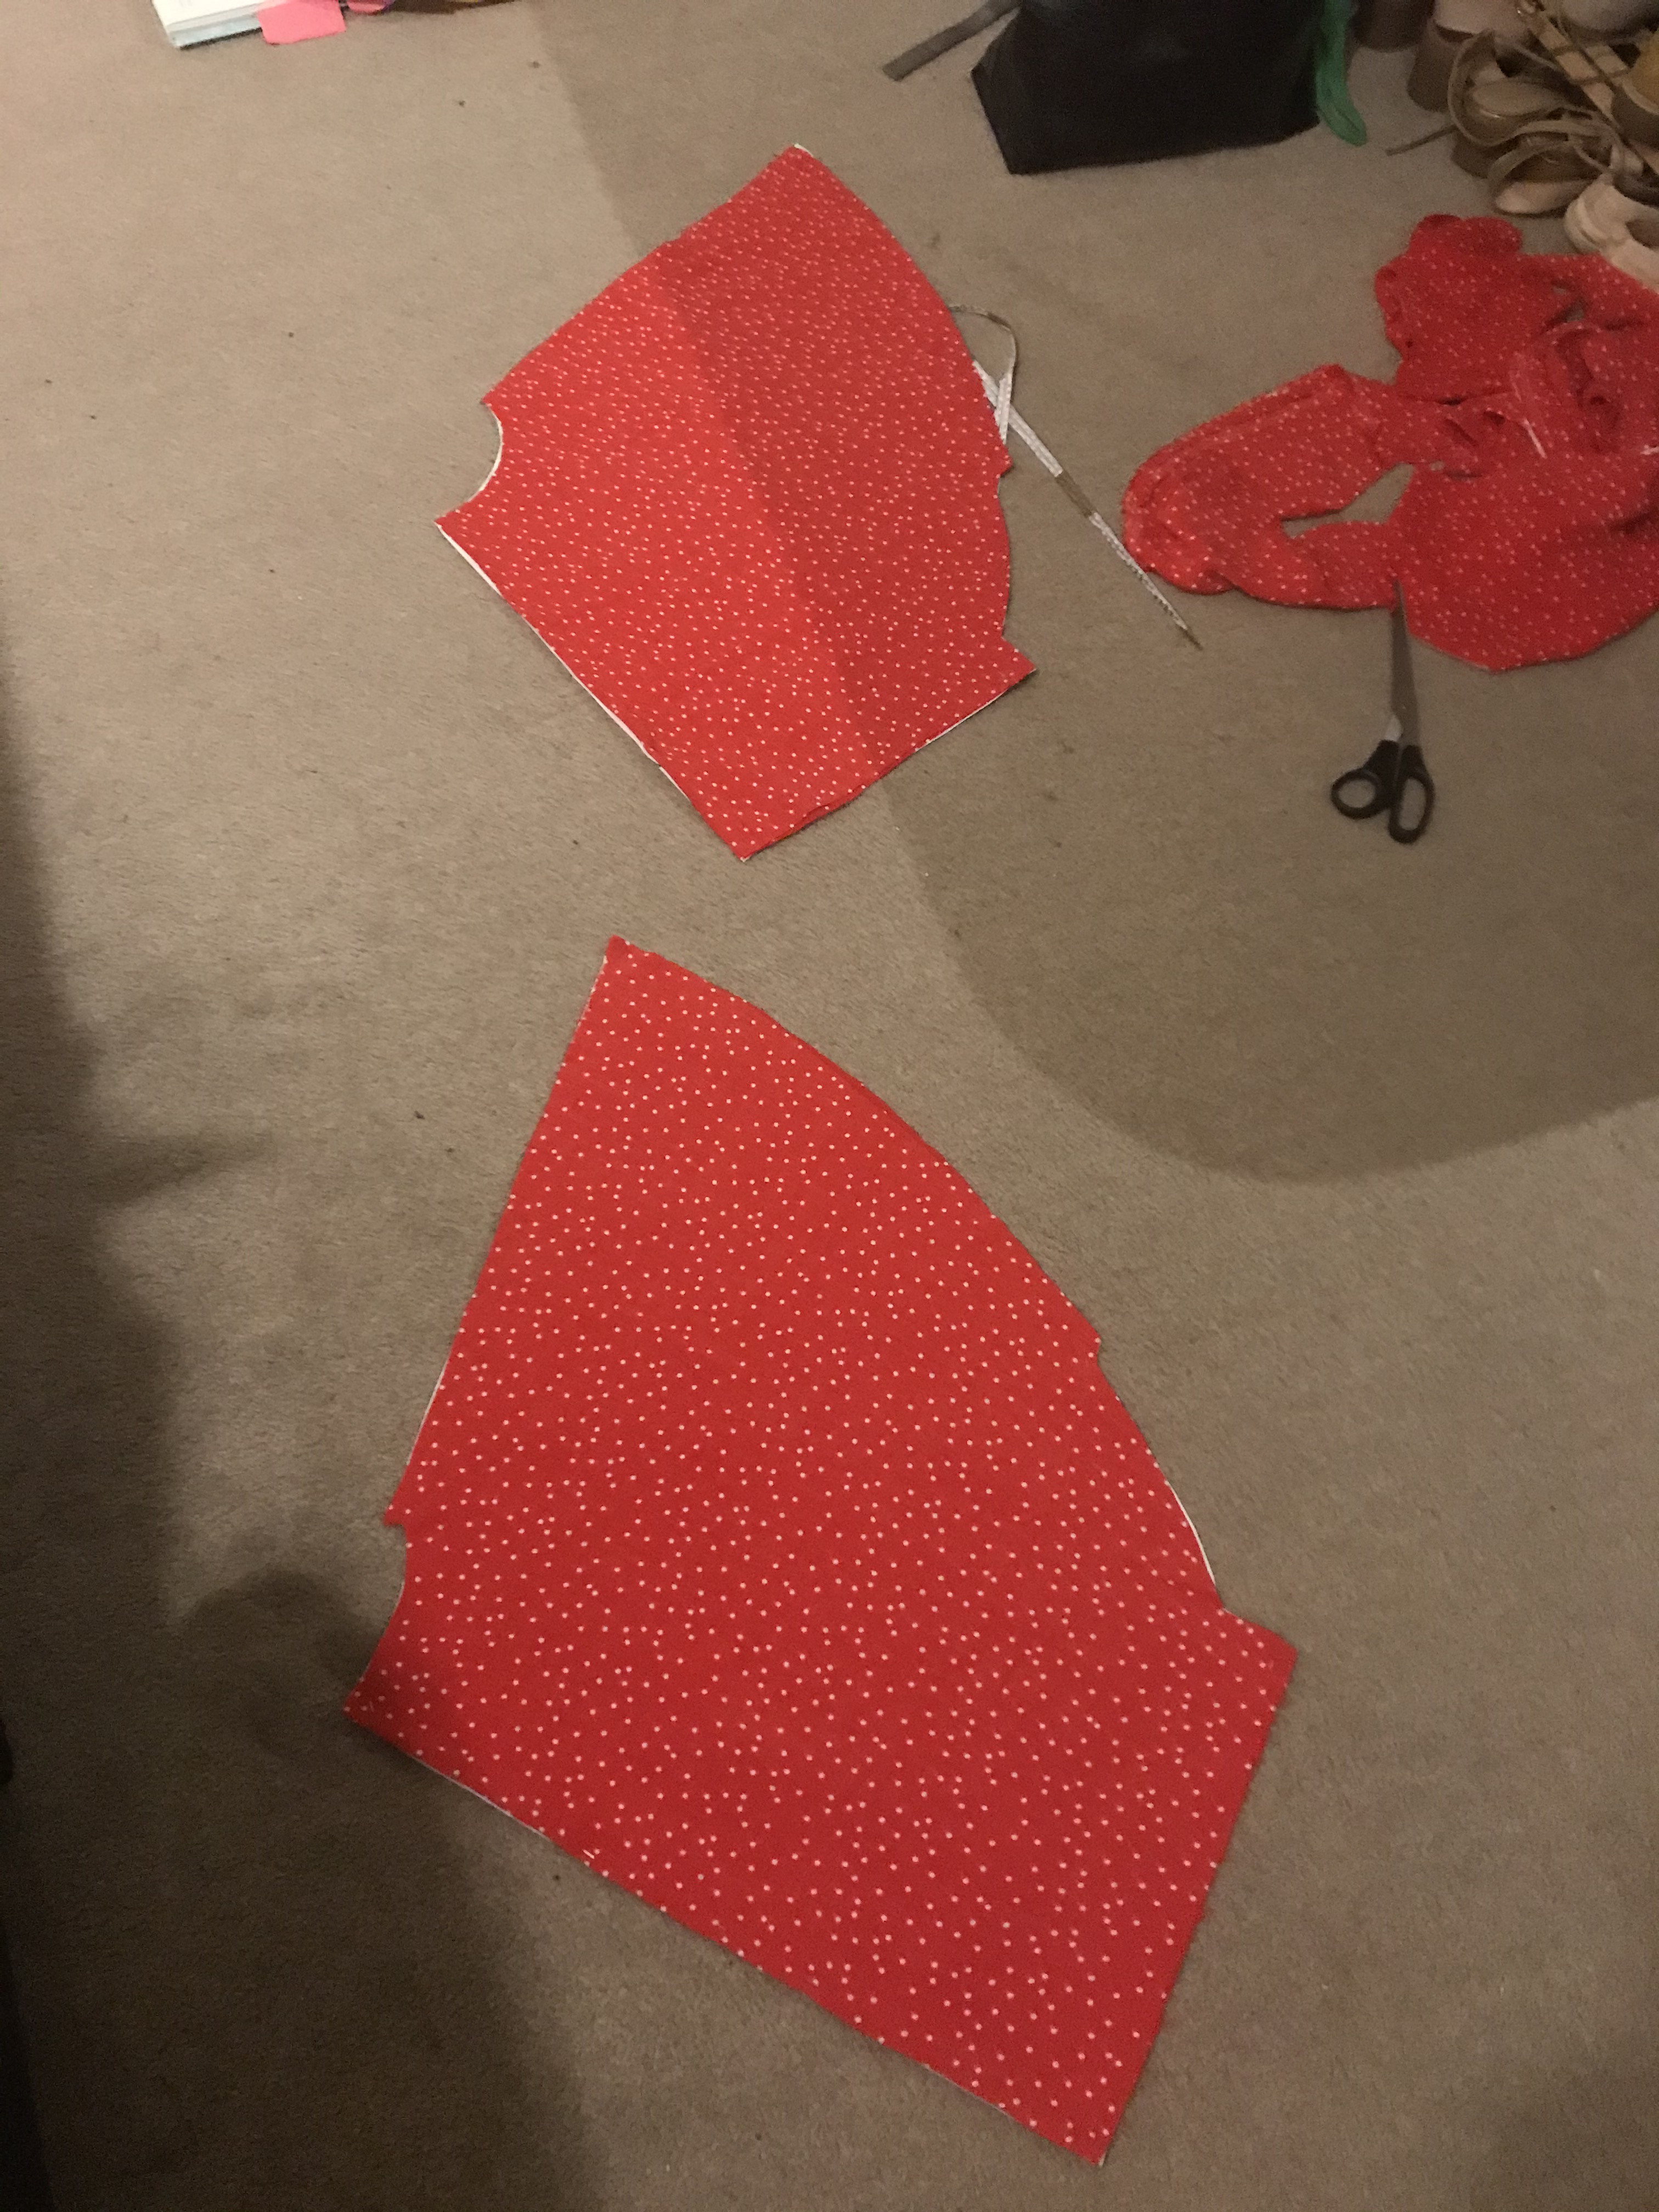
It also took me out of my technical sewing comfort zone. My first proper top stitching, my first raglan sleeves, it was all a journey and I really made myself take my time. Especially as I knew that I didn’t have enough fabric to recut if I made a mistake. I’m really glad I took the time, doing only one or two pattern steps a day for a week. It was a lovely way to wind down from work each day and I feel like this is technically one of the best garments I’ve made because I didn’t rush a single step. So my first and biggest piece of advice I can give you is to take your time with this make, there aren’t many steps but they all require accuracy and care. Below I have linked my vlog so you can join me for every step of the sew and you can also see just how many grey jumpers I own as I change between days.

My Top Tips:

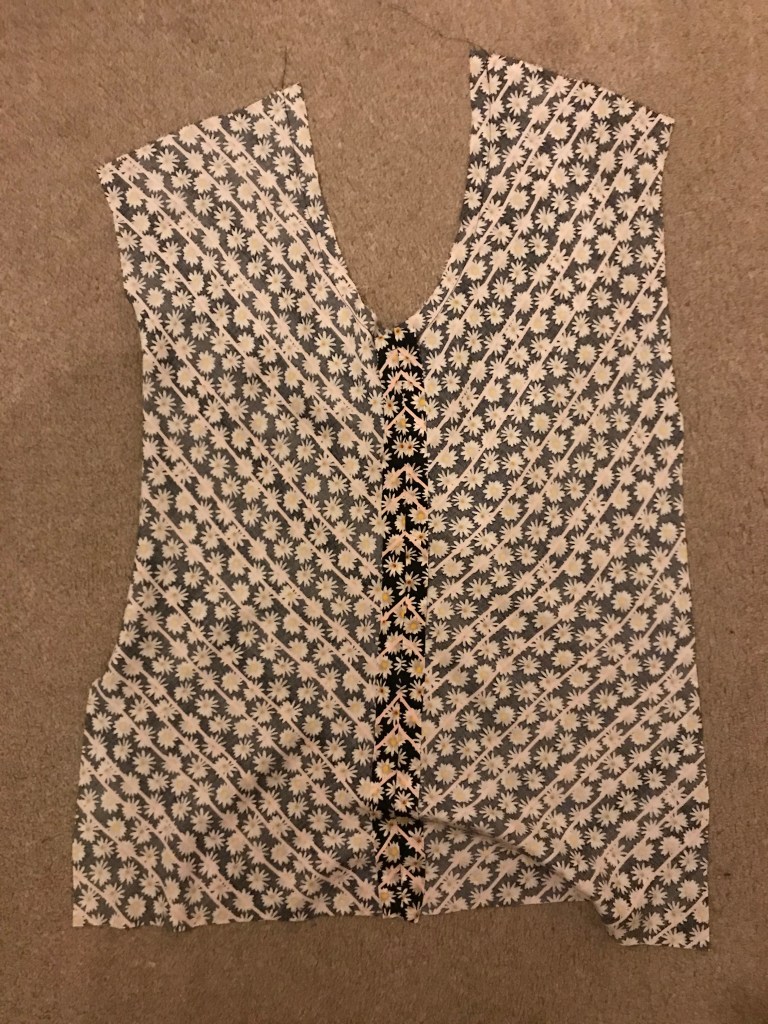
  • Draw The Line For The Front Opening – seriously, do this. I thought I wouldn’t bother but it requires a straight line stitched 4cm in from the edge which is surprisingly hard to do by eye and most machines don’t have markings that go out that far. This was made extra difficult on my fabric as its exceptionally hard to draw a straight line on Swiss Cotton! Regardless draw a solid or dashed line, its worth it for a garment feature that is so front and centre.
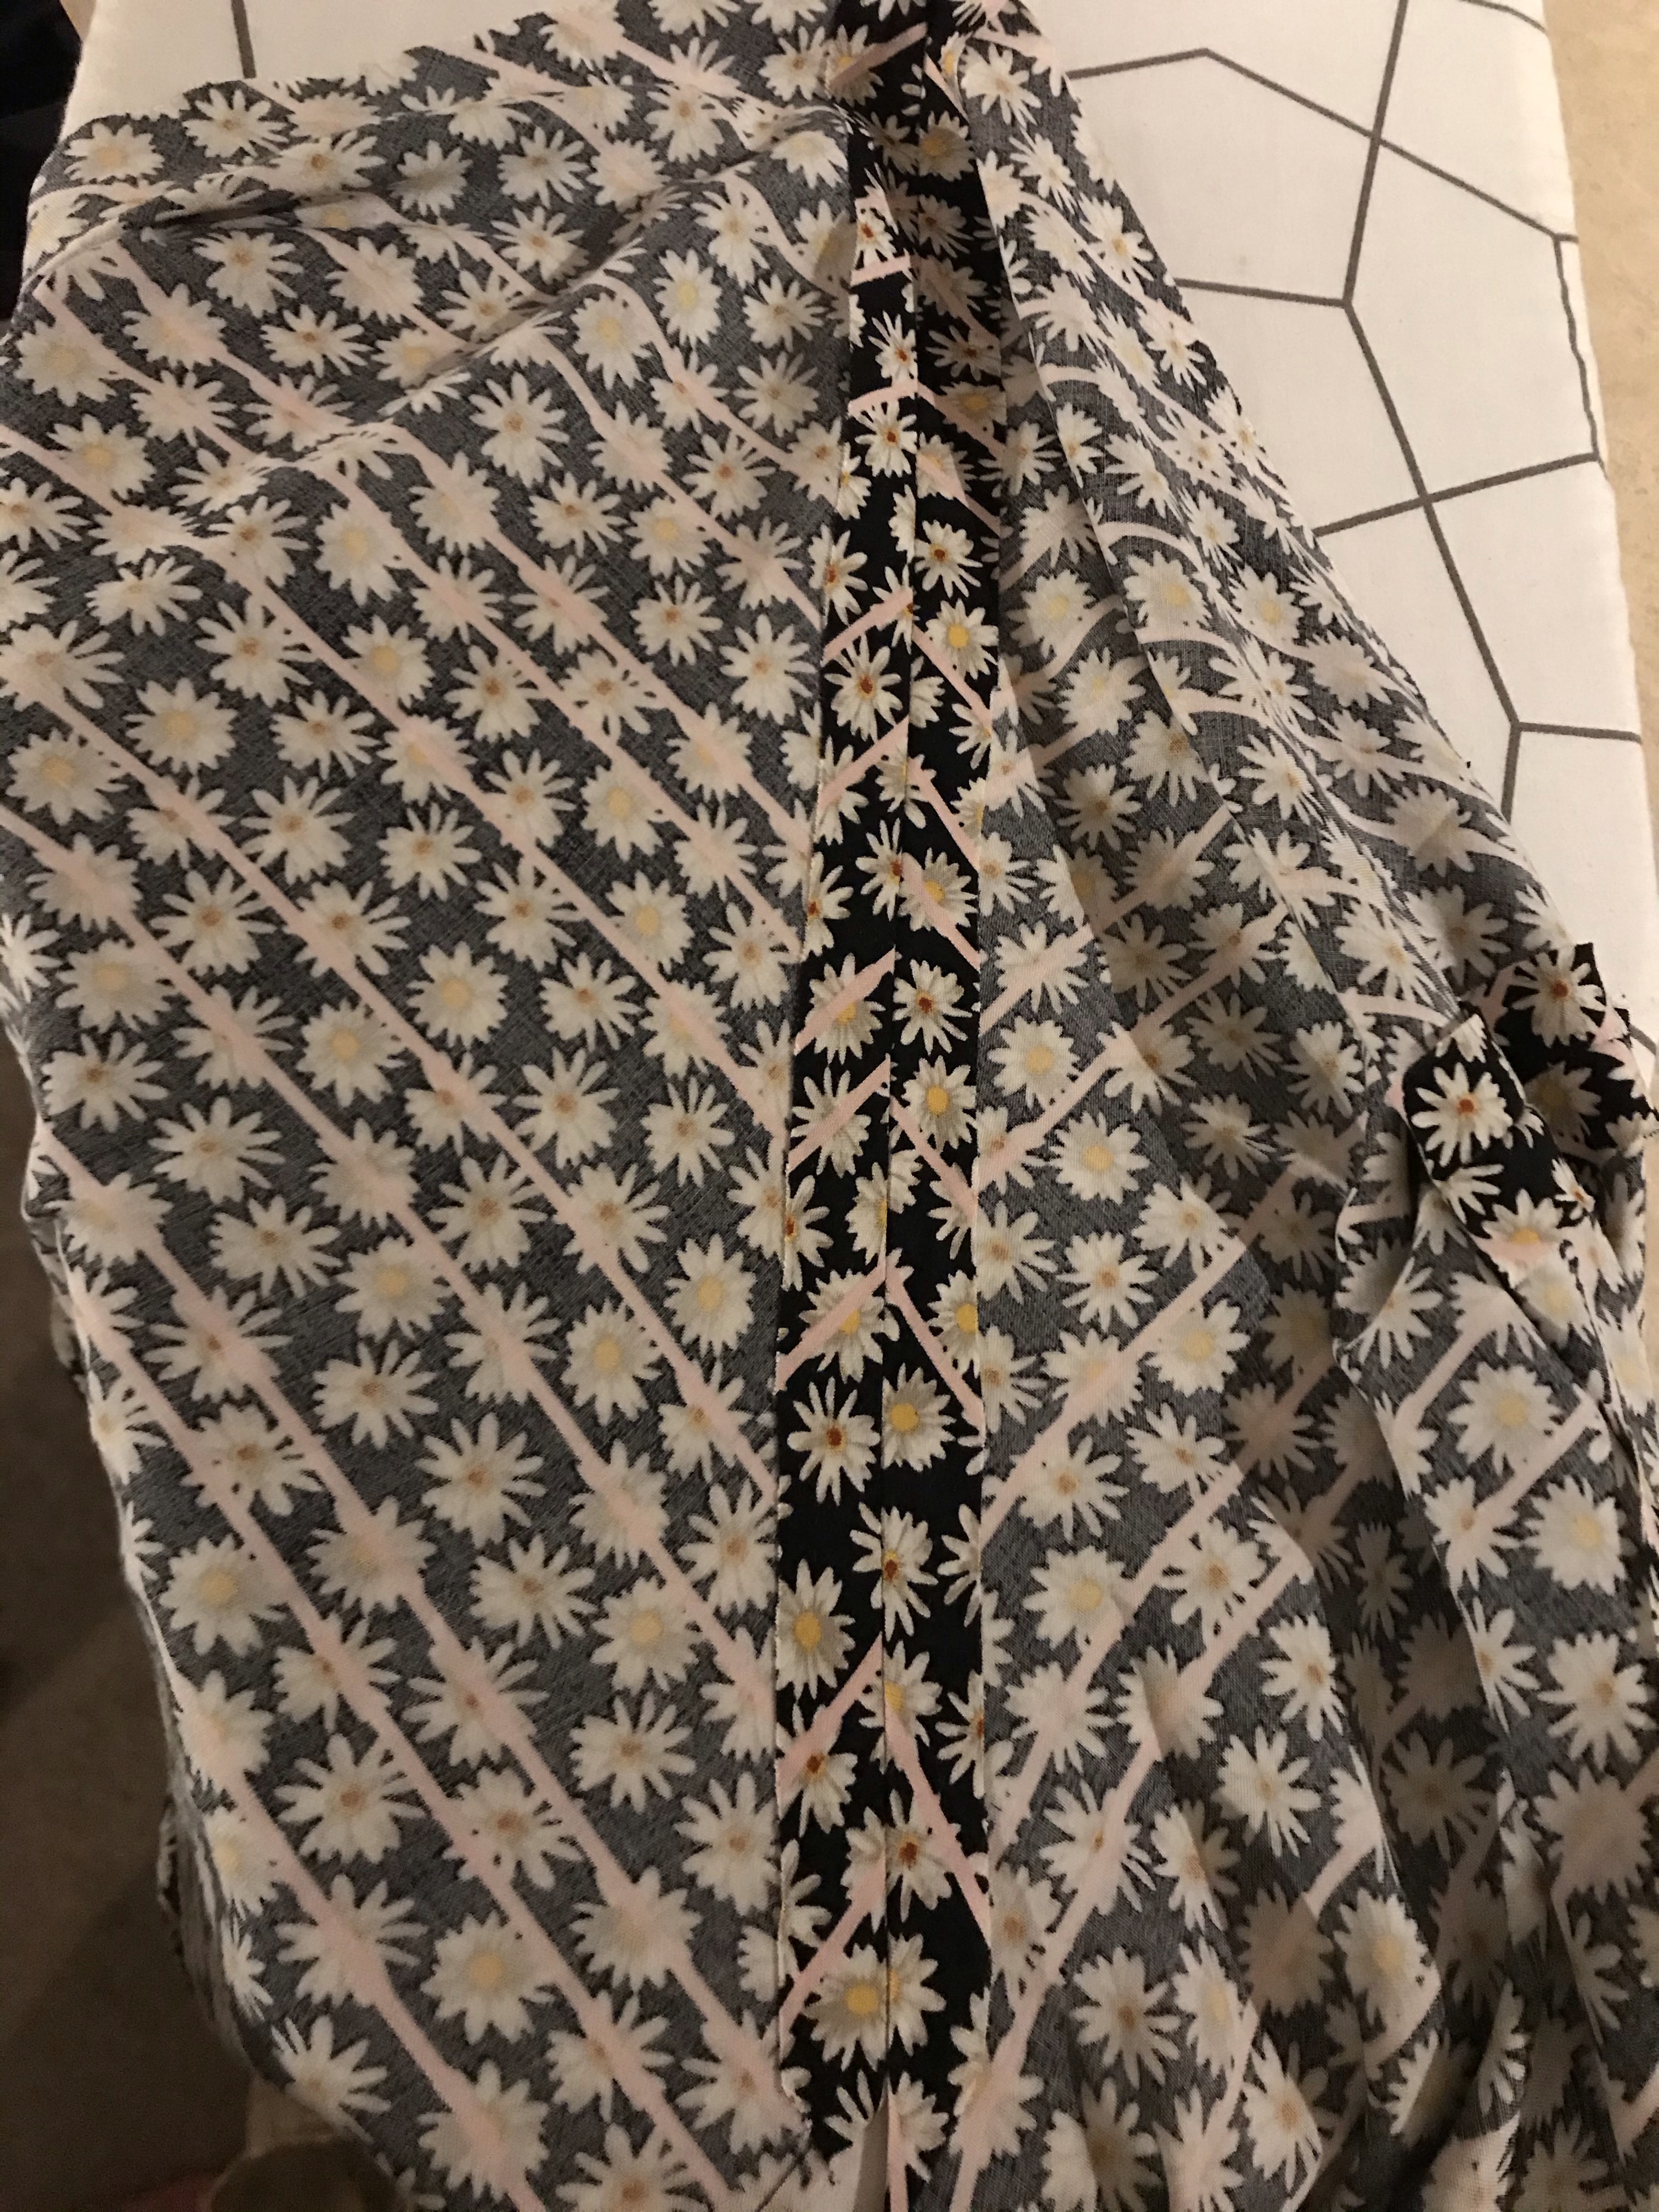
  • Really Press The Centre Front Open – While we talking about the centre front…before you start top stitching you absolutely must press it open thoroughly so that your facing and seam doesn’t bulge when you do the top stitching.
  • Finish All The Edges As You Go – Cards on the table, I’m straight up awful at finishing raw edges when I sew, honestly just awful, but I really made the effort with this garment partly because i didn’t want fraying but mostly because it actually really helps with the structure and the strength of the seams. I am particularly highlighting this as something you should as you go along because there are quite a few seams you can’t access once the garment is done if you were hoping to have a tidy up at the end. The pattern recommends overlocking but if you don’t have an overlocker then either you can zigzag or you can go on a voyage of discovery with your sewing machine and find out that it actually has four different overlock stitch options. (It’s the dream)
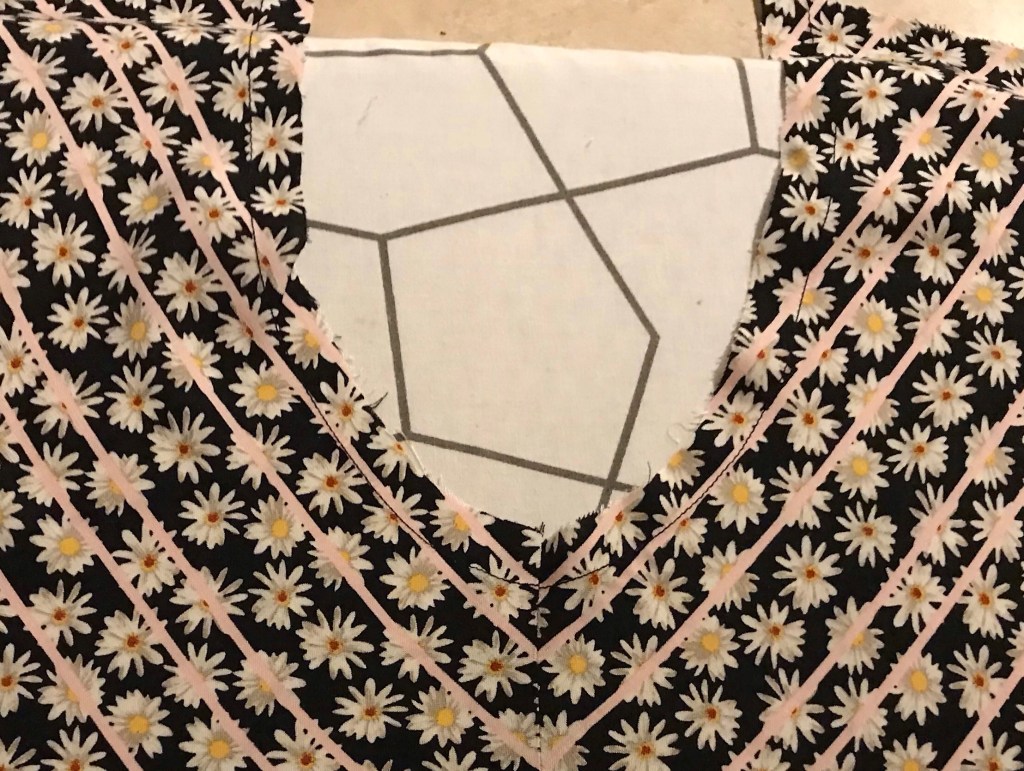
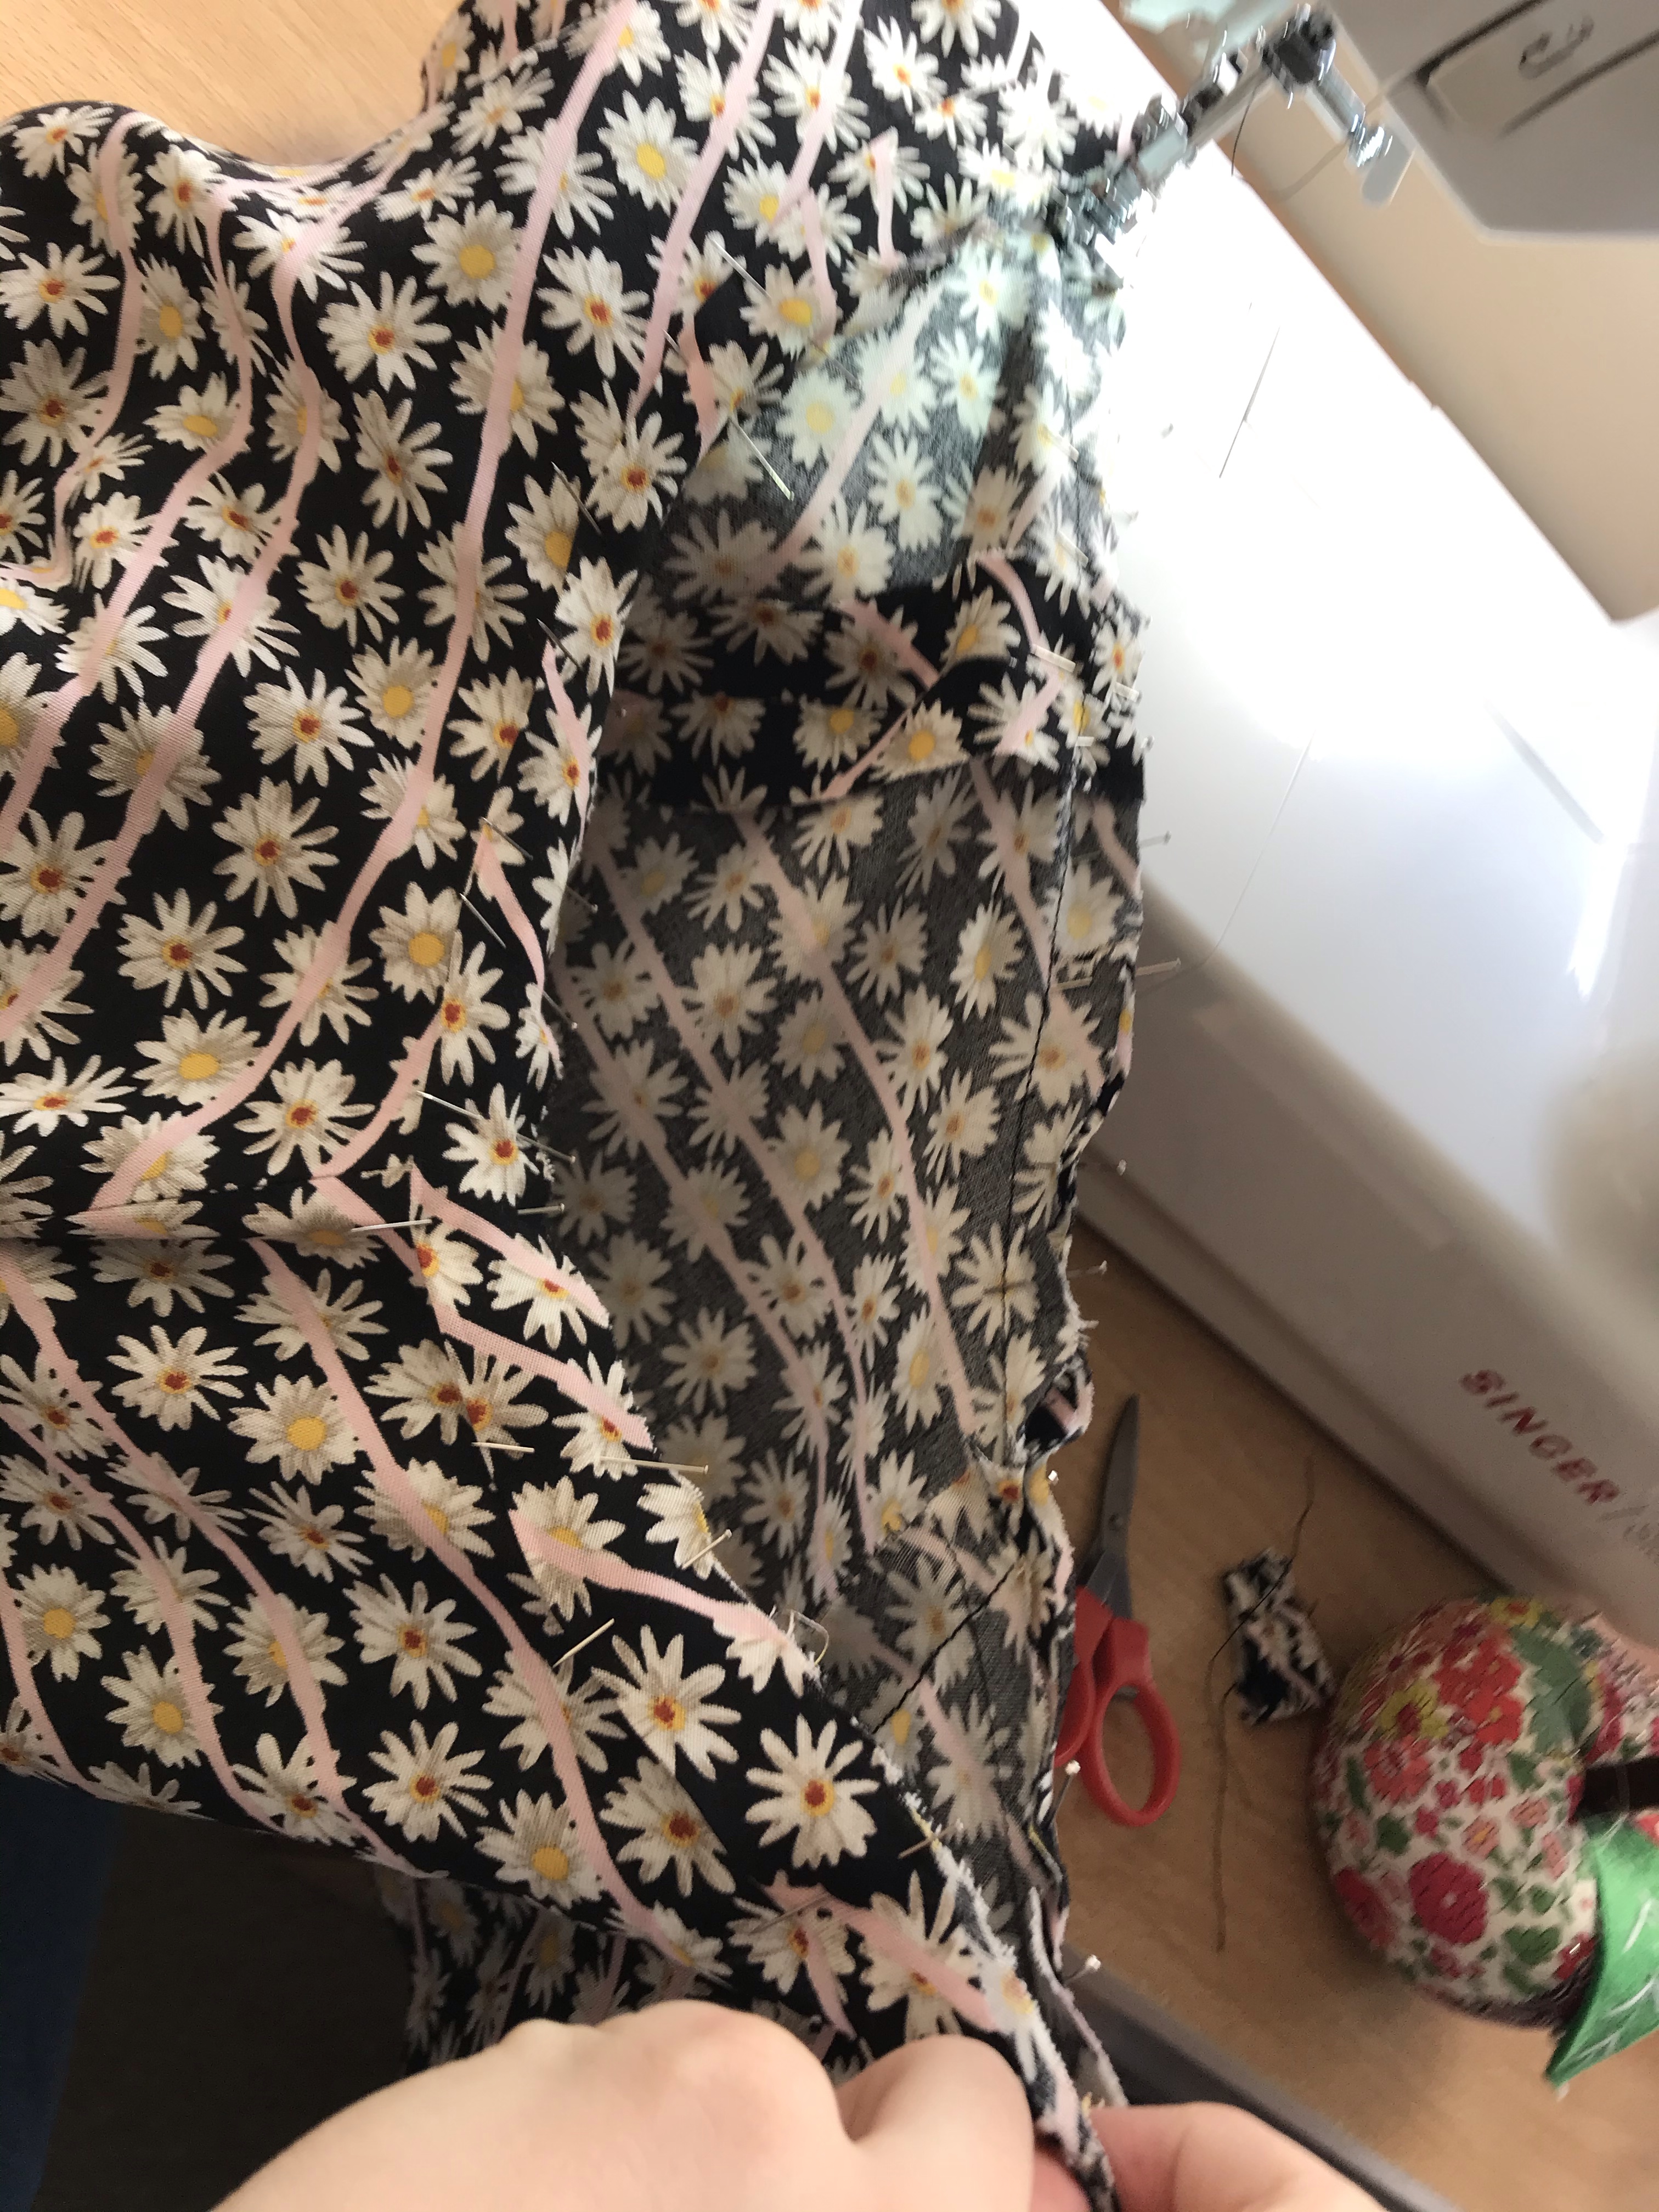
  • Gather Much Closer To The Neckline Edge Than You Think – Basically if you look at the outside of my garment the bind covers all the gathers, that is quite emphatically not the case on the inside. I did my gathers at the distance recommended by the pattern, or at least i think it did as I work in imperial and it only had metric, but at that distance it was impossible to enclose the gathers properly in the neck binding on both sides. So I would recommend sewing one row in the seam allowance and then other just beyond it. You will still be able to gather and you will be able to enclose both sides in the binding.
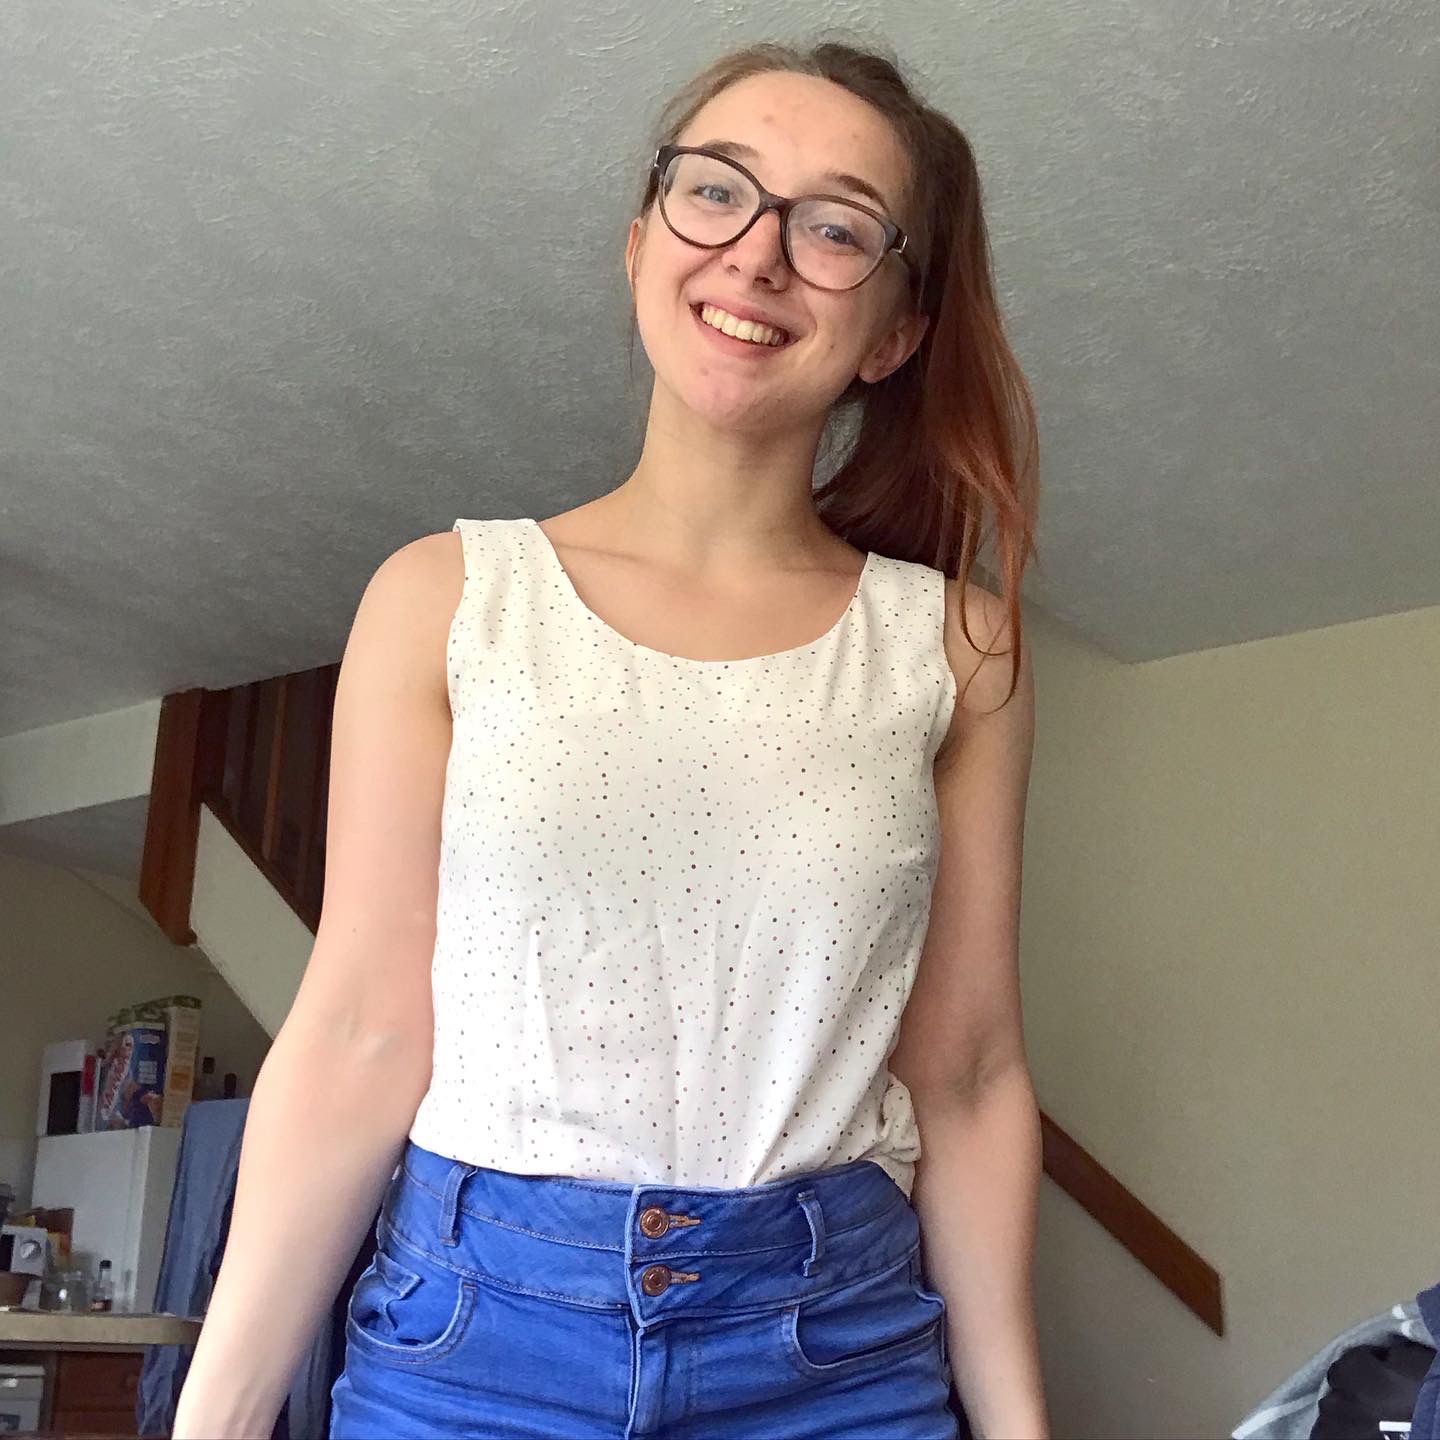
  • Go By Your Measurements – so I looked at the finished pattern measurements and was going to make a size down as they looked huge but when I looked at the body measurements I saw that they actually put me in the 10 bracket. I decided to go with the 10 because I would rather it fit my bust properly and then i could adjust other areas but actually i found it to be a really nice fit. its loose but you actually have enough room to move and the sleeves and bust line are both really flattering. My recommendation would be to pick the pattern based on your bust size and then work from there.
  • Print Out The Pattern Instructions And Highlight – For me the pattern instructions required a second and even a third reading as I found the prose of the instructions very unclear. That could just be me but if you do have the same issue I would recommend printing them out and highlighting the action areas just for the sake of clarity. The pattern makes a stunning garment but the instructions could be easier to understand.
  • Use A Fairly Structured Fabric – It really helps with the construction and the fit of this garment. I’m sure you could easily make it out of more slippery fabrics but I think a structured cotton, linen or chambray would be a good starting point for a first make of this garment and would show off its more flattering and exciting features.

Those are my top tips for working with this pattern, its a great pattern and I have worn mine loads since I made it so I would recommend it for all abilities. Check out my sew-a-long vlog below to see how I got on making the Amaya Shirt.

My Autumn Makes

Happy Sunday everybody and in fact Happy September! This year has flown by, I have just past my six month probation at work, Adam has started a new job, we’ve changed over to the winter duvet and the weather has almost definitely turned which means its time for my favourite season, Autumn! I have to say that in fact i love all seasons for different reasons, I love the freezing cold sunny days in the winter with a clear blue sky that remind me of skiing, I love those first warm days of spring when the clocks go back and we start getting sunny mornings again, I even love the intense heat of summer, albeit preferably somewhere with aircon and stone floors, but autumn is special for me. Down here in the south they get a couple of days of proper autumn where the trees go brown and everything looks golden whereas in Perthshire, where I am originally from, the trees turn slowly and you get weeks of golden leaves falling and Autumn really does last a couple of months.

I love the colder weather, I love guy fawkes night, I love going for really long walks and needing to warm up when I get home and I love love love the fact that I can go back to wearing ankle boots(my spiritual shoe), jumpers and coats. Whilst I adore the heat of summer I hate dressing for it as its a nightmare trying to look professional but stay even vaguely cool, whereas in Autumn I can go back to wearing big scarves, cosy knitwear, tailored coats and I only have to worry about staying warm when I go out. It’s the dream!

This Autumn is particularly special for me in terms of sewing because I have never actually made autumn/winter clothing. Autumn and Winter clothes tend to involves more knits, stretch and wool. More sleeves, large silhouettes and more comp[lex techniques. I am generalising here as there are definitely some beginner friendly patterns out there but even if you find a beginner friendly pattern, chances are that once you go beyond medium weight stretch knits a beginner machine can’t handle the fabrics. My old John Lewis machine certainly struggled with anything remotely bulky. Now armed with my new machine, so beautiful patterns and some stunning fabric I am ready to take my first forays in Autumn clothes.

My September Makes

My September is going to be very busy with work starting to pick up speed a little and the fact that I am starting a part-time MA alongside my job I felt like it was a good idea to plan what I want to make this month so that I can work my way through project I actually want to do and not lose my sew-jo along the way.

Make 1: Amaya Shirt, Made My Wardrobe

As I publish this post I am actually tidying up the remnants of this project. I’m a little late writing this post and my first make of the Autumn is complete. It’s a gorgeous peasant style blouse with a keyhole neck and flared sleeves and I made it in a bright red spotted cotton from The Rag Shop. It’s a versatile statement piece that can go day to evening with ease. I love it and what’s more there’s some complex sewing in there that I’m really proud of. It also represents my shift in focus towards making high quality statement pieces that go with my existing wardrobe.

Make 2: Raglan Dress, Trend Patterns

I’m super excited to make this. I’m nervous because its not a style of dress I’ve made before and not one I wear often but its a stunning pattern and I have a gorgeous dark viscose covered in little red roses from Rainbow Fabrics Kilburn that will suit the pattern perfectly. The fabric has great drape which I think will work really well with the full sleeves on this pattern and I quite like the high neck with the tie. This dress will probably need a belt on it for me and I will probably make it a little shorter than the pattern suggests to accommodate my height.

Make 3: Cocoon Cardigan, GBSB

This make will be my first knit make! I have a lovely mid stretch pale grey knit from the Maker Merchant and I will be attempting a Cocoon cardigan from one of may GBSB books. It’s meant to be a three hour sew so I will do a vlog and see if I can make it in under that time. I’m excited to start working with knits as they form a big part of my wardrobe.

Make 4: Square Neck Dress, Unknown

This make is definitely the most free-form as I know roughly what I want to make, I’ve got a couple of patterns that would work and the fabric is stunning. I’m hoping this make allows me to exercise my creativity a little more and make something beautiful. It will definitely need a toile so I will keep you guys up to date with what I’m up to and fingers crossed I’ll end up with something great.

As I’ve been at home for the past five months and I’ve not had costs of commuting and general work life, I have almost definitely spent too much on sewing. Now I have set myself a monthly budget and costed up my September makes. With one exception I had already bought all of the fabrics, patterns and notions that I’m using at some point over the summer. I’ve definitely spent more than I meant to but writing all the costs down is a really important first step to controlling sewing spending. It’s definitely not a cheap hobby but as I’m not going back to gym anytime soon I’ve redistributed some of my budget so I can have fun sewing. For the sake of transparency, I give myself a £50 per month budget for sewing but I obviously don’t use all of it some months and I will use more other months depending on the fabric I’m using and patterns etc but it balances out to about this much over the year. I want to show you guys how I cost my monthly sewing, this month was more expensive that usual because I lost track slightly but now I’ve found a costing system that works for me so there we go.

September
COSTS
Amaya
Shirt
Raglan
Dress
Cocoon
Cardigan
Square
Neck Dress
Total
Patterns£12.50£14.20
(sale)
£0
(already own)
£0
(already own)
£26.70
Fabric£17.00£0
(Gifted)
£11.50£0
(Gifted)
£28.50
Notions£1.50£1.50£0 £1.50£4.50
Pattern Printing£4£0£0£0£4
Equipment£0£0£0£0£0
TOTAL£35.00£15.70£11.50£1.50£63.70

As you can see my biggest expense is fabric, this month I’ve actually bought a few patterns but normally I try to work through one’s that I already have. When I do buy patterns I try to take advantage of sales, offers and free patterns to reduce costs. I rarely have to buy notions because for some reason I have a lot of back stock that I bought years ago. When I do buy notions I try to buy a lot at once as a restock and because they are cheap and if I’m paying for delivery I might as well make it worth it. Anyway, I’ve included this as I’ve been having lots of conversations with other makers recently talking about budgeting for sewing so if this is a helpful table/split please do use it, its definitely helped me to gain awareness of what I spend.

October & November Thoughts

I’ll see how I get on with my September makes but below are a few things I want to have a go at for each month.

October

  • Anorak – Tilly And The Buttons Eden Coat
  • Cowl Neck Knitwear Dress – Sew Over It
  • Jersey Skirt
  • Wrap Dress

November

– I then have to make two more anoraks for my sisters this month!

– long sleeved top

– A line skirt

– sheer chiffon blouse

So there are my plans! If you found this pose useful then let me know in the comments below. I can do this monthly or seasonally if that would be helpful. It certainly helps me to plan my makes like this to ensure that I don’t spend too much and also that I have projects to work on when I’m stressed from work.

Fabric Friday Reviews: The Rag Shop

Apologies to anyone who saw the accidentally empty version of this post, I schedule all of these in advance and try to write them while I am actually using the fabric from these suppliers so the details are fresh in my mind. I had made all the notes for this post and completely forgot that I hadn’t actually put them in the post. Particular apologies that it should happen to The Rag Shop who are up there in my top 3 favourite fabric suppliers! This week on a belated Fabric Friday we are talking about The Rag Shop a wonderful independent fabric supplier whose high standards, quality and personality come across in every purchase.

The Rag Shop

  • Online Shop / Physical Shop / Both
  • Web Link: https://theragshop.co.uk
  • Core Purpose: Dressmaking Fabrics, Haberdashery and Indie Patterns
  • Units of Sale for Fabric: 1 metre

The Rag Shop is the site of one of my first proper impulse purchases of fabric. I was scrolling through instagram minding my own business when I saw the Red Spot Dobby Cotton above and before you know it I’d bought 2 metres. I think their fabric is of fantastic quality but more than that I would say they probably have the best fabric photography of any website I’ve worked with so far. Not only do you see the fabric clearly but the colours are accurate and you can even get a sense of the fabric texture, this is so important in the world of online fabric shopping because you need to know exactly what you are buying. Their fabric range is good and they have a good mix of plain fabrics as well as interesting and on-trend patterned fabrics although they don’t have a massive number of categories you definitely still have choice. I like the jersey they have as well, I haven’t bought any yet but I’ve had my eye on a mustard stripe jersey for about two months now for a long sleeved top and I’m probably going to give in soon and buy it. When I look at The Rag Shop site I really get the impression that everything on there has been handpicked to form a collection and I think that really shows off their personality. A lot of the more out there patterned fabrics aren’t my thing but I love that they are there, I love that when you buy fabric from them that you know its going to have a bit of flare.

They also have a great range of patterns from different independent designers which isn’t something I thought to look for but that I was really impressed by. When I first bought my fabric I put out a call on instagram for ideas of what I should make with it. Then Steph from The Rag Shop actually came back to me with the suggestion for the Made My Wardrobe Anya Shirt, a suggestion I took and I am now on the last steps of finishing. I love a company tat has so much awareness of the fabric they sell that they can recommend patterns that would work well. It shows a level of detail that I find downright astonishing. On the slightly more negative side I would say that unless you are a confident beginner or using a simple pattern I would say that the fabric itself is fairly pricey so if I was a complete beginner I would probably steer clear until I’d made one or two garments and could justify the money. That being said in the grand scheme of fabric shops they are mid-range in terms of cost and they do have a fabulous remnants section that is well worth raiding if you’re on a budget.

The website interface is clear and user friendly and I like that they put a proper description of each fabric next to the photos rather than just specifying the fabric type. The payment interface was very smooth, I used it on my phone and managed to go from instagram post to payment in under 5 minutes. Their delivery was quite speedy and although the outside envelope was plastic as most brands are, inside the fabric was carefully wrapped in tissue paper and came with a printed note as well as a discount for a next purchase which I thought was a really nice touch.

Rating

  • Range of Fabrics – 7/10
  • Cost – 7/10
  • Delivery (Speed / Cost) – 8/10
  • Ease of Use – 8/10
  • Ease of Payment – 8/10

Overall Score: 7.6/10

Where I think The Rag Shop excels is their customer interaction, they are very active on social media and super helpful as my earlier interaction about pattern ideas shows. I like a company that actively tries to connect with makers and support them. A company that does that is one that will get your business time and time again and honestly as soon as I have some money and I’m out of my September fabric ban they will certainly be getting my business again.

Does Luxury Have To Be Bought?

Happy Sunday everyone, this weekend Adam and I have deep cleaned the house. We made five different lists, one for each space, and we’ve worked HARD. Honestly yesterday we were cleaning solidly for well over 10 hours! We have rearranged furniture, repotted plants, tidied, cleaned, polished, sorted, decluttered and it feels great. Throughout the cleaning process I’ve been considering about how I feel about my possessions and my wardrobe in particular. What things I value and why I value them.

Now I’m sat with a cup of tea and honestly, I’ve got a bone to pick with fast fashion. In my first month of giving up ready-to-wear clothes I have made a conscious effort to consider when I buy clothes and the reasoning behind these purchases. Often I like a shopping trip to cheer myself up or to celebrate a promotion, to purchase a few new items for the next season or just to catch up with friends. Shopping trips like these are normally social occasions or they result in the little emotional purchases that make you feel better. These aren’t too hard to cut out because I can just go do something else with my friends or I can partake in the ultimate endorphin high which is of course fabric shopping . Really the only time I go out or online with the very specific goal of “shopping” is for occasion wear.

In the past, whenever I have had a formal event and don’t know what to wear I hotfooted it on to Missguided or Asos to select something gorgeous, slinky and that could be with me in under three days. Purchasing evening wear like this is of course partly for convenience but also because it has never felt like something I could or should make for myself. When you go to a black tie event you don’t want to feel homemade, when you think of black tie events you think of chic women in Chanel, the idea of a homemade dress in those surroundings is jarring. Or at least this is what the fashion industry has taught us to think. This is how we have been conditioned to feel and it makes me angry because the reality is very different.

On the one hand you have an admittedly expensive designer gown bought in a shop made in one of the standard women’s sizes. Its not shaped to your body, its not designed with you in mind, its designed for their ideal consumer, to reflect their image. On the other hand you have a homemade gown tailored by you for you. You choose the fabric, you choose the pattern, you choose the fit, as garment a home-made evening gown is quintessentially you. If you were to go to a high end event and told people you were wearing a handmade tailored gown they would be impressed, as soon as you mention that the tailor in questions is in fact you that feeling turns to mirth or grudging respect or even worse, requests to make them something similar.

Why should we be made to feel as we aren’t good enough in our me made wardrobes? After all every single piece of clothing is made by somebody, clothes don’t just appear. Honestly, I’m done with it. Of course other people’s opinions don’t really matter if they haven’t got anything nice to say then quite frankly they should shut it but its the fact that this isn’t an isolated one or two people this is an example of social conditioning that is prevalent in books, films, magazines and television, from Cinderella’s homemade dress being torn to shreds to the shopping montage in Pretty Woman. Expensive clothes don’t make a woman and if they do I don’t want to be the kind of woman they make. I will admit there is a joyous sense of giddy luxury in buying yourself something gloriously expensive and decadent but honestly I got the same feeling buying my first proper sewing machine! I get that same feeling when I spend a lot on a dinner for my partner and me, I get that feeling when I book a luxury hotel for a holiday and on those occasions I don’t also receive body-image issues and self-doubt alongside the purchase.

So what am I going to do? You’ve heard the rant, now here is my personal solution. There are two prongs. Firstly, I have reviewed my current evening wear wardrobe and got rid of anything that I don’t absolutely love myself in so if I need a dress super urgently I’ve definitely got something to hand. Secondly, I am aware that occasion wear is a weak area for me because I honestly adore it. So! Last week I bought 2-3m of second hand pale blue satin from a lovely instagram destash account. That fabric has now been stored carefully in my fabric box and I am currently marking appropriate patterns that I own and PDF one’s online that would work with this gorgeous structured mid-weight satin so that if I need a really stunning dress and want something new, I can satisfy those cravings at home and make myself something beautiful tailored and 100% me.

All clothing is made by somebody so my next evening garment might as well be made by me. I will learn a lot by making one and I won’t be contributing to a global system of oppression. Sounds like a win to me!

Fabric Friday Reviews: Sew Sew Sew

Happy Friday Everybody! This week we are talking about the wonderful Sew Sew Sew a purveyor of high quality fabric for adults and children. I recently bought a stunning viscose from Sew Sew Sew and made my wonderful Rhea Dress(below) and I was so impressed that I had to review them next.

Sew Sew Sew

  • Online Shop / Physical Shop / Both
  • Web Link: https://sewsewsew.co.uk
  • Core Purpose: Dressmaking Fabrics
  • Units of Sale for Fabric: 1/2 metre

Let me just say to start, I found the selection of summer fabrics available at Sew Sew Sew utterly tantalising. Their fabrics are very high quality and there is a wonderful selection, the downside of this is that they were somewhat out of my price range. When it came to picking the fabric for my Tammy Handmade Rhea Dress they were my first point of call as I wanted a high quality and draping fabric, something that flows beautifully, I wanted to splash out. However as I needed about 3m I didn’t think I had the money but just my luck there was a stunning blue firework pattern viscose remnant 2.74 metres long. Result! This has to be one of Sew Sew Sew’s great strengths. Their remnants are actually a decent size which makes their fabric accessible to those with lower prices ranges who still want to make something beautiful or treat themselves. When my fabric arrived it was absolute perfection so soft and cool to the touch even in the heat.

The website is sleek and easy to use, the brand identity is strong and interface is fine. Nothing to write home about but competent and simple. Where I feel Sew Sew Sew really excels is in the little things, the delivery was speedy and is priced as a standard flat rate of £3. It arrived beautifully wrapped in lavender crepe paper and arrived with a handwritten note from Katie which I thought was a lovely touch. It honestly made me smile the second I opened the package and I think thats a wonderful feeling to get from a fabric supplier. Sew Sew Sew understand people who buy fabric are doing it for fun, they are doing to make something beautiful and you’re excited to get it! The handwritten notes ties a bow on this feeling and I think its wonderful.

Rating

  • Range of Fabrics – 8/10
  • Cost – 6/10
  • Delivery (Speed / Cost) – 9/10
  • Ease of Use – 7/10
  • Ease of Payment – 7/10

Overall Score: 7.4/10

Sew Sew Sew are a wonderful company selling high quality fabric, they are definitely more expensive than other suppliers but the quality more than justifies the price. I love the little touches of personality and I adore the quality of fabric. It’s a yes from me!

Sewing Project: Bias Cut Top – My First Attempt At Pattern Matching

My last project before I went away was a bias cut chevron top. This garment falls into the category of a simple yet deceptively difficult make. Now of course there aren’t many difficult techniques of garment construction involved, what makes this difficult is a) pattern matching and b) working on the bias.

Project Details

  • Pattern: Bias Cut Top, GBSB From Stitch To Style
  • Fabric: Daisy Striped Viscose, Rainbow Fabrics Kilburn

Step 1: Pattern Cutting

I kid you not it took me well over an hour to cut these pattern pieces and it was nerve wrecking. The aim of this garment was not only to create a top on the bias to create a chevron pattern from my striped fabric. On top of that, as you will see from the fabric below, I made things even more difficult for myself because my stripes were not even. They are in groups of diffident widths and numbers so matching to an incredibly long time. To pattern match a chevron on the bias you need to cut your pattern pieces at right angles diagonally, and honestly I used my first pattern pieces cut my second to ensure the match. Eventually I gained enough confidence in my matching skills and cut my pieces but it really was a learning curve. Pattern matching is something I’ve avoided for years because I didn’t think I could do it but this garment has increased my confidence and shown me that I shouldn’t be scared of new techniques! Everything is a chance to improve.

3 Things I’ve Learnt About Pattern Matching
  1. It takes TIME. Seriously it took me an hour to cut out my pattern pieces because I spent so long making sure that the stripes lined up. I made things even more difficult for myself than I realised.
  2. Iron your fabric beforehand to make sure that you can match accurately and remember to include your seam allowances.
  3. Transfer your directional markings on to the pattern pieces, it’s such a help when pattern matching on the bias and particularly when you are creating a chevron.

Step 2: Stay Stitch The Neckline

As always an incredibly important step but no less so when working on the bias as you want to make sure that your garment doesn’t warp. At the time I felt like Ihad done this well but afterwards I realised that it wasn’t my best work. This is entirely because I went to fast and allowed the viscose to slip and slide all over the place as it often does. Even more so when working on the bias. In fact this project has made me reflect on how rarely I cut anything on the bias. One of the wonderful things about this project is that it has helped me to understand my fabric better and the literal mechanics of fabric use.

3 Things I’ve Learnt About Working On The Bias
  1. There is a lot more mobility that you think there will be. Even in stiff fabric the bias still provides a lot of stretch so just imagine how I was working with a slippery viscose. I had to handle the fabric incredibly carefully to ensure it didn’t warp as I sewed it.
  2. If you’re pattern matching on the bias use a lot of pins and sew slowly. Louder for everyone at the back. Sew slowly, sew carefully, keep both hands on the fabric and match carefully as you go.
  3. Cut a single layer of fabric at a time and if possible use a rotary cutter and mat, this stops the fabric from shifting or stretching when you cut it.

Step 3: Centre Seams

Take your time matching your front and back centre seams and sew slowly with control. Make sure your machine doesn’t pull the layers of fabric apart at all and continue to check the match as you go. I went so slowly and carefully at the time I had to keep reminding myself to breathe but the sense of relief when I finished sewing and took it over to the iron was unbelievable. Remember to sew the back just as carefully at the front and if you want one tip, especially for matching chevrons, start sewing the seam from the top of the garment down, this makes sure that if anything does move it won’t spoil the finish at the neckline.

Step 4: Shoulder Seams & Side Seams

I forgot to take pictures of these as I went because I was so focused but here they are on the machine. Treat these carefully as you don’t want to warp the shoulder of the garment or stretch the silhouette. Shoulder seams press towards the back so you can include both sides of the seam in the neck bind and in the armhole hem.

Step 5: Bias Binding the Neckline

Now this top contained a lot of firsts for me, I’d never worked on the bias, I’d never done pattern matching and I’ve never really used bias binding let alone made my own. I’ve learnt a lot from this, I’m proud of my first go but it definitely isn’t quite right. When I look at the photo below and the garment itself I can see that I’ve bound the raw edge but not actually bound the neckline, you can’t see the binding which is a mistake. Next time I will definitely be pressing my binding more carefully so that its easier to use.

3 Things I’ve learnt about Bias Binding
  1. You’ve got to treat it gently especially if you’ve made your own and cut it carefully, its got to be even.
  2. Stitch slowly and carefully around the neckline so you don’t stretch it as you bind.
  3. Cut it carefully and iron it out fully before you fold it and then iron in the folds.

Step 6: Finish Raw Edges

The final step is just to finish the arms and bottom hem. Depending on the weight of your fabric you could use a double hem or, as I’ve done, just a quick rolled hem. Then you have your very own bias cut top!

I adore this top and I’m very proud of it but there are definitely a couple of bits I would change if I made it again. The fit is nice but I think the neckline is a little high for my figure so I would make it slightly deeper. My sewing has improved just making this top and I would definitely consider a garment with pattern matching again albeit with caution and careful fabric choice. Let me know what you think in the comments below, love pattern matching, hate it, have certain tricks you use? Tell me everything. Until then, go forth and pattern match!

2 Hour Sewing Project: Sew Simple Gwen Top

Happy Monday Everyone! I am half way through my week off from work and I’m feeling good. The stress is starting to dissipate and I’m beginning to really enjoy my time away. We are still in Colchester so no live sewing for moment but I want to talk about a top I whipped up in 2 hours last Sunday and it’s one I am really proud of. We all have those moments when inspiration runs dry, when we just can’t think what to sew and none of our projects are appealing to us. On those days it can be hard to find the enthusiasm for a single stitch, I had tried to pattern draft for another project but I was just too tired so I had a lie down. Adam and I then had a chat about what I could make and in particular what my current wardrobe lacks. The answer to this is actually pretty easy. I really lack tops. I have knitwear coming out of my ears and plenty of shirts and fancy going out tops but I have very few just tops. There aren’t many t-shirts that I feel comfortable wearing and most of my evening tops are more drinks than office appropriate neither are they especially comfortable. I don’t need any more dresses for the moment so tops seemed a good place to start.

Out of desperation to do something sewing related I had a little look through my sewing magazine, just browsing really, when I came upon one of the free patterns that week. A lightweight batwing top which would be perfect for my red viscose crepe remnant from Sew Me Sunshine! The pattern said it required 1.5m but I can confirm that, at least for a size 8, 1 metre is absolutely fine. I gave myself 2 hours and just went for it, I didn’t really want to plan or think about it, i didn’t want to make too much of a production of it, I just got a cup of tea and starting sewing. I had been lacking inspiration all weekend and I just wanted to make SOMETHING to break the deadlock. I was a bit nervous, especially as I’ve never printed an A0 pattern at home, but I am really pleased with the result. Its not the neatest garment in the world but it was a very quick and easy make and I would definitely recommend the pattern for beginners or anyone who wants to start in the morning and wear the garment out to lunch.

Project Details
  • Fabric: Red Spotty Viscose Crepe, Sew Me Sunshine (1m Remnant)
  • Pattern: Sew Simple Gwen Top
  • Sew Time: 2.5 Hours

Step 1: Cut Out The Never-Ending A0 Pattern

This honestly was the longest step of the entire project. I had to print out 20 pages, cut all the edges off the A4 pieces, tape them together then cut out the actual pattern pieces. It definitely reminded why I get my PDF patterns printed in A0 by somebody else and sent to me! Honestly though I didn’t mind too much because the pattern itself was free and it was a quick Sunday night make. I ended up with something like this. I didn’t want to waste sellotape and we have a hold load of parcel tape so its not very pretty but it did even up as well structured(if hard to fold) pattern pieces.

Step 2: Cut Out The Pattern Pieces

One of the things that makes this pattern so quick and easy is that there are only two pieces for this garment, front and back. I could have done with sharper scissors because no matter how simple the project is viscose is always slippery.

Step 3: Shoulder Seams & Side Seams

The first step is to carefully stay stitch the necklines 1cm in from the edge, as above, and then stitch the shoulder seams and press open. Move on to the side seams, stitch and press again. The side seams in this garment are less that 6 inches long because this top is about 90% sleeve!

Step 4: Finish Raw Edges

The pattern asked for bias binding however that would have been far too heavy on my fabric so I just did rolled hems everywhere and I think it worked very well with the viscose crepe. And you’re done! Thats genuinely it. A simple, easy sew that produces an flattering and attractive garment. I was so happy with it that I even went out in the thunder storm to get pictures

This top was quick, easy and didn’t require too much brain power. I love the drape, I adore the neckline and its a wonderful pattern to just make without having to think or plan or toile. It would also make an excellent remnant buster as you really can squeeze it out of a metre. It looks great with jeans or shorts and you could even tuck it into a pencil skirt for work. This pattern is a massive win in my book and I would recommend it to absolutely everybody who sews. If you just need an easy win then this pattern is for you.

6 Tips To Start Sewing: Advice for Beginners

Happy Sunday everyone, bit of a life update, this weekend I am writing to you from Essex! We have come to visit Adam’s family for a few days to get out of the house. For the first time in 5 months I’m somewhere other than our house, but we are still being very careful as I’m asthmatic and have been shielding. I was meant to be flying home on Thursday to see family however due to some moronic Aberdeonian footballers and my mum’s extremely vulnerability to covid, my trip has been cancelled. Adam’s parents invited us here instead and they even picked up us in the car to keep us safe! So Adam and I will be going for lots of walks in the Essex countryside, relaxing and getting some much fresh air.

Recently I’ve engaged with some fantastic makers on Instagram, both complete beginner sewists and very experienced dressmakers. I’ve given and received advice online and found so much inspiration for my sewing and it got me thinking. What would I have wanted to know when I started sewing? I was extremely lucky to have my very talented mum on hand teaching me the basics when I first started and I am still lucky that I can call her whenever I encounter a technique that I find vastly confusing. A lot of people don’t have that resource and there are so many different paths towards sewing, there is no right way as long as you are enjoying yourself thats all the matters. I was really interested to find out what advice others had for beginners and where better to ask than Instagram! I posted a question on my stories and I got loads of wonderful responses from a diverse range of sewists. I have collated their feedback along with thoughts of my own into the 6 tips below. Remember the best way to start sewing is just to go for it. Have fun and don’t feel bound

“Don’t be scared of your machine” – We have seam rippers for a reason

This is a major one because if you’re too scared of making a mistake you won’t enjoy yourself and you won’t progress. Just go for it! One of the wonderful things about sewing is that there are very few mistakes that can’t be fixed especially when you’re a beginner. If you’re worried start your sewing journey with stable fabrics like cotton and then when are happier with your skills you can move on to sloppier fabrics or fabrics that fray easily. Make friends with your seam ripper, you’re going to need it and remember that Even people who have sewed for decades still have t9 unpick things. It’s normal,it’s part of sewing so embrace the mistakes and learn from them. What I’ve learnt even in the last three months is that I need a roatarycutter for slippy fabrics, that you really really should prewash jersey/stretch fabrics and that I need a more ergonomic seam ripper!

If in doubt make a toile and use cheap fabric – “Don’t restrict yourself to pattern difficulty but use cheap fabric first

This was a great reminder that came through on Instagram, don’t just do the things that beginner plastered all over them. Sure it’s definitely a good place to start but don’t limit yourself. If you want to try an advanced pattern but you’re worried take it slow and make a toile. I make all,y toilets from calico because the stability of the fabric allows me to really practice techniques and see what they look like. Embrace your toile, I always use contrasting thread on my toilet so I can see what I’m doing wrong or how a finish looks. It helps to check how neat your stitches are and . As my mum once reminded me, if you’re making a calicotoile you can just write on it if you need to. Whether that’s writing front and back or in my case, right side/ring side when I was struggl with inserting sleeves. Your toile is your canvas to make as many mistakes on as you want. You don’t have to make one every time but if you’re worried it definitely helps.

“Youtube is your friend!” “Don’t be afraid to ask for help”

I chose to include both of these o the same line because they are the same. There is a massive sewing community out there full of experts, talented amateurs and literal dressmaking teachers. I promise someone else will have had the problem you’re having or is asking the same question as you. On my Instagram I always make a point of asking for advice and then reposting any advice I receive to help anyone else who is struggling. There are some wonderful youtube channels and blogs about techniques out there as well as workshops you can book onto in sewing studios across the UK. Videos are great if you want to clarify a technique, workshops are better if you want to learn to make a specific garment, e.g. the bra making workshop I went on in January, or to do a masterclass in garment fitting for example. Studios like The NewCraftHouse do loads of great workshops throughout the year and are well worth a look.

Get an iron – you think you don’t need one much BUT YOU DO

A few people mentioned this one in passing but I really wanted to focus on it. Most people think you only need a sewing machine to start sewing but thats not true, you must have an iron as well. You will use it just as much as your machine if not more sometimes. At the moment I am sewing with a lot of viscose and I honestly couldn’t manage without a hot iron on constant standby. Buy an iron on amazon and if you don’t have space for an ironing board, like me, get a table top ironing board or a reversible cutting mat that you can iron on.

“Pick a project you love and make it something you will actually wear”

This is super important. Don’t just make things because you need something to make, that way demotivation lies. When you having an inspired moment take a second to right a list of garments you’d like to make one day, they don’t have to be specific patterns, they can be things like; maxi dress, wrap skirt, blouse etc… so that when you aren’t sure what to make next you have a point of reference. Also save patterns or garments that you see on instagram to act as inspiration. Make things you are genuinely excited to wear, things you’ve always wanted but could never afford or could never find a version that fit you perfectly. You don’t just have to sew the exact pattern either, you can stick patterns together, remove sleeves, change hems, alter necklines, whatever you feel you need to do to make your perfect garment!

“Just go for it and remember to have fun!”

This piece of advice came from so many people but its also my number one tip. Unless this is your business, relax and have fun. Its a hobby! Don’t beat yourself up about every single mistake, have a laugh, unpick your seams and learn from it. Pick patterns you really want to make and fabric that makes your heart sing the same. Take your time choosing buttons, zips and threads, enjoy haberdashery, want that fabric? buy it. Have a dream garment you want to make? Go for it! Whenever you are feeling down or your sew-jo is lacking try to remember why you sew and crucially why you enjoy sewing. When I’m lacking motivation I like to pick a project I can do in one day, put my hair in a messy bun, get a massive cup of tea and spend the whole day sewing. Whatever you’re sewing remember to have fun and enjoy yourself.

I will keep consolidating information on my instagram so do give me a follow @sowhatifisew and check out my highlights where I always post any technical information. Above all sewing should be fun and relaxing so don’t be too hard on yourself if you’ve only just started. Next week when I get back from holiday I’m going to do a thread on Instagram asking for the stupidest sewing mistakes everyone has ever made so we can all have a laugh and learn from each other. Have a great week everyone and remember to have fun!

Fabric Friday Reviews: Sew Me Sunshine

Happy Friday everybody, you know what that means, its review day! This week we are talking about the wonderful fabric retailer Sew Me Sunshine. About a month ago, I bought two beautiful remnants from them and I finally got around to using both of them this week so I thought they should definitely feature next. 

Sew Me Sunshine

  • Online Shop / Physical Shop / Both
  • Web Link: https://sewmesunshine.co.uk
  • Core Purpose: Dressmaking Fabrics, Haberdashery & Sewing Equipment
  • Units of Sale for Fabric: 1/2 Metre

Normally I start by talking about the fabric range and quality but this week I am going to launch straight in to tell you how impressed I was by their delivery and packaging. They are the ONLY fabric retailer that I have used so far who has used completely sustainable and non-plastic packaging. My order came in a brown kraft paper bag and inside the order was wrapped in tissue paper. Free with my order I received a cute postcard and a project planning card which I thought was a lovely touch. The delivery was also very speedy considering the current circumstances!

Anyway on to the shop itself. The range of fabrics is excellent, its definitely on the pricier side but the fabrics are excellent quality and worth the money. When I was a complete beginner I wouldn’t have bought fabric there because I wouldn’t have made anything well enough to justify the expensive however as an intermediate sewist their choice of fabrics excites me. As we are in a pandemic and no one’s job is safe I am of course still cost conscious so I was just going to have a nose around the website and not buy anything, that is until I saw that they had a remnants tab. And oh my goodness, what remnants. Normally remnants areas have half a metre of this or a fat quarter of that, but they have a well stocked remnants section and I managed to get two amazing remnants, both about a metre for under £20 including delivery which considering the cost of most of their fabrics I was super impressed with. This week I used both of them for different styles of tops, the first to make my red batwing top and the second to make my new cream shell top (vlog coming out tomorrow!), and I can confirm that the fabrics are as good quality as they seem.

swipe to see both makes

One caveat is that both of my fabrics were types of viscose so I can’t attest to their other choices but I wouldn’t imagine they follow the same high standard. Their range of fabrics is good and they even have technical/outdoor fabrics which I thought was a nice touch. Not a massive selection but its nice to see them there. Fabric is bought by the half metre generally and delivery is a fixed cost of £3 and there is free delivery on orders over £60 a threshold which I personally feel is too high however i do admire their commitment to sustainability. Their website is bright and friendly and invites you in to buy more fabric from them. The web interface is excellent and payment was quick and easy which is all you can ask for really. I would say that I haven’t had the same engagement from them on social media that I’ve had from other brands, however they do have a business hashtag for makers #sewingsunshine where it is possible to win a gift voucher for £20.

Rating

  • Range of Fabrics – 8/10
  • Cost – 6/10
  • Delivery – 9/10
  • Ease of Use – 8/10
  • Ease of Payment – 8/10

Overall Score: 8.5/10

Overall Sew Me Sunshine are high on my recommended list, the provide a quality service in line with modern approaches to sustainability and they stock an excellent range of fabrics. Their stock is quite costly so approach with caution if you are a beginner and you aren’t sure of your skill level but also definitely raid their sale and remnants section, its well worth it. Sew Me Sunshine are an impressive brand and i love the little personal touches in the delivery and the about section on the website, you really get the impression that Harriet is someone who understands her client base and truly cares about customers. Now I’m off to raid their remnants section before I go on holiday and I will see you guys next week when we will discuss Sew Sew Sew!

Tammy Handmade Rhea Dress & My First Sewing Vlog

Hello everyone, its been quite the week so far and its only Tuesday! I launched my sewing YouTube channel, So What If I Sew on Sunday and I’ve already nearly got 100 followers. Thank you so much to everyone who has followed me so far, if you haven’t, go check out my channel, my intro video is below. Also you might have noticed but the blog has had a major makeover, I have been doing a lot of web design at work and I decided to put my new skills to the test with the blog. So a very busy weekend all round.

Two weeks ago I made my very first garment on my gorgeous new machine and it was fantastic fun. In fact that is what prompted me to start the YouTube Channel, I started to make the Rhea Dress from Tammy Handmade and I was trying to think about how I would write the blog for such a big project and then I realised that I could just talk about it to camera. I was very nervous so I asked on Instagram if people would be interested in a Sew-A-Long and the response was overwhelmingly positive.

It was quite an experience having never vlogged before but I actually really enjoyed it. It was exciting to share the process of creating a garment on my machine and I feel comfortable on camera, It’s like I can just have a chat with you all about what I’m making while I’m doing it. You can follow my highs and lows, see me talk about techniques I’m using and follow an honest and realistic journey as I make my garment. Like what you’re hearing? Then go ahead and subscribe to my YouTube! Below you will find my vlog and first ever sew-a-long for the Rhea Dress and this post will be mostly notes on the process of making it.

On to the dress itself. The Rhea Dress is a gorgeous tiered midi dress with straps. The construction is simple and elegant and its deceptively easy, suitable for beginners. I received the pattern after a friend who I tagged in an instagram giveaway received it instead and passed it on to me. I bought a stunning remnant from Sew Sew Sew online, I needed 2.5m of fabric for this dress and I managed to find a stunning blue viscose remnant in a firework pattern that just happened to be 2.74m long! I wasn’t especially concerned about the pattern itself but I was nervous about the gathers because prior to this video I had never done them. If you are nervous about gathering then this dress is a fantastic project! Not only is it a simple introduction to gathering but by the time you’ve finished you’ve done so much gathering that you’ll never be nervous about it again.

Good Points On The Pattern?

  • The pattern has a very flattering shape, I was doubtful as to whether it would suit me but i felt so graceful and elegant swishing around in this dress. It doesn’t cling but the drape still gives a nice silhouette.
  • It’s a quick and easy sew. I spread mine across two days and as I was filming it took longer because I talked through each stage. It is a simple sew in terms of technique. The gathering takes time because of the sheer volume of the skirt but you could probably do it in a day if you’re experienced.

Things to be aware of

  • The pattern is very loose by design, its got that boho, loose fitting, flowing silhouette but that does mean that you may need to size down. I definitely needed to make adjustments as you will see in the video but I’m glad i made a 10 and then adjusted it to my frame.
  • The straps are quite long and very hard to adjust once you’ve inserted them so I would advise either making a toile of the entire bodice or just measuring your torso beforehand and shorten the straps accordingly.

I had a marvellous time both making the dress and vlogging, in fact I’m recording my next vlog at the moment! I have had such wonderful support from everyone so far in the online sewing community. In the meantime, I’ve got a couple of projects to upload to the blog including one surprise home make so look out for lots of posts coming your way.