Fabric Friday Reviews: The New Craft House

I heard the name of the NewCraftHouse long before I started this blog or my instagram account. I saw their summer party through a friends instagram and was instantly intrigued by them. This year actually, in February 2020, I was lucky enough to attend a bra-making workshop led by Rosie and thats when I really understood what the NewCraftHouse is about, it brings together sewists from all walks of life to learn something new together. They are all about individuality and variety and nothing shows that more than their fabric selection.

The New Craft House

The dress I made with my New Craft House Fabric!
  • Online Shop / Physical Shop / Both
  • Web Link: http://thenewcrafthouse.com
  • Core Purpose: Dressmaking Fabrics, Haberdashery and Workshops
  • Units of Sale for Fabric: 1/2 metre

The New Craft House is based near Bethnal Green tube station in East London and the vibe as soon as you go is so welcoming and friendly. They have their rolls of deadstock to one side in racks and then workshop tables with sewing machines spread through the room. It’s bright, friendly and welcoming. Clearly a lot of work has gone into ensuring that the website has the same vibe. It has a clean fresh look that is impressive on a laptop as well as usable on a phone. They sell their fabrics in half metre increments and it is free delivery over £60, otherwise delivery costs £3.50/£4 using Royal Mail. The interface is user friendly although I would like to see the shop option further up the menu bar but thats just personal preference. They have a good variety of payment options and have definitely expanded their functionality since my first visit to their website last year.

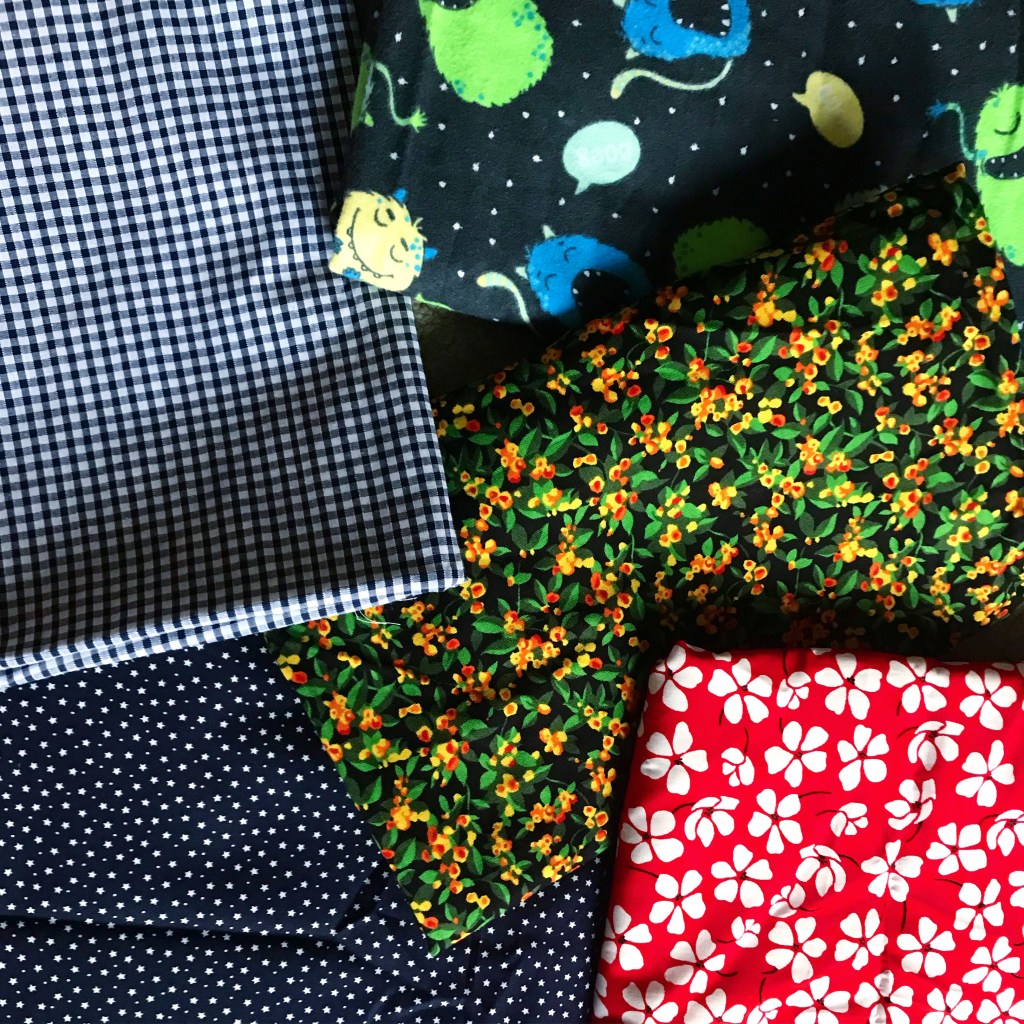
On to the fabrics themselves. The New Craft House are almost unique in the sense that they buy from the designers directly rather than from wholesalers which means they get limited amounts of high quality fabrics and they don’t always know what they are going to get. This works well for them, it has the feel of a pick’n’mix in that there is just a huge mix of fabrics and it isn’t necessarily a curated or coordinated collection as in other fabric shops. I’ve marked them down a little for range because although stye do have a wonderful range of fabrics at any one time I don’t think its necessarily very reliable. It does however allow them to retain their quirky individuality and makes them a fantastic place to find one-off fabrics for that special project. What I would say however is that because they don’t always know what fabrics they are getting there is occasionally some uncertainty on fabric types meaning that its not always the easiest to tell what you are getting online. To counter this they do tend to show all the fabrics on their instagram story so you can get a sense of their weight and movement which I really like. They have a wide range in terms of price but I would say they are about mid-range and they do have a fairly good remnants section.

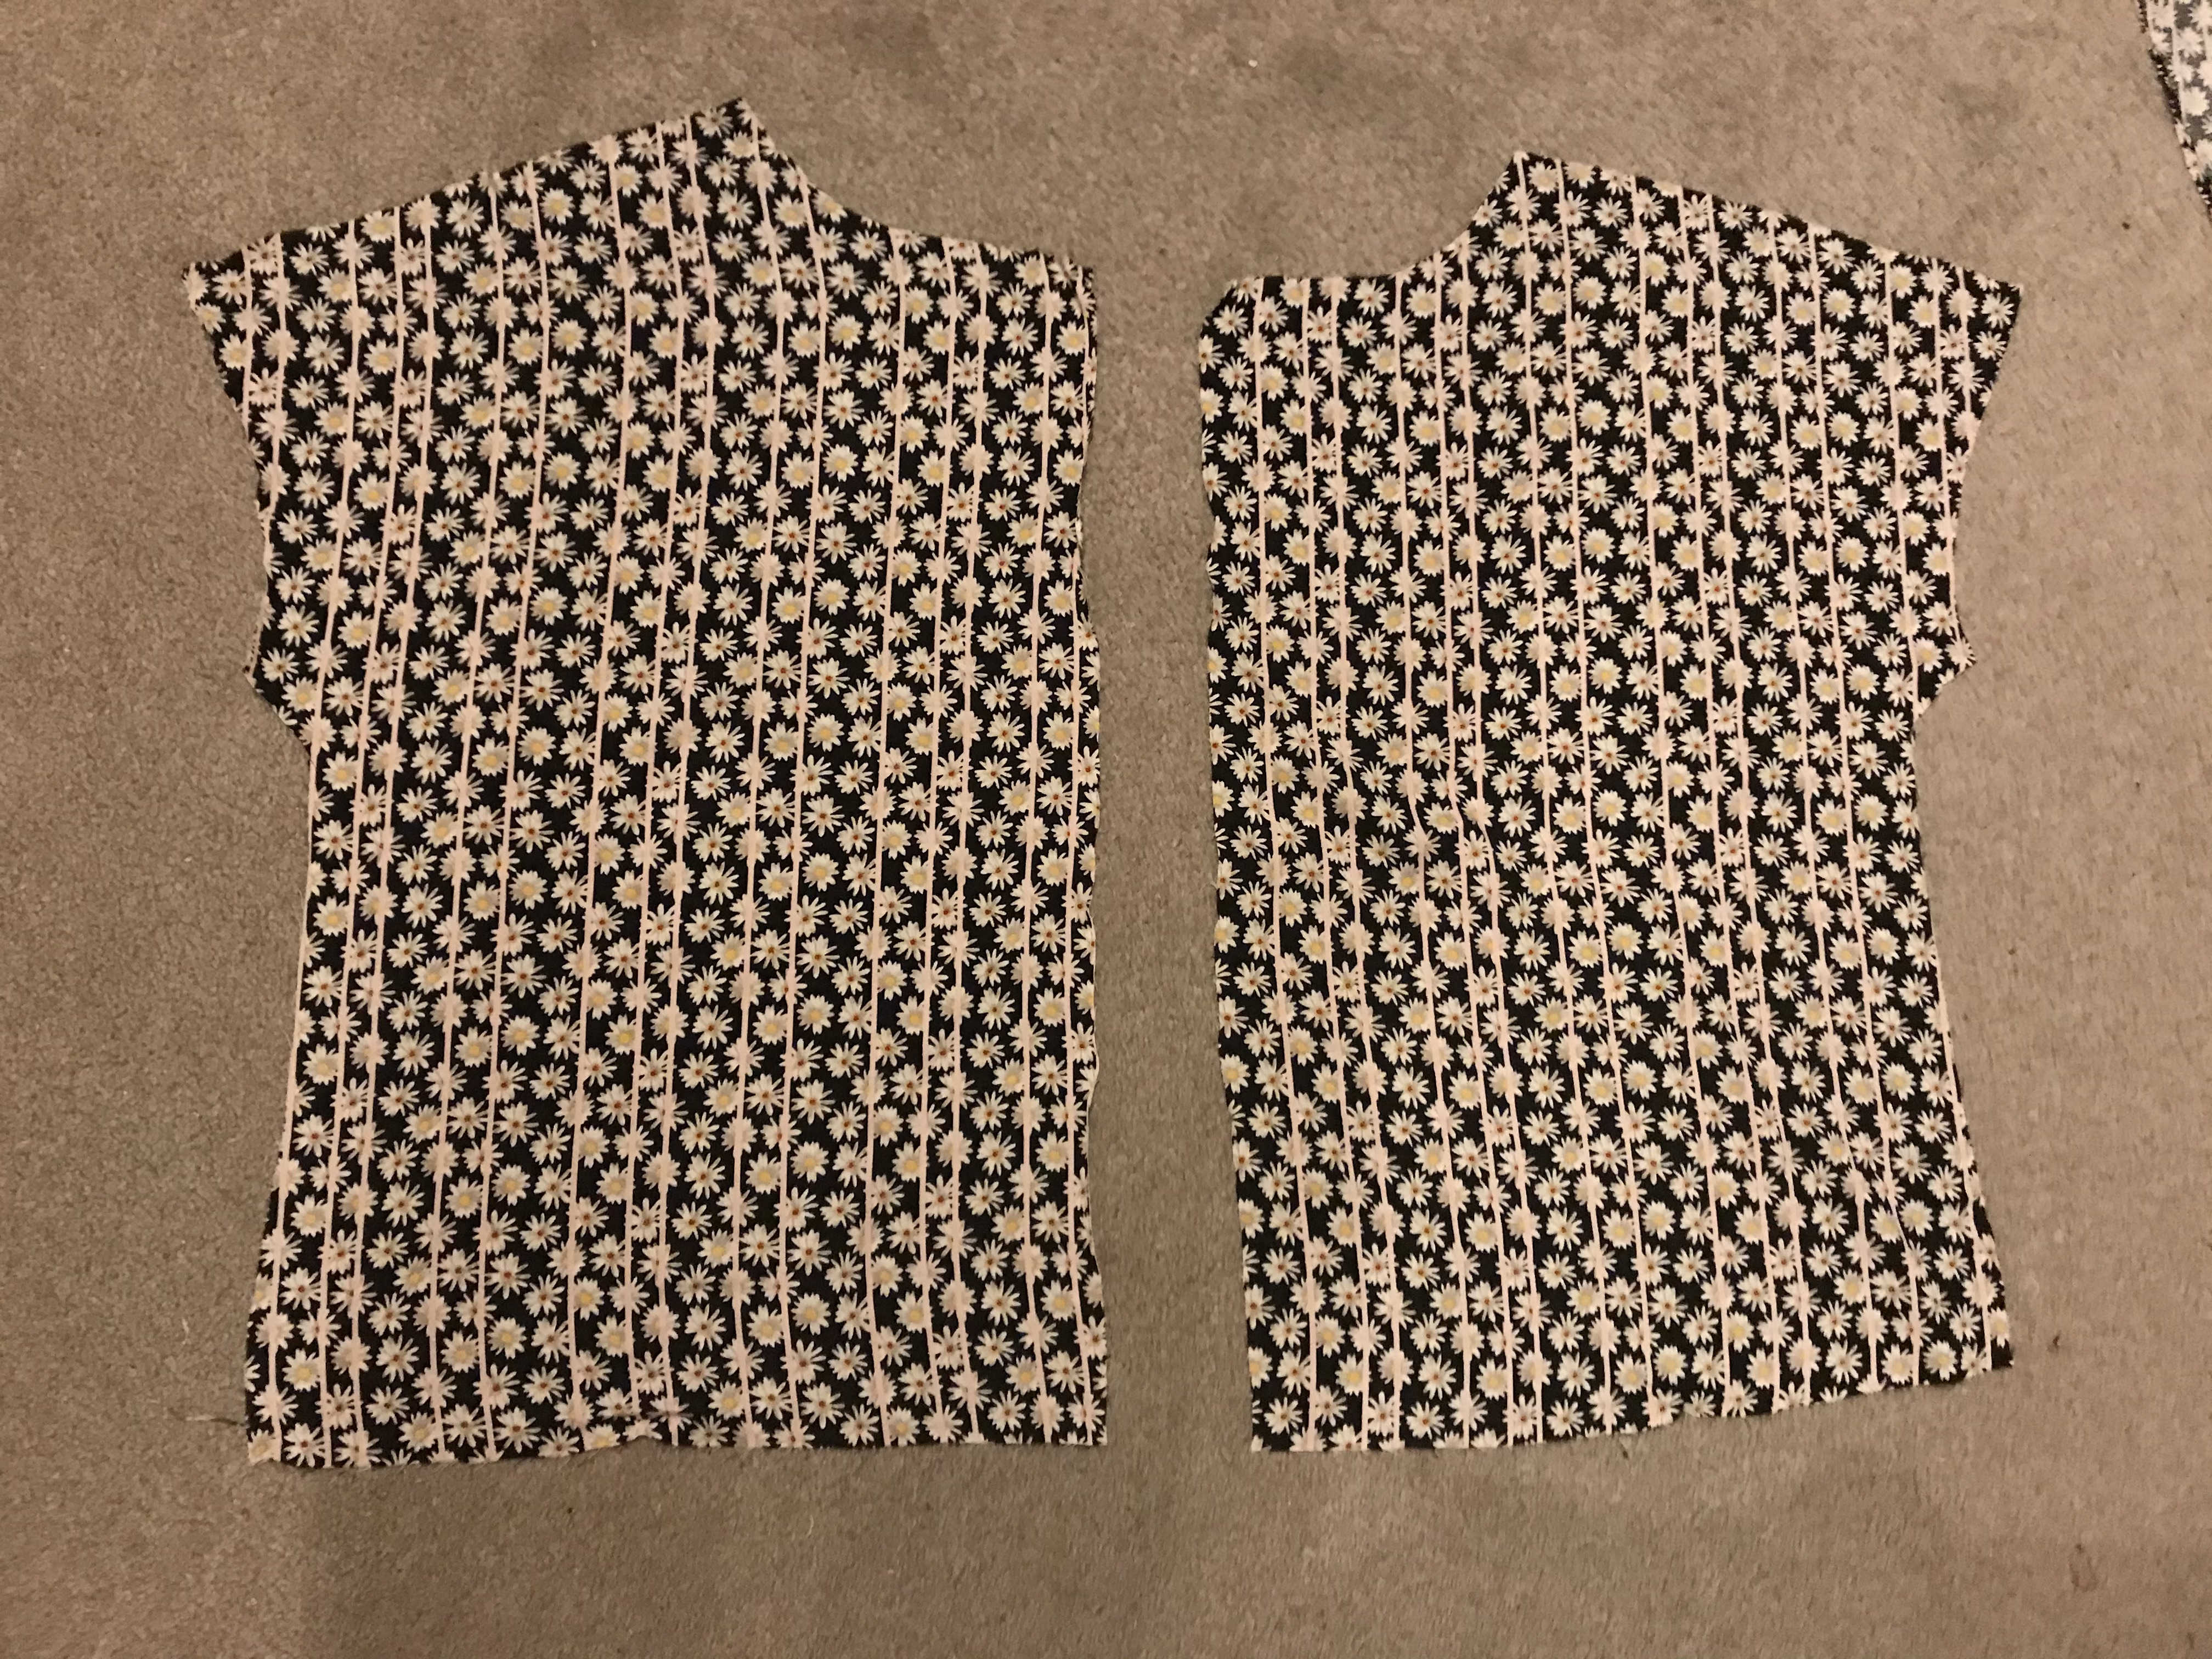
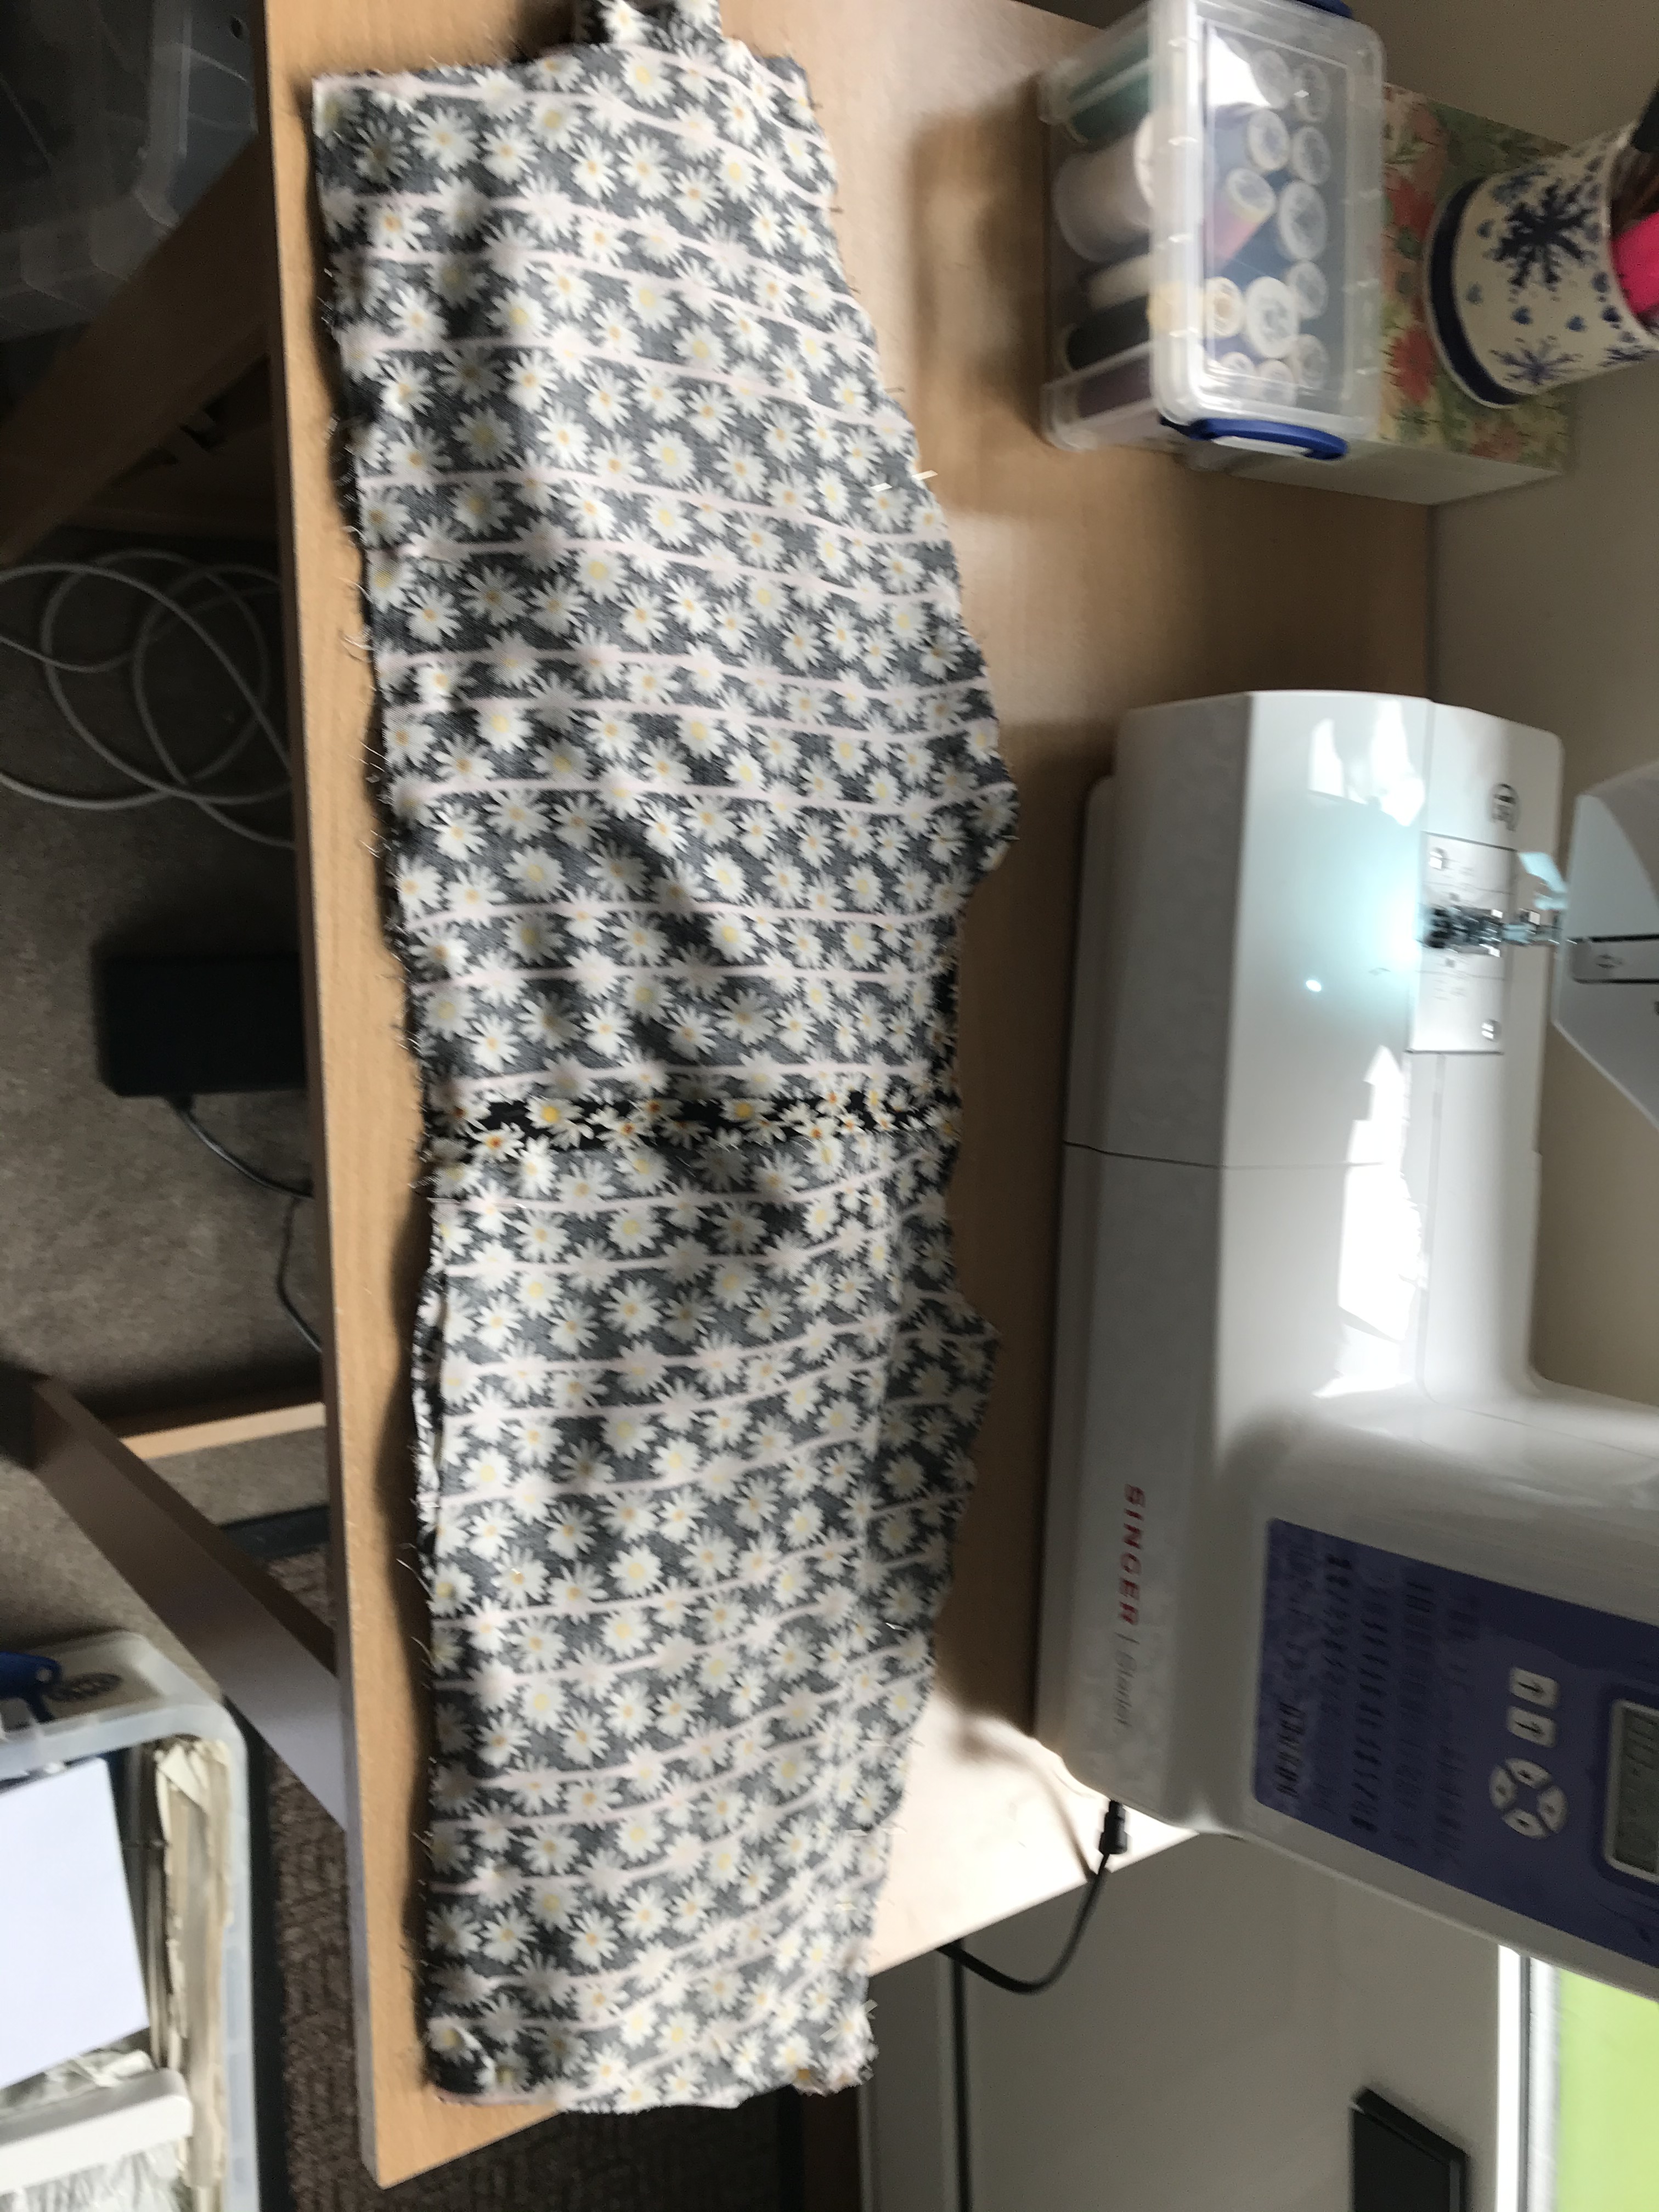
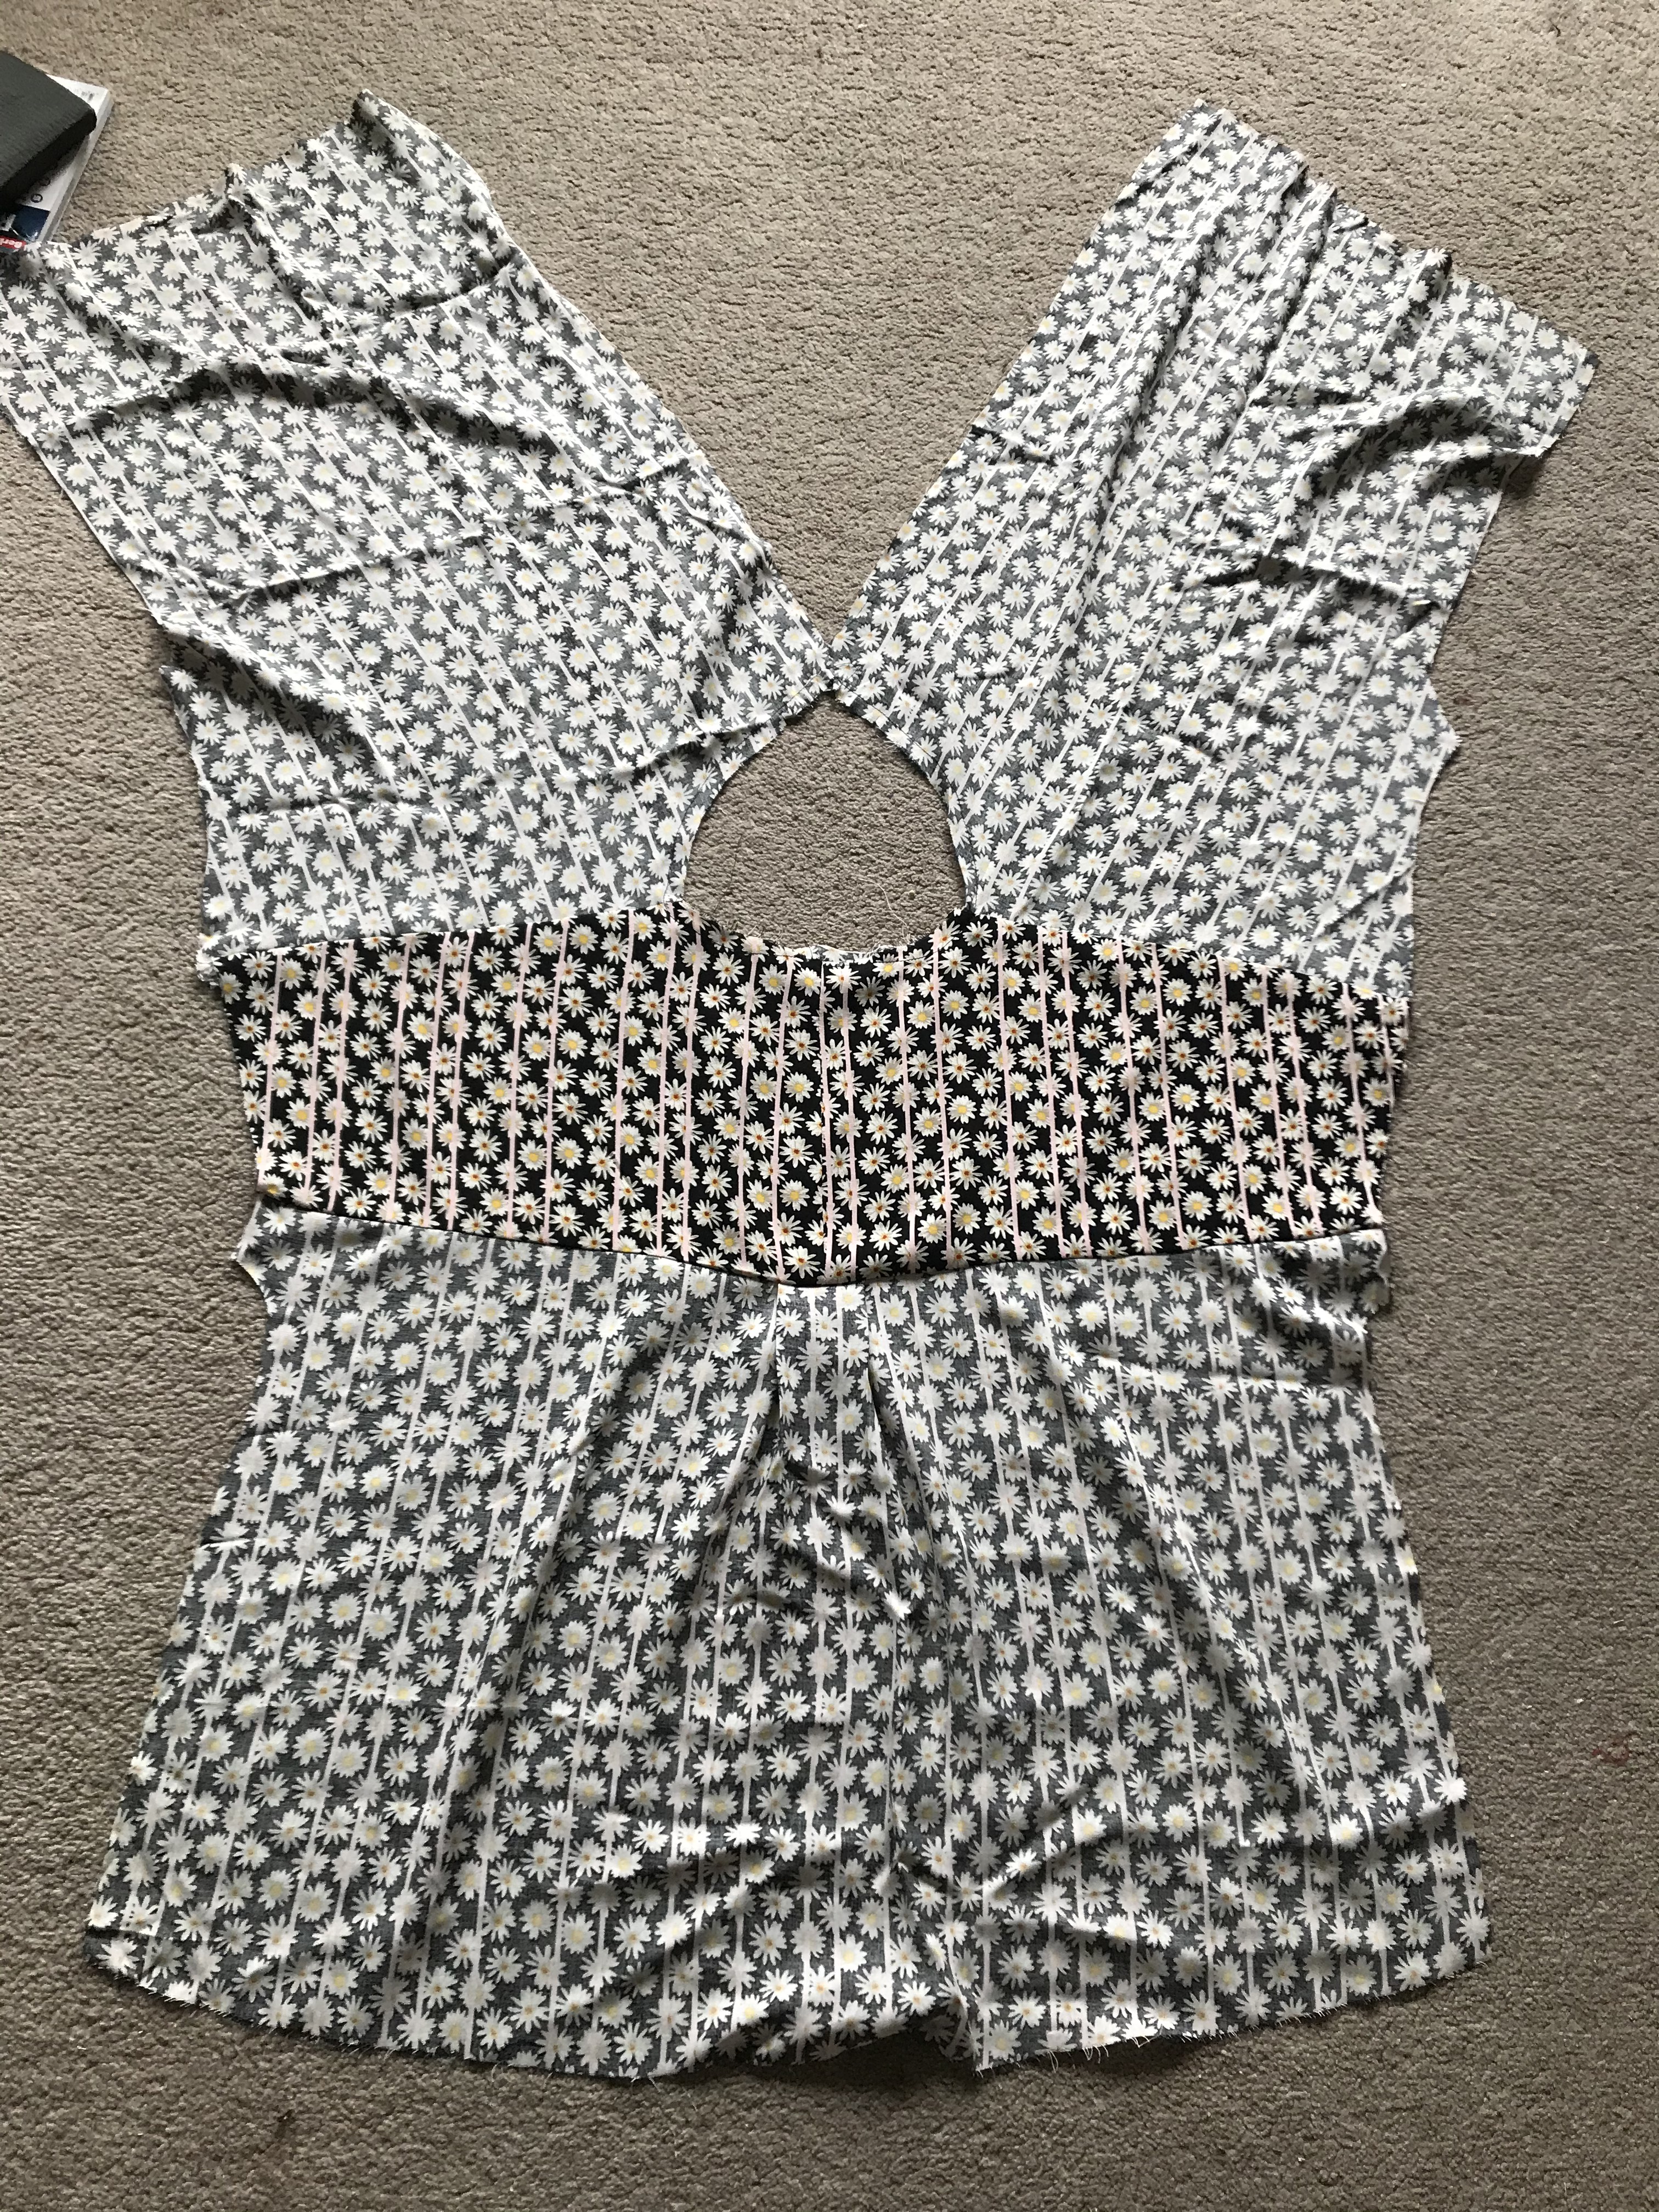
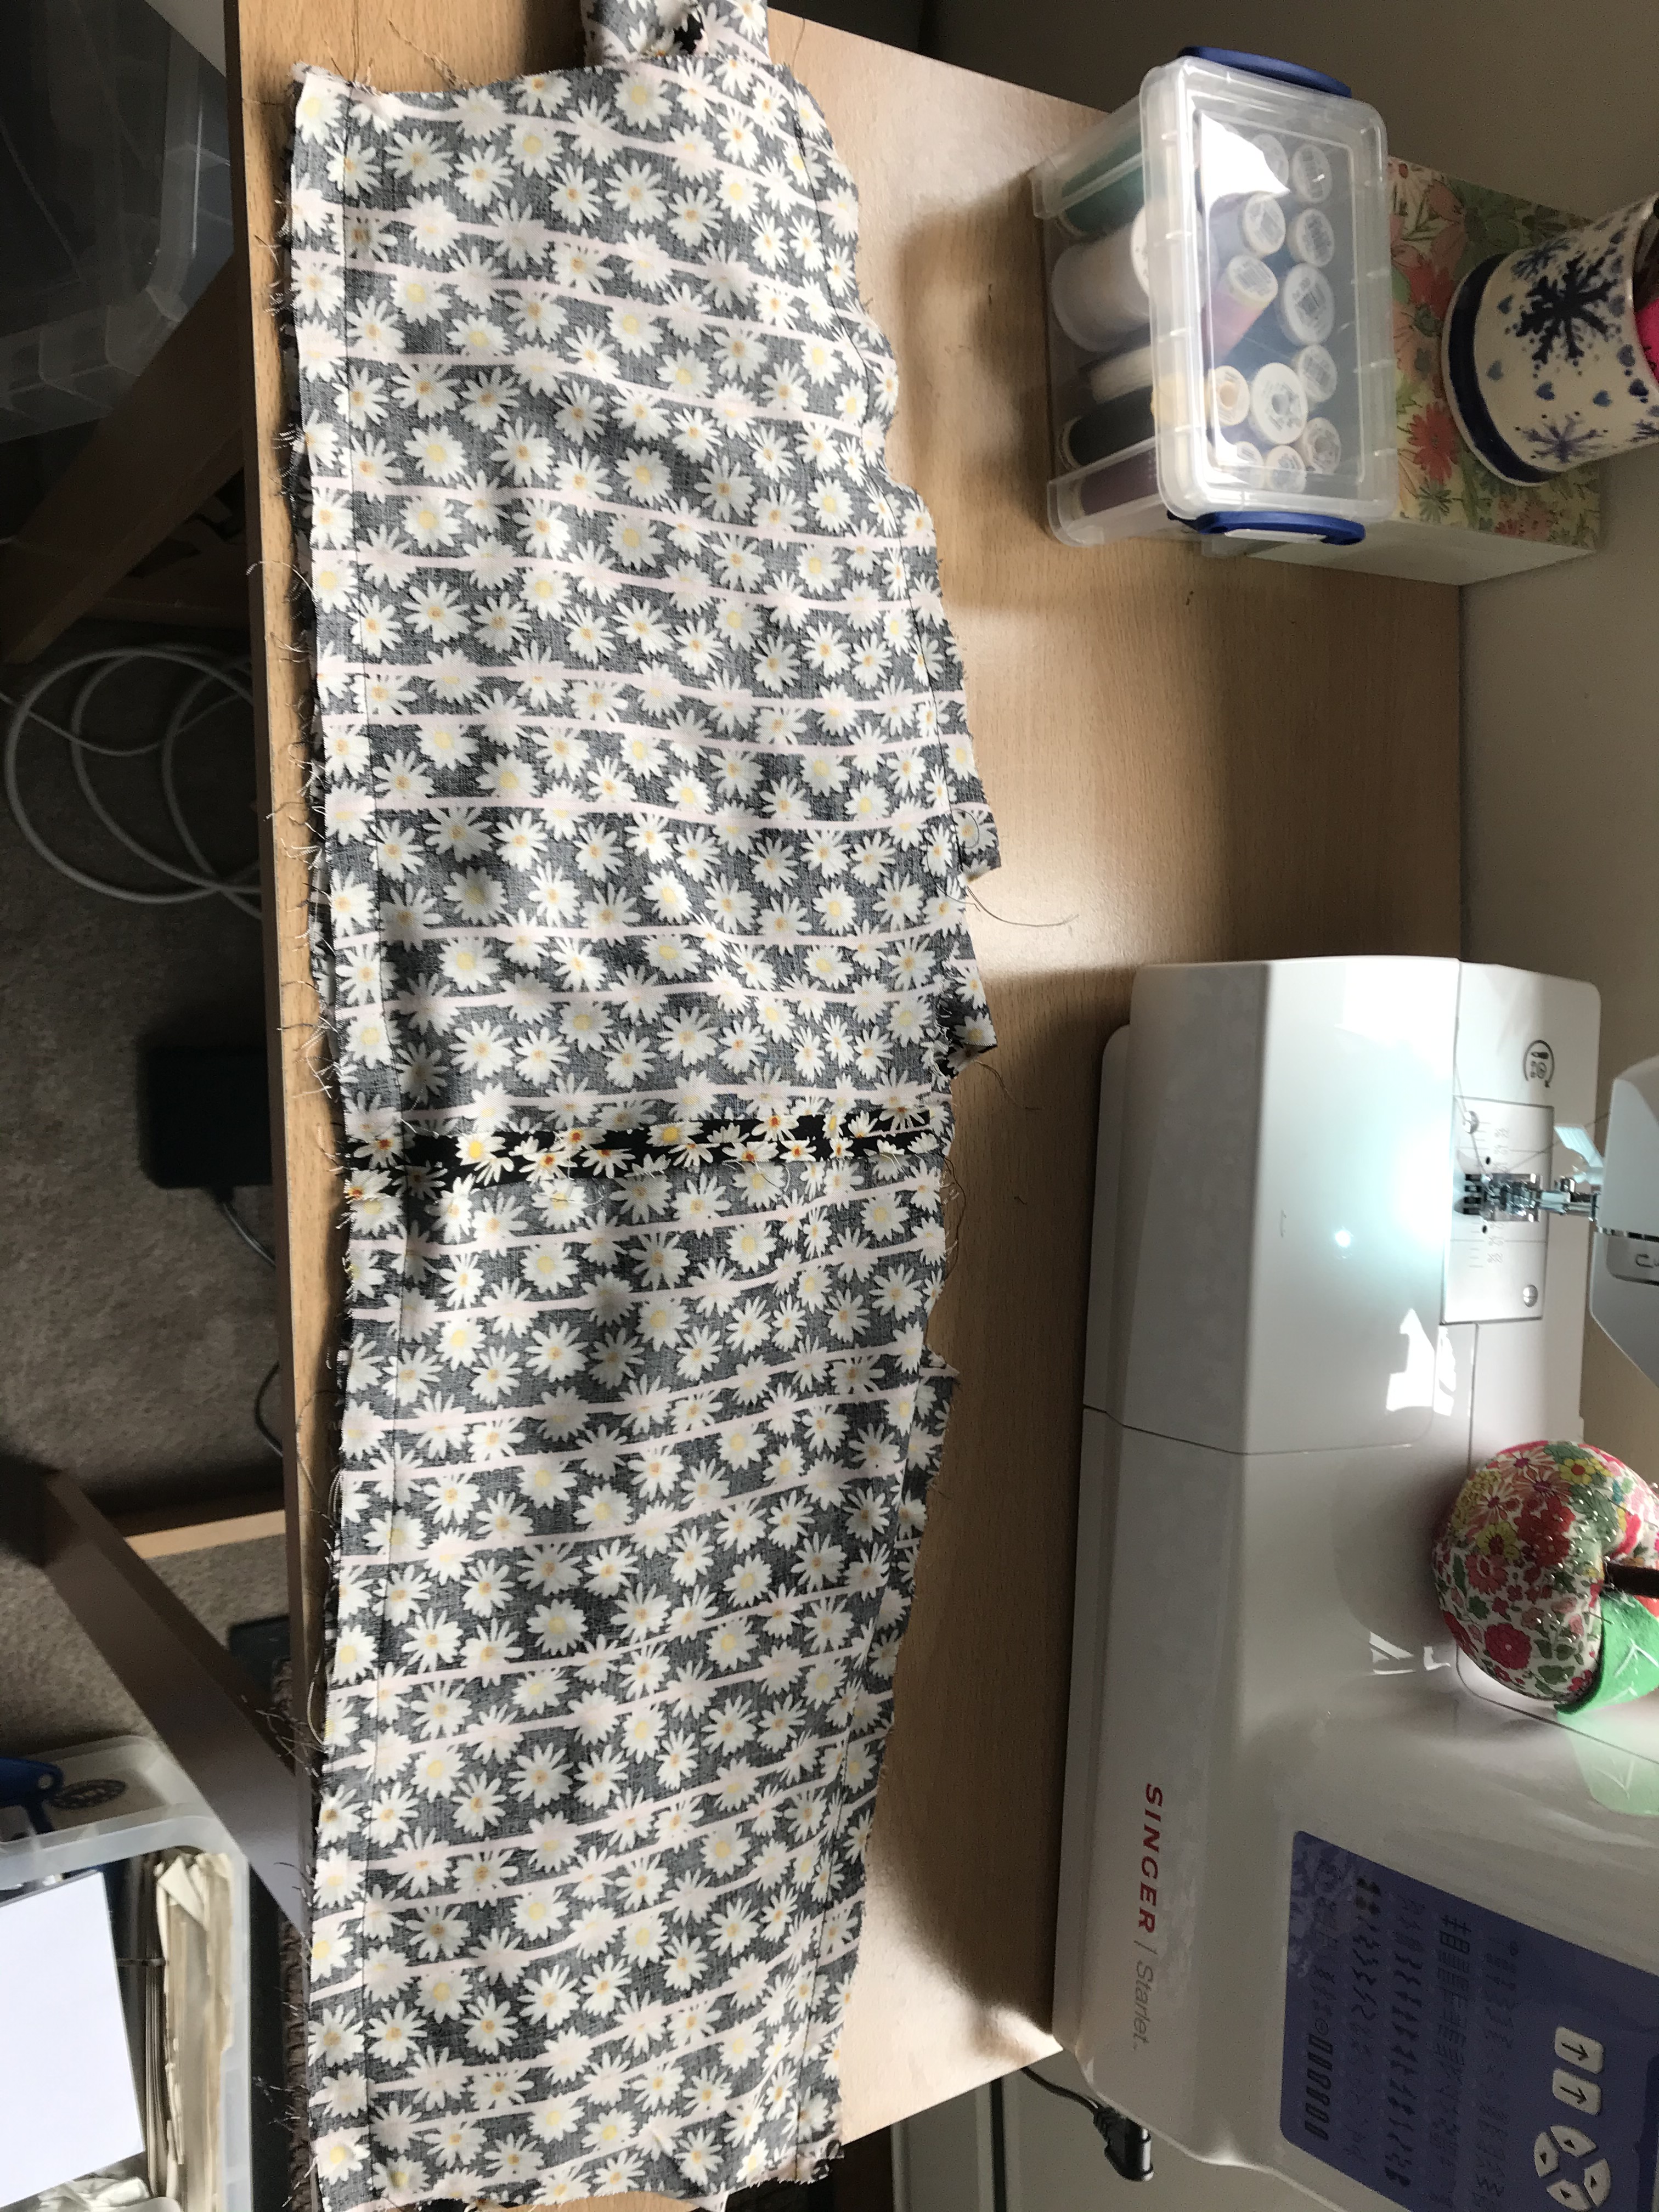
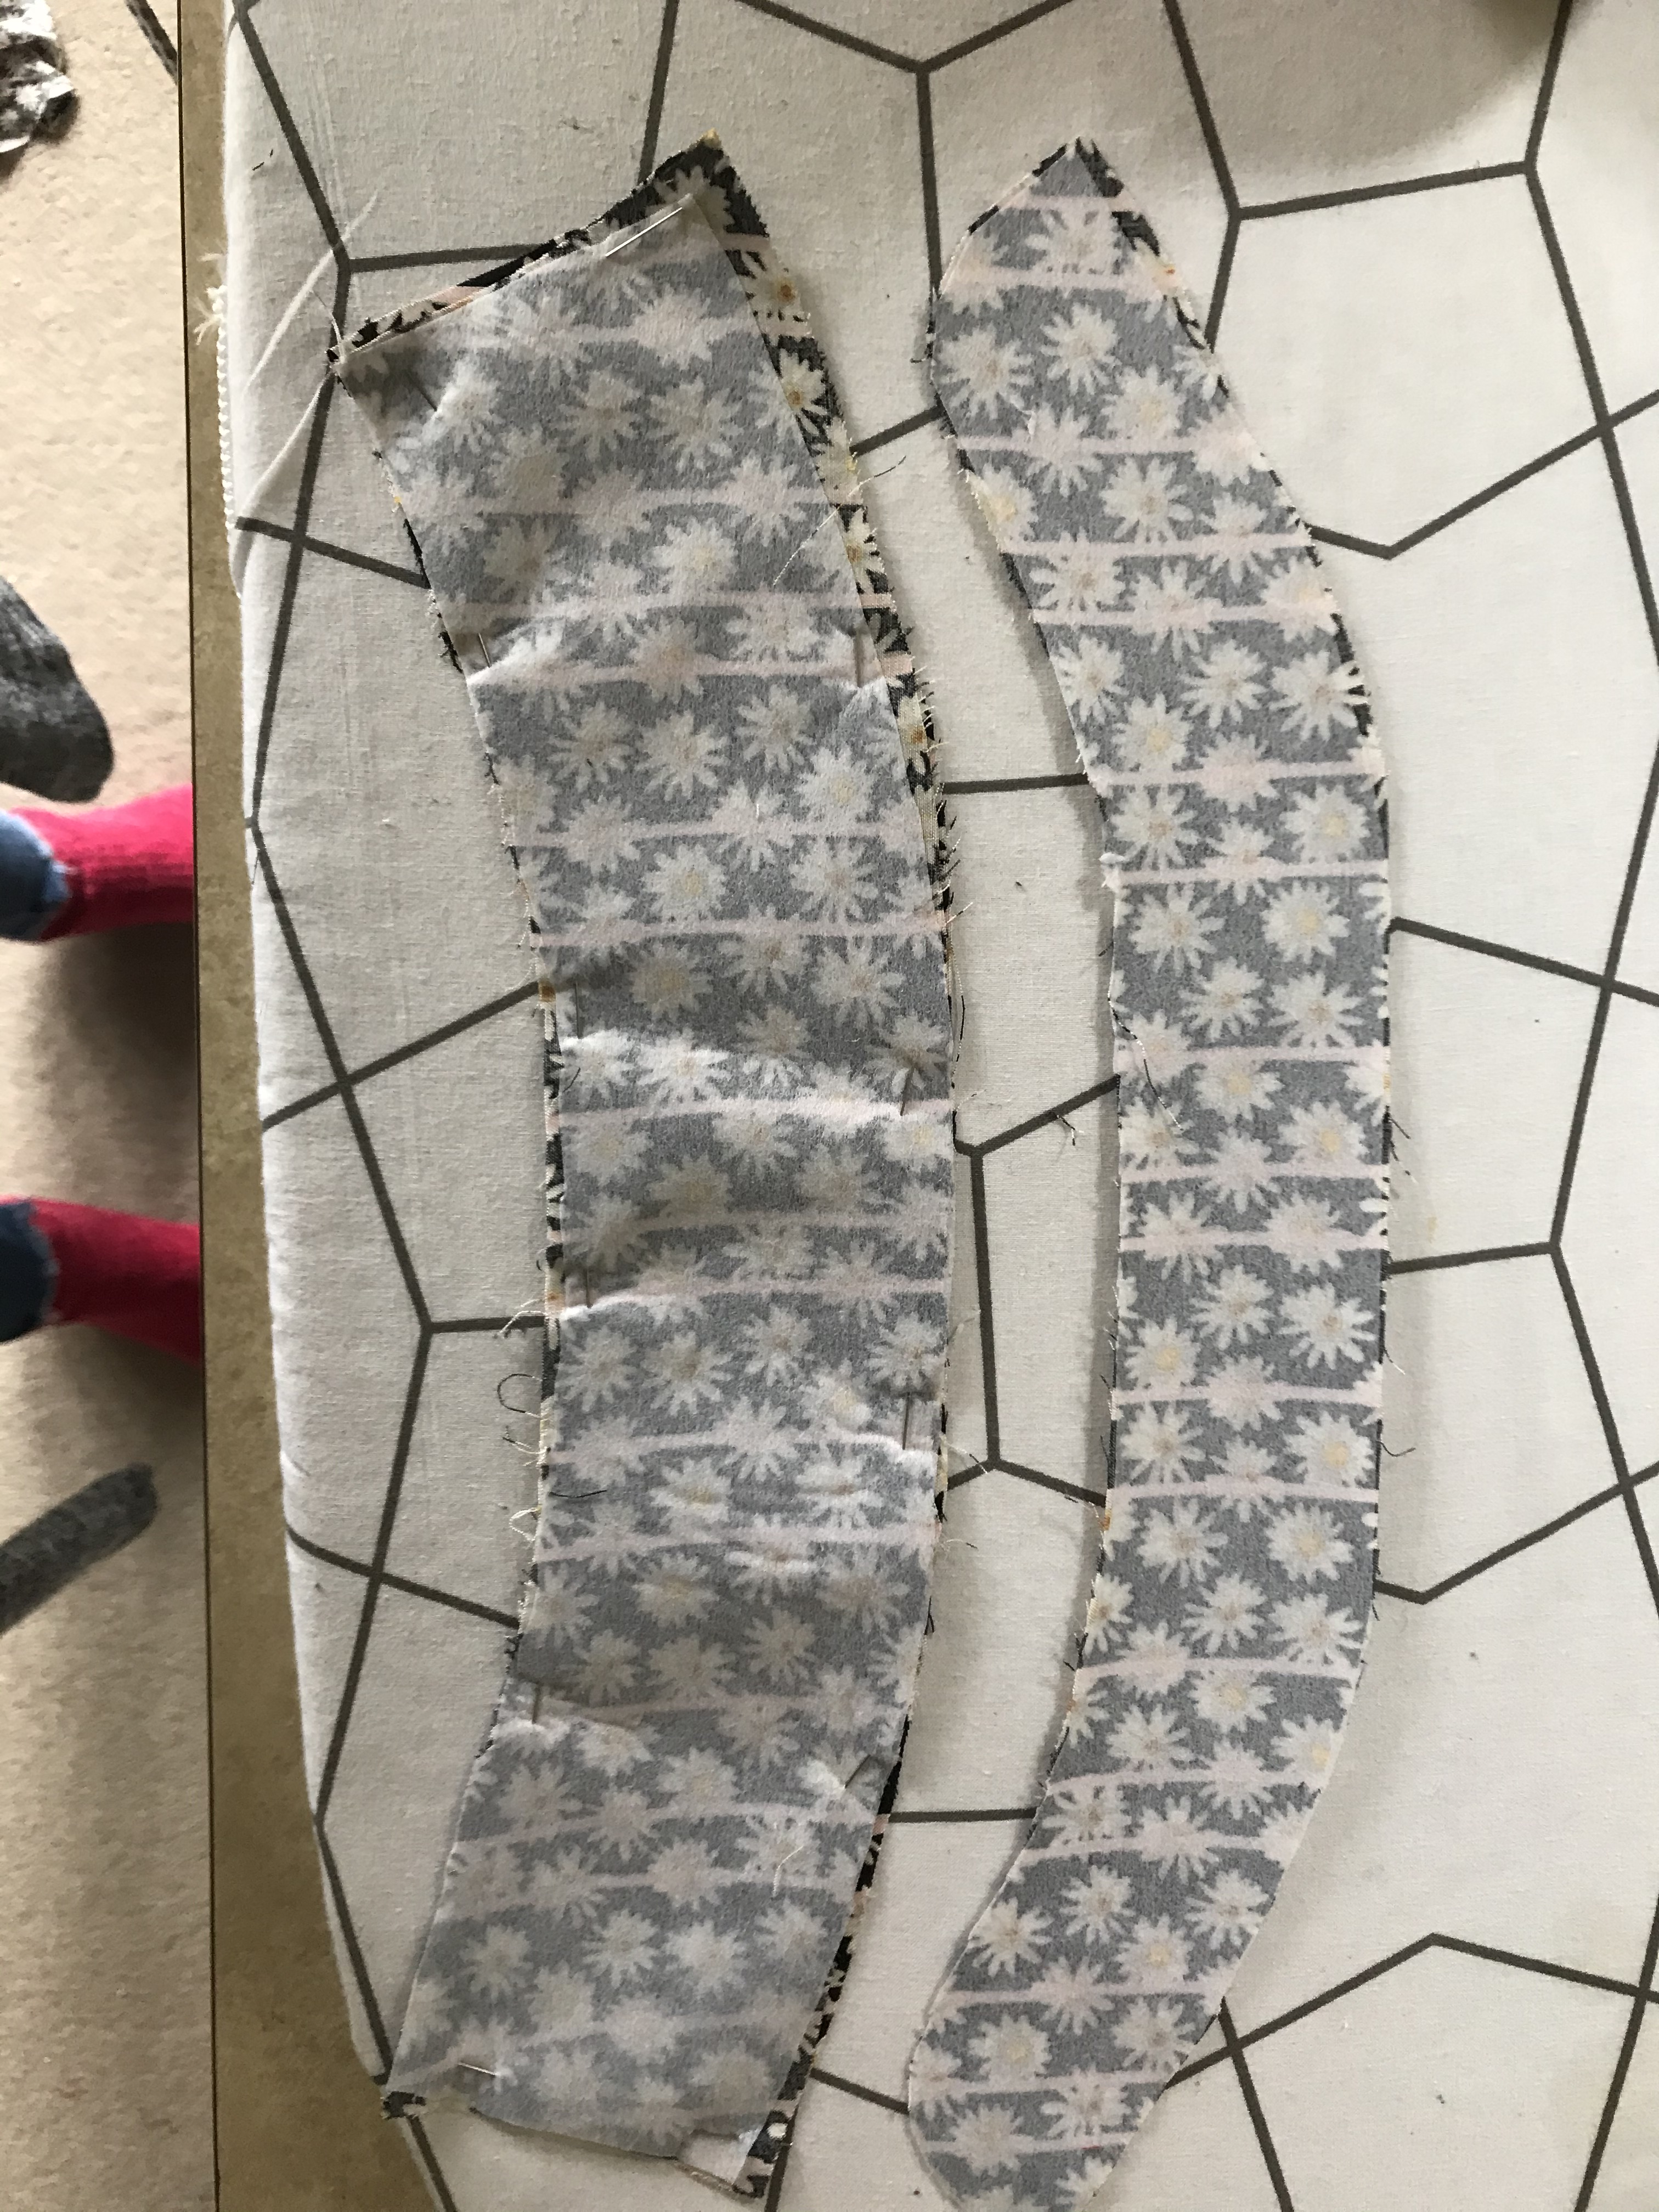
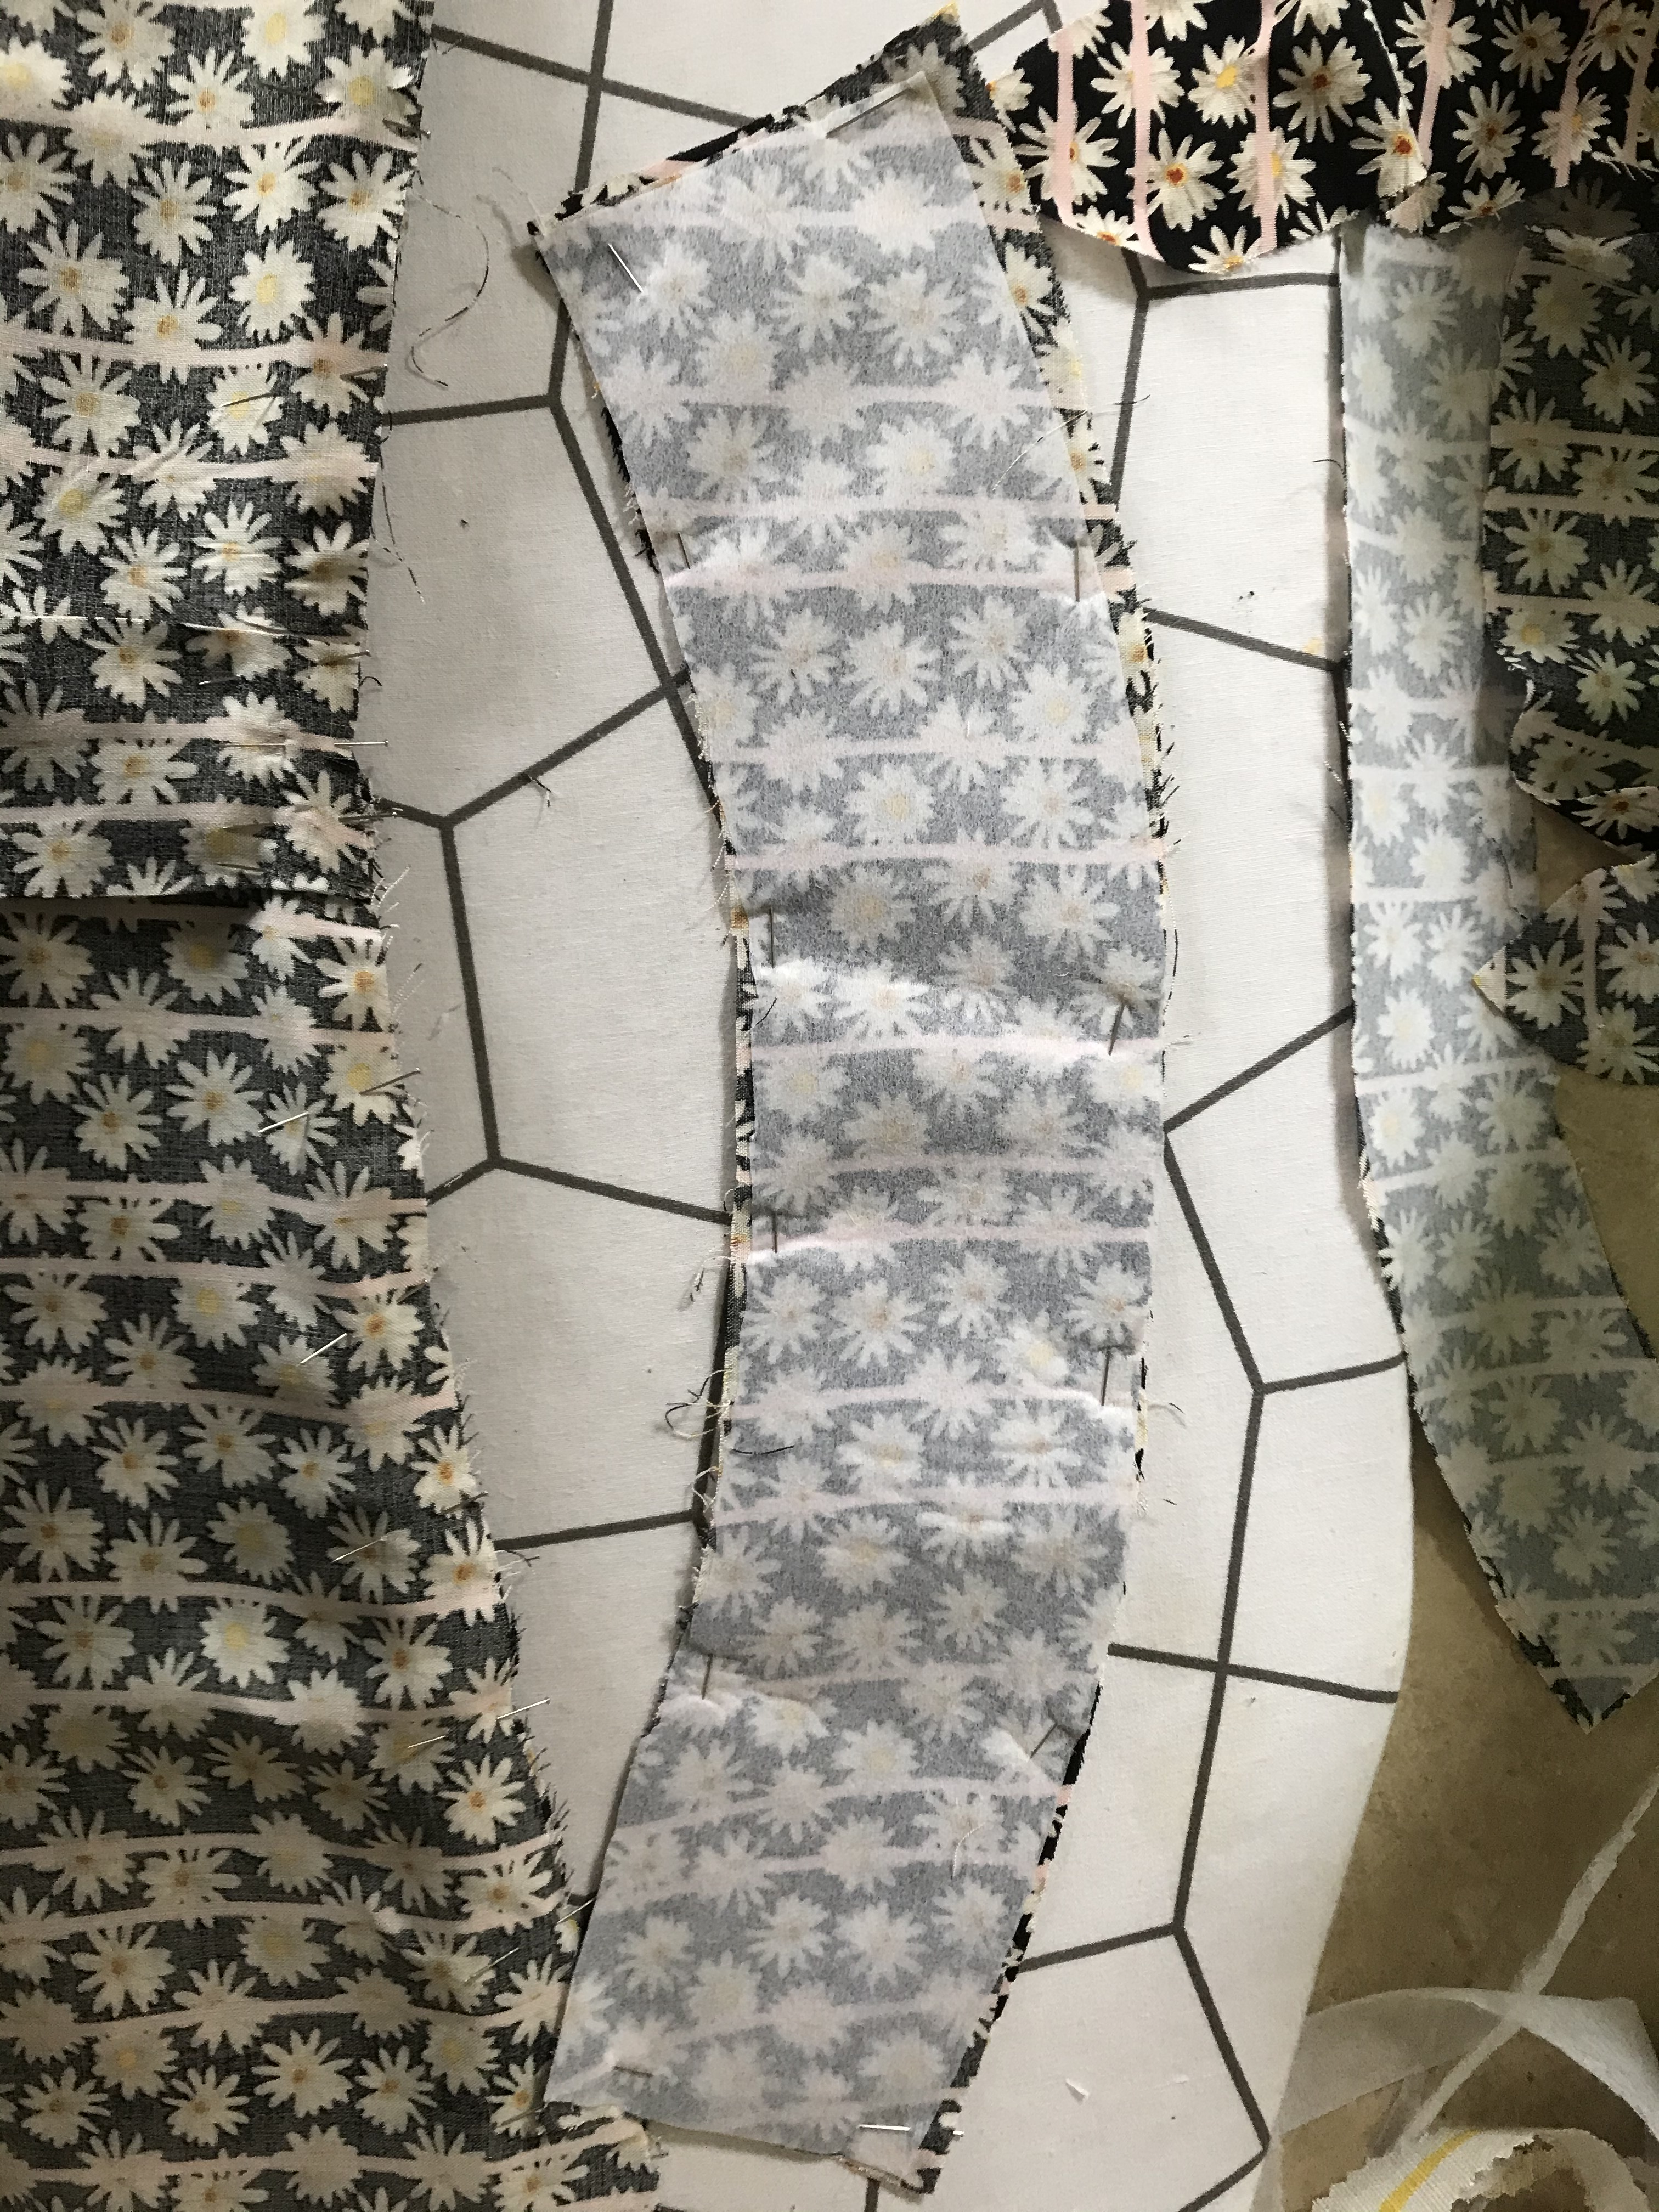
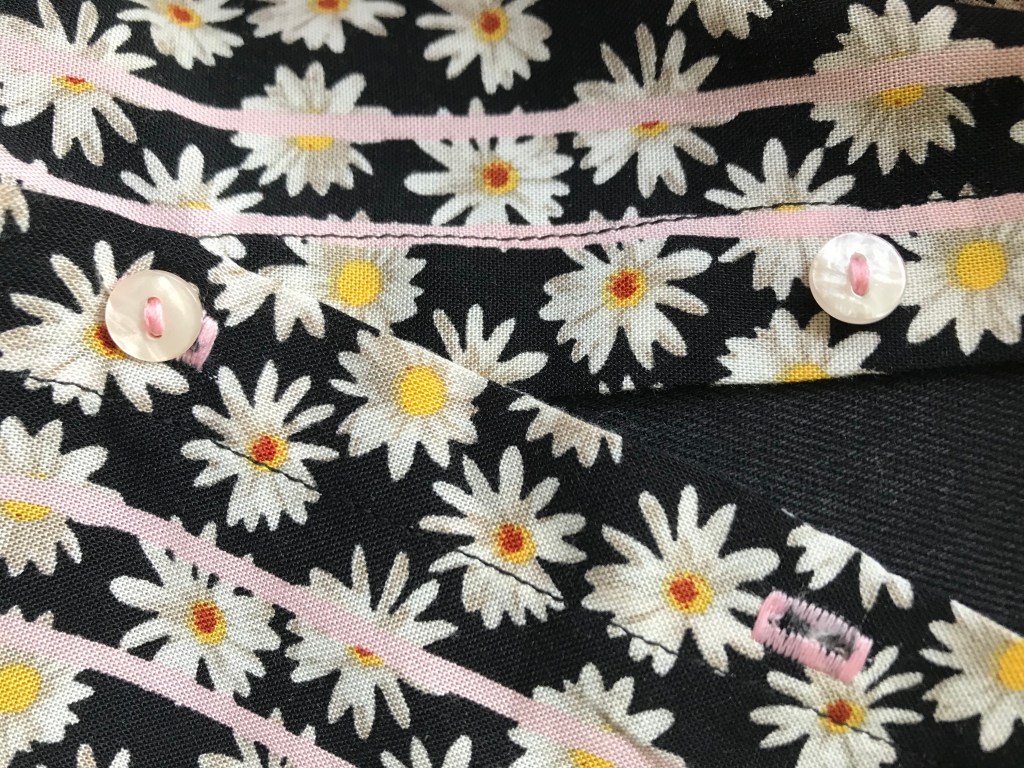
Due to the range of fabrics and the unreliability of the selection I wouldn’t recommend the New Craft House as a first fabric shop for beginners as I think you nee to have a slightly better understanding of fabric properties before you dive into their selection. I made the mistake of getting so wrapped up in the quality and the range that I ended up buying fabric that was entirely unsuitable for the pattern I was using however it was absolutely gorgeous and I do not regret the purchase in the slightest! I only regret not pre-washing the fabric as that garment has now shrunk so much that I can’t wear it. They are a fantastic shop but for me they are more special occasion sewing than everyday makes.

Rating

  • Range of Fabrics – 7/10
  • Cost – 7/10
  • Delivery (Speed / Cost) – 7/10
  • Ease of Use – 8/10
  • Ease of Payment – 8/10

Overall Score: 7.4/10

The NewCraftHouse is full to the brim with personality and this comes both from the co-owners Rosie and Hannah but also from the fabrics themselves. They stock deadstock like many other shops but the variety of fabrics is unusual and always inspiring. Shopping there has something of a market feel because there is no dependable stock level so you have to grab it while you can but the flip side of that is their variety of fabrics is constantly changing so you are sure to find something you like at some point. While I wouldn’t recommend them as a standard fabric shop for a beginner, they are a fantastic shop for intermediate/advanced sewists who understand to find the fabric for THAT special project you’ve been thinking about.

My First Instagram Fabric Swap

Hello everybody and Happy Friday! The eagle-eyed among you will have noticed that two weeks ago, for the first time since I started this blog, there was no fabric shop review last week! Last week I featured the wonderful Sewing At Number 51 so go check that out that blog post if you’re interested. In fact two weeks ago I wanted to write about my experiences taking part in my very first instagram fabric swap however all the fabric hadn’t arrived and then I got quite ridiculously busy so today you join me for a slightly different Fabric Friday!

I want to start by saying that this was an incredibly fun community experience that I am really glad I took part in however I will freely admit initially I had no idea what was going on or how to get involved. This blog post therefore will be half review of my experiences and half guide to beginner instagram sewers who want to get involved in the next one. I’m not sure how regular they are, this one was part of the #sewyourselfsustainable challenge with New Craft House but I’m sure there are quite a few across the year. So, what did I swap and what did I get?

Fabrics I Swapped:

  • Navy Gingham (1m)
  • Red Floral Cotton (>1m)
  • Navy Star Cotton (>2m)
  • Black Floral Cotton (>1m)

Sadly no one claimed my fluffy monster fabric but if anyone wants it you’re more than welcome! its incredibly long but only about 40cm wide so not ideal but still very much available.

Fabrics I Received:

  • Green Stretch Velvet
  • Peach Viscose Jersey
  • Rust Triple Crepe
  • Navy Textured Jersey

The swap was a wonderful experience, it was so lovely to connect with other makers and take part in a big community event. Normally I am too shy or unprepared to take part in these however now I actually have fabric stash and whats more its growing rapidly so I thought it was a great time to take part. It was wonderful to be able to swap out enormous remnants from where I’d just bought too much fabric for one make or I just couldn’t think how to use. There isn’t the pressure of having to take money or pay., it was just a nice swap event plus I got some fabrics I’ve always wanted to work with but didn’t have the financial confidence in my sewing skills to buy.

So to finish off I wanted to share my top tips for taking part in fabric swaps.

  1. If There’s A Hashtag Follow It! – This helps straight away. Not only does it mean you can keep up to date with whats going on, it also massively increases the range of makers and accounts you can find and interact with. More accounts means more fabric options!
  2. Don’t Be Scared To Get Involved – Most people will post fabrics on their grid and some people will talk through them properly on their story. Don’t be scared to respond to a story or comment on the grid post and ask if fabrics are still available. When I started I knew there was a swapping element but I didn’t know how to introduce it into conversation because I have a British awkwardness that knows no bounds. So if you’re nervous just say something along the following, ‘Is that *insert fabric here* still free? I’ve put my fabrics up so let me know if there is anything you would like to swap.’ Something along those lines. The reason I put a literal sentence is because there are some wonderful but rather shy makers out there who wanted to get involved so if you’re nervous thats how you start the conversation!
  3. Get Your Remnants Ready First – This is a key step. Before you start looking at all the gorgeous fabrics that people want to swap, get all of your fabric out and I mean ALL, and figure out what you’re going to use, what you have plans for and what you just aren’t going to use. One of the big sources for my remnants was fabric from early makes because stupidly I actually followed the instructions and bought the amount of the fabric the pattern suggested. *Spoiler Alert* I always need about half a metre less than the fabric tells me is absolutely compulsory. Maybe I’m good at laying pattern pieces and maybe I’m just short.
  4. Plan What You’re Going To Post In – This sounds silly but normally these happen over the weekend and most people post on the Monday and Tuesday so just remember than once you have successfully swapped your fabrics you will need two things; 1. the address of the person your posting and 2. something to put your fabric in. You ideally want this to be pretty cost neutral apart from the cost of posting itself so have a hunt around for envelopes or if you’re starting to plan now save the post bags your fabric is sent in originally as they are ideal.
  5. Don’t Go Crazy – This is just a little reminder that you aren’t buying fabric here you are swapping so presumably you will get the same number of fabrics as you have swapped so remember you can’t have everything! Be discerning, pick fabrics you can’t normally access or want to work with, a lot of people actually specify fabrics they are interested in in their grid post. Just remember, have a great time, take part and don’t go mad!

Fabric Friday Reviews: Sewing At Number 51

Happy Friday everybody! You know what that means? It’s Fabric Friday! Although I am starting to run out of fabric shops so if anyone has any suggestions of places I should try please let me know in the comments. Today I have the absolutely joy and pleasure of talking about Sewing At Number 51. Last week I bought some absolutely stunning cotton poplin from them, picture above, and its beautiful. I have had a great idea of what to do with it but I’m nervous because its a significant pattern hack so I think that will be a project for next weekend. Definitely will vlog it though because I’m crazy nervous. Anyway, on to the review!

Sewing At Number 51

  • Online Shop / Physical Shop / Both
  • Web Link: https://www.sewingatnumber51.com
  • Core Purpose: Dressmaking Fabrics and Haberdashery Equipment
  • Units of Sale for Fabric: 1/2 metre

Sewing at Number 51 was started this year in 2020 and already is building a great name for itself as an independent fabric and haberdashery supplier. When I read that it was started this year I almost had to double take because while their range of fabrics is admittedly quite small, mainly just cottons, but it doesn’t feel like a *new* shop. It just feels like a smaller fabric shop which is fine. Not everyone has space to have thousands of types of fabrics on hand to send out and for a new operation the range of fabric designs is good and range of actual fabric types I’m sure will build over time. One thing I admire is the curation of the fabric collection. You can tell a lot of thought has gone into choosing what fabrics to stock. The beautiful poplin I bought, shown above, was such an instant win for me. I looked at it on their instagram story and went ‘yes please I want that now’ and they do stock fabrics that make me want to buy them and I have no idea what i will use them for. Equally in terms of haberdashery and sewing equipment they have stuck a toe in the water to see what people buy and I have no doubt will build on that. Honestly in this climate of despair it does me good to see a small business flourishing and I look forward to support Sewing At Number 51 through out the years ahead.

In terms of who their fabric is best suitable for I would say beginners straight away. No tricky stretch fabric to navigate so you pretty much have your choice of cottons to work with. I remember when I first started sewing and all you really think about is colours and patterns because you don’t necessarily understand the properties of fabrics themselves. Equally in terms of cost they are low range so very accessible to all markets and they stock fabric by the half metre. Delivery is quick and when your fabric arrives it comes in a lovely paper bag with a note inside from Abi. Check out my instagram fabric haul highlight if you would like to see exactly how it arrives. Honestly I’m such a sucker for a handwritten note I really feel like it makes the purchase, jut to know there is a real human on the other side makes the making journey feel so much more personal.

The website interface is clean looking however I would say that the inability to filter by fabric types/equipment is frustrating. However as it is a smaller store you are still able to look through all the available fabrics fairly easily and I’m sure as a broader range of stock is added this feature will update. A problem that many other sites have also applies to Sewing At Number 51 which is that the phone interface is so so much easier to use than the desktop. The mobile site is clear and easy to use, the menu is a usable size and the payment system simple, however the desktop interface has an incredibly small logo and a very small menu text. I wonder if focus has been placed on the phone interface to match new consumer habits. Which I completely understand because research shows that people are buying more and more from their phone. I love their blog section I think it reflects their brand identity really well and I look forward to seeing more posts there. Equally I think it would be nice to see some guest blogs as it would push up the profile of a fantastic new sewing retailer.

Rating

  • Range of Fabrics – 5/10
  • Cost – 8/10
  • Delivery (Speed / Cost) – 8/10
  • Ease of Use – 7/10
  • Ease of Payment – 8/10

Overall Score: 7.2/10

Sewing at Number 51 typify to me the ‘friendly fabric shop-next-door’ it’s sweet, it’s independent, the selection of fabrics although small is exceptionally well curated and when you buy from them you can’t help but smile. They have fantastic engagement on instagram and social media and you all know I love a brand that really engages with their makers and consumers. Would I shop from there again? Absolutely and I’m so excited to start using their fabric. I will keep you guys posted and look out for a vlog in the coming weeks on what I get up to with this stunning fabric.

Monthly Magazine Make: Boxy Blouse and My Very First Yoke!

This is my first detailed project blog for a while but here I am to talk to you about this month’s make chosen from my copy of Love Sewing magazine. I only started my subscription last month but I already love it, I love how many free patterns you can access and its always super interesting to hear from other makers, experts and amateurs alike! The second I saw the My Handmade Wardrobe Boxy Blouse from Crafty Sew & So I had to make it. I love shirts, I love the silhouette and having just bought a machine almost purely because of its incredible buttonhole functionality I was desperate to sew buttonholes. A sentence I’m sure no one has said before. Whilst containing some familiar elements such as collars and buttons this pattern also contained a little challenge in the form of my first ever yoke.

In the spirit of the New Craft House #sewyourselfsustinable challenge I decided I would use a deadstock remnant I had left over from another project, my gorgeous daisy patterned viscose from Rainbow Fabrics Kilburn, and I used the rest of the pink shell buttons from my fish dress earlier in the summer. So not only was this project super fun but it didn’t cost me a thing, well apart from the cost of the magazine but hey you can’t have everything. I have also been a little under the weather due to personal health issues and I felt this project was the perfect way to get my sew-jo back.

Project Details

Step 1: Pattern Printing & Cutting

I printed the whole pattern on my printer at home which means that the pieces probably aren’t perfect but they were as good as I could get them! Still it is quite fun to be able to print at home and start straight away. My fabric layout wasn’t as efficient as it could have been but I wanted to make sure the stripes would be evenly lined up on the shirt.

Step 2: Create The Box Pleat In The Back

I liked this as a first step because I love a box pleat and it felt cosy and familiar. They are easy to make and so satisfying to look at afterwards. I’m not going to explain this step really as its clear, follow the markings and make a box pleat in the back panel, but here is a picture of mine as I do just love them.

Step 3: Create Your Yoke

It was at this stage I realised that I did not have the correct yoke pieces. On the pattern piece it does not tell you to cut the yoke on the fold, it just tells you to cut two pieces. The cutting layout in the magazine is also incorrect. Having never done a yoke before I naturally followed the instructions and cut two individual halves of the yoke. It was only when I got to the assembly stage that I realised something was extreme wrong. Luckily I managed to squeeze another yoke piece out of my remnant however I couldn’t cut a second one so you will see that my inner yoke is two pieces sewn together and my outer yoke is one continuous piece. It wasn’t a huge drama as luckily I had just enough fabric left but it is definitely worth flagging that you must cut two yokes on the fold rather than just two pieces as the pattern piece states. Once you have got the correct yoke pieces, attach the back pleated piece to the base of the yoke with pins and then roll it up. Then attach the fronts of the shirts to the shoulder seams again with pins and roll them up until you end up with something resembling the first picture below. You then place your second yoke piece on top to create something that looks like a calzone.

Step 4: Stitch The Seams & Pull Through

As this was my first time using the burrito method I was understandably nervous, I kept thinking to myself ‘surely this won’t work’ and yet! As long as you roll the fabric pieces nice and tightly inside and leave the seams flat you can stitch along the shoulders and back seam et voila! You reach through the neck and pull out your finished garment. I was absolutely enthralled by this process and proceed to bore my partner for a good 10 minutes with my utter amazement at this technique. He was actually very sweet and listened to me far longer than he had to but I was extremely excited about it.

Step 5: Create Your Button Plackets

This is a simple step and yet… I was quite tired by this point so accidentally pressed the placket to the right side instead of the wrong side, luckily I realised and was able to fix it quickly. You fold the placket 1.5cm to the wrong side, then again and stitch down the open side. To make this easier for yourself make sure you cut the notches on the neckline as they show you the distancing.

Step 6: Create & Attach Collar

Having really struggled with my last collar it almost felt like seeing an old friend when I started to cut out the pieces. I interfaced them with medium weight interfacing because honestly its all I had in the house and i reasoned that as my fabric was so lightweight it probably needed the extra weight and honestly it helped significantly, I don’t think the collar would have stood up correctly otherwise. However I did have one issue stitching on the collar, on the pattern pieces it said to use a 1.5cm seam allowance when stitching them together which I did however when I came to attach it to the garment I found that the collar was at least 1.5cm short on each side. I really had to snip into the neckline and do a lot of easing to get it on. It really isn’t my neatest collar but thankfully the colour and pattern of the fabric hide it. Next time I will reduce the seam allowance massively but otherwise the instructions were very clear and easy to follow.

Step 7: Side Seams & Finish Raw Edges

At this point its a nice simple finish for the side seams, I stitched them at the 1.5cm seam allowance and then used my overlock stitch on my machine to finish the edges. If you have an overlocker you could probably just overlock them but either way, a simple finish, then I used a rolle hem on the end of the sleeve and on the bottom hem of the shirt. I used a rolled hem for two reasons, firstly speed but secondly because I am working with a very lightweight, almost diaphanous, viscose and I didn’t want the hem to sit too heavily.

Step 8: Buttons & Buttonholes

For once I was absolutely itching to get to this stage because the buttonhole function on my new sewing machine is genuinely phenomenal. I have a Singer Starlet 6680 with a 1-step buttonhole function. Its got the cleverest buttonhole foot, like an enormous frame that measures the size of the button then creates the right sized space for the needle to sew a perfectly fitting buttonhole. I was so confident in this function that I actually used contrasting thread and used a thicker buttonhole to show them off. Not only did I have a great time sewing the buttonholes I also machine sewed my buttons on for the first time ever! My lovely new machine came with a plethora of feet that I am only now getting time to experiment with. the buttonhole foot is absolutely excellent and saved me a huge amount of time as well as saving my eyes from strain. I am beyond chuffed with the result and it was a super fun way to finish off this garment.


What I love about this pattern is that it is challenging and yet simple. On the one hand you are attaching a collar which can be tricky and you have buttons and buttonholes to worry about, on the other, there are no sleeves to worry about and all the finishes are pretty basic. It’s a bite sized amount of challenge and a fantastic project for beginners who want to branch out into new techniques. I wouldn’t hesitate to recommend this pattern to every beginner anywhere, its fun, the instructions are simple, the garment is eminently wearable. My only caveat would be that the cutting instructions could be better, as I mentioned above the cutting label on the yoke piece was downright incorrect, but despite that I would still recommend this pattern as a fantastic introduction to collars, buttons and shirts.

My Top Tips To Sew Your Own Amaya Shirt

As my YouTube subscribers will know, I have just finished making the Amaya Shirt from Made My Wardrobe. Today I am mopping up, resetting my machine and trying to sort some other little projects/alterations/fixes which have been piling up for a while now. However, before I completely forget how I made it I wanted to share my tips, tricks and honest feedback on my making journey for the Amaya Shirt.

Firstly, here it is in all her gorgeous, flute-sleeved glory. Honestly I would never have thought of making this pattern originally, it was very much the case that the fabric came first. I bought this stunning red spot cotton from The Rag Shop with no clue at all what I was going to make with it. For transparency I almost never do that, I’m always very project lead but I thought, you know what? I’ve got to have it. When I posted about it online and asked for recommendations Steph from The Rag Shop got in touch and suggested the Amaya Shirt. I was intrigued and although its a little out of my comfort zone fashion-wise I decided to take the plunge.

It also took me out of my technical sewing comfort zone. My first proper top stitching, my first raglan sleeves, it was all a journey and I really made myself take my time. Especially as I knew that I didn’t have enough fabric to recut if I made a mistake. I’m really glad I took the time, doing only one or two pattern steps a day for a week. It was a lovely way to wind down from work each day and I feel like this is technically one of the best garments I’ve made because I didn’t rush a single step. So my first and biggest piece of advice I can give you is to take your time with this make, there aren’t many steps but they all require accuracy and care. Below I have linked my vlog so you can join me for every step of the sew and you can also see just how many grey jumpers I own as I change between days.

My Top Tips:

  • Draw The Line For The Front Opening – seriously, do this. I thought I wouldn’t bother but it requires a straight line stitched 4cm in from the edge which is surprisingly hard to do by eye and most machines don’t have markings that go out that far. This was made extra difficult on my fabric as its exceptionally hard to draw a straight line on Swiss Cotton! Regardless draw a solid or dashed line, its worth it for a garment feature that is so front and centre.
  • Really Press The Centre Front Open – While we talking about the centre front…before you start top stitching you absolutely must press it open thoroughly so that your facing and seam doesn’t bulge when you do the top stitching.
  • Finish All The Edges As You Go – Cards on the table, I’m straight up awful at finishing raw edges when I sew, honestly just awful, but I really made the effort with this garment partly because i didn’t want fraying but mostly because it actually really helps with the structure and the strength of the seams. I am particularly highlighting this as something you should as you go along because there are quite a few seams you can’t access once the garment is done if you were hoping to have a tidy up at the end. The pattern recommends overlocking but if you don’t have an overlocker then either you can zigzag or you can go on a voyage of discovery with your sewing machine and find out that it actually has four different overlock stitch options. (It’s the dream)
  • Gather Much Closer To The Neckline Edge Than You Think – Basically if you look at the outside of my garment the bind covers all the gathers, that is quite emphatically not the case on the inside. I did my gathers at the distance recommended by the pattern, or at least i think it did as I work in imperial and it only had metric, but at that distance it was impossible to enclose the gathers properly in the neck binding on both sides. So I would recommend sewing one row in the seam allowance and then other just beyond it. You will still be able to gather and you will be able to enclose both sides in the binding.
  • Go By Your Measurements – so I looked at the finished pattern measurements and was going to make a size down as they looked huge but when I looked at the body measurements I saw that they actually put me in the 10 bracket. I decided to go with the 10 because I would rather it fit my bust properly and then i could adjust other areas but actually i found it to be a really nice fit. its loose but you actually have enough room to move and the sleeves and bust line are both really flattering. My recommendation would be to pick the pattern based on your bust size and then work from there.
  • Print Out The Pattern Instructions And Highlight – For me the pattern instructions required a second and even a third reading as I found the prose of the instructions very unclear. That could just be me but if you do have the same issue I would recommend printing them out and highlighting the action areas just for the sake of clarity. The pattern makes a stunning garment but the instructions could be easier to understand.
  • Use A Fairly Structured Fabric – It really helps with the construction and the fit of this garment. I’m sure you could easily make it out of more slippery fabrics but I think a structured cotton, linen or chambray would be a good starting point for a first make of this garment and would show off its more flattering and exciting features.

Those are my top tips for working with this pattern, its a great pattern and I have worn mine loads since I made it so I would recommend it for all abilities. Check out my sew-a-long vlog below to see how I got on making the Amaya Shirt.

My Autumn Makes

Happy Sunday everybody and in fact Happy September! This year has flown by, I have just past my six month probation at work, Adam has started a new job, we’ve changed over to the winter duvet and the weather has almost definitely turned which means its time for my favourite season, Autumn! I have to say that in fact i love all seasons for different reasons, I love the freezing cold sunny days in the winter with a clear blue sky that remind me of skiing, I love those first warm days of spring when the clocks go back and we start getting sunny mornings again, I even love the intense heat of summer, albeit preferably somewhere with aircon and stone floors, but autumn is special for me. Down here in the south they get a couple of days of proper autumn where the trees go brown and everything looks golden whereas in Perthshire, where I am originally from, the trees turn slowly and you get weeks of golden leaves falling and Autumn really does last a couple of months.

I love the colder weather, I love guy fawkes night, I love going for really long walks and needing to warm up when I get home and I love love love the fact that I can go back to wearing ankle boots(my spiritual shoe), jumpers and coats. Whilst I adore the heat of summer I hate dressing for it as its a nightmare trying to look professional but stay even vaguely cool, whereas in Autumn I can go back to wearing big scarves, cosy knitwear, tailored coats and I only have to worry about staying warm when I go out. It’s the dream!

This Autumn is particularly special for me in terms of sewing because I have never actually made autumn/winter clothing. Autumn and Winter clothes tend to involves more knits, stretch and wool. More sleeves, large silhouettes and more comp[lex techniques. I am generalising here as there are definitely some beginner friendly patterns out there but even if you find a beginner friendly pattern, chances are that once you go beyond medium weight stretch knits a beginner machine can’t handle the fabrics. My old John Lewis machine certainly struggled with anything remotely bulky. Now armed with my new machine, so beautiful patterns and some stunning fabric I am ready to take my first forays in Autumn clothes.

My September Makes

My September is going to be very busy with work starting to pick up speed a little and the fact that I am starting a part-time MA alongside my job I felt like it was a good idea to plan what I want to make this month so that I can work my way through project I actually want to do and not lose my sew-jo along the way.

Make 1: Amaya Shirt, Made My Wardrobe

As I publish this post I am actually tidying up the remnants of this project. I’m a little late writing this post and my first make of the Autumn is complete. It’s a gorgeous peasant style blouse with a keyhole neck and flared sleeves and I made it in a bright red spotted cotton from The Rag Shop. It’s a versatile statement piece that can go day to evening with ease. I love it and what’s more there’s some complex sewing in there that I’m really proud of. It also represents my shift in focus towards making high quality statement pieces that go with my existing wardrobe.

Make 2: Raglan Dress, Trend Patterns

I’m super excited to make this. I’m nervous because its not a style of dress I’ve made before and not one I wear often but its a stunning pattern and I have a gorgeous dark viscose covered in little red roses from Rainbow Fabrics Kilburn that will suit the pattern perfectly. The fabric has great drape which I think will work really well with the full sleeves on this pattern and I quite like the high neck with the tie. This dress will probably need a belt on it for me and I will probably make it a little shorter than the pattern suggests to accommodate my height.

Make 3: Cocoon Cardigan, GBSB

This make will be my first knit make! I have a lovely mid stretch pale grey knit from the Maker Merchant and I will be attempting a Cocoon cardigan from one of may GBSB books. It’s meant to be a three hour sew so I will do a vlog and see if I can make it in under that time. I’m excited to start working with knits as they form a big part of my wardrobe.

Make 4: Square Neck Dress, Unknown

This make is definitely the most free-form as I know roughly what I want to make, I’ve got a couple of patterns that would work and the fabric is stunning. I’m hoping this make allows me to exercise my creativity a little more and make something beautiful. It will definitely need a toile so I will keep you guys up to date with what I’m up to and fingers crossed I’ll end up with something great.

As I’ve been at home for the past five months and I’ve not had costs of commuting and general work life, I have almost definitely spent too much on sewing. Now I have set myself a monthly budget and costed up my September makes. With one exception I had already bought all of the fabrics, patterns and notions that I’m using at some point over the summer. I’ve definitely spent more than I meant to but writing all the costs down is a really important first step to controlling sewing spending. It’s definitely not a cheap hobby but as I’m not going back to gym anytime soon I’ve redistributed some of my budget so I can have fun sewing. For the sake of transparency, I give myself a £50 per month budget for sewing but I obviously don’t use all of it some months and I will use more other months depending on the fabric I’m using and patterns etc but it balances out to about this much over the year. I want to show you guys how I cost my monthly sewing, this month was more expensive that usual because I lost track slightly but now I’ve found a costing system that works for me so there we go.

September
COSTS
Amaya
Shirt
Raglan
Dress
Cocoon
Cardigan
Square
Neck Dress
Total
Patterns£12.50£14.20
(sale)
£0
(already own)
£0
(already own)
£26.70
Fabric£17.00£0
(Gifted)
£11.50£0
(Gifted)
£28.50
Notions£1.50£1.50£0 £1.50£4.50
Pattern Printing£4£0£0£0£4
Equipment£0£0£0£0£0
TOTAL£35.00£15.70£11.50£1.50£63.70

As you can see my biggest expense is fabric, this month I’ve actually bought a few patterns but normally I try to work through one’s that I already have. When I do buy patterns I try to take advantage of sales, offers and free patterns to reduce costs. I rarely have to buy notions because for some reason I have a lot of back stock that I bought years ago. When I do buy notions I try to buy a lot at once as a restock and because they are cheap and if I’m paying for delivery I might as well make it worth it. Anyway, I’ve included this as I’ve been having lots of conversations with other makers recently talking about budgeting for sewing so if this is a helpful table/split please do use it, its definitely helped me to gain awareness of what I spend.

October & November Thoughts

I’ll see how I get on with my September makes but below are a few things I want to have a go at for each month.

October

  • Anorak – Tilly And The Buttons Eden Coat
  • Cowl Neck Knitwear Dress – Sew Over It
  • Jersey Skirt
  • Wrap Dress

November

– I then have to make two more anoraks for my sisters this month!

– long sleeved top

– A line skirt

– sheer chiffon blouse

So there are my plans! If you found this pose useful then let me know in the comments below. I can do this monthly or seasonally if that would be helpful. It certainly helps me to plan my makes like this to ensure that I don’t spend too much and also that I have projects to work on when I’m stressed from work.

Fabric Friday Reviews: The Rag Shop

Apologies to anyone who saw the accidentally empty version of this post, I schedule all of these in advance and try to write them while I am actually using the fabric from these suppliers so the details are fresh in my mind. I had made all the notes for this post and completely forgot that I hadn’t actually put them in the post. Particular apologies that it should happen to The Rag Shop who are up there in my top 3 favourite fabric suppliers! This week on a belated Fabric Friday we are talking about The Rag Shop a wonderful independent fabric supplier whose high standards, quality and personality come across in every purchase.

The Rag Shop

  • Online Shop / Physical Shop / Both
  • Web Link: https://theragshop.co.uk
  • Core Purpose: Dressmaking Fabrics, Haberdashery and Indie Patterns
  • Units of Sale for Fabric: 1 metre

The Rag Shop is the site of one of my first proper impulse purchases of fabric. I was scrolling through instagram minding my own business when I saw the Red Spot Dobby Cotton above and before you know it I’d bought 2 metres. I think their fabric is of fantastic quality but more than that I would say they probably have the best fabric photography of any website I’ve worked with so far. Not only do you see the fabric clearly but the colours are accurate and you can even get a sense of the fabric texture, this is so important in the world of online fabric shopping because you need to know exactly what you are buying. Their fabric range is good and they have a good mix of plain fabrics as well as interesting and on-trend patterned fabrics although they don’t have a massive number of categories you definitely still have choice. I like the jersey they have as well, I haven’t bought any yet but I’ve had my eye on a mustard stripe jersey for about two months now for a long sleeved top and I’m probably going to give in soon and buy it. When I look at The Rag Shop site I really get the impression that everything on there has been handpicked to form a collection and I think that really shows off their personality. A lot of the more out there patterned fabrics aren’t my thing but I love that they are there, I love that when you buy fabric from them that you know its going to have a bit of flare.

They also have a great range of patterns from different independent designers which isn’t something I thought to look for but that I was really impressed by. When I first bought my fabric I put out a call on instagram for ideas of what I should make with it. Then Steph from The Rag Shop actually came back to me with the suggestion for the Made My Wardrobe Anya Shirt, a suggestion I took and I am now on the last steps of finishing. I love a company tat has so much awareness of the fabric they sell that they can recommend patterns that would work well. It shows a level of detail that I find downright astonishing. On the slightly more negative side I would say that unless you are a confident beginner or using a simple pattern I would say that the fabric itself is fairly pricey so if I was a complete beginner I would probably steer clear until I’d made one or two garments and could justify the money. That being said in the grand scheme of fabric shops they are mid-range in terms of cost and they do have a fabulous remnants section that is well worth raiding if you’re on a budget.

The website interface is clear and user friendly and I like that they put a proper description of each fabric next to the photos rather than just specifying the fabric type. The payment interface was very smooth, I used it on my phone and managed to go from instagram post to payment in under 5 minutes. Their delivery was quite speedy and although the outside envelope was plastic as most brands are, inside the fabric was carefully wrapped in tissue paper and came with a printed note as well as a discount for a next purchase which I thought was a really nice touch.

Rating

  • Range of Fabrics – 7/10
  • Cost – 7/10
  • Delivery (Speed / Cost) – 8/10
  • Ease of Use – 8/10
  • Ease of Payment – 8/10

Overall Score: 7.6/10

Where I think The Rag Shop excels is their customer interaction, they are very active on social media and super helpful as my earlier interaction about pattern ideas shows. I like a company that actively tries to connect with makers and support them. A company that does that is one that will get your business time and time again and honestly as soon as I have some money and I’m out of my September fabric ban they will certainly be getting my business again.