Living Without Fast Fashion: Why Do Brands Send You So Many Emails?

It’s a grey, rainy morning in Surrey and I am sat at my desk deleting emails. I know, what a riveting start to a blog post. Since I gave up fast fashion I’ve got to find something to do with my time! The emails I’m deleting are the endless missives from desperate brands with eternal sales trying to make me buy their clothes. I hate to say it but in my weaker moments these emails work on me. I have to delete them without reading them because otherwise I will be knee deep in the French Connection sale before you can say ‘fast fashion’. The emails are a problem, particulary the frequency, but they are not the root, they are entirely symptomatic of the way we consume fashion.

I would argue that in a lot of ways purchasing has been reduced down to pure impulse. Very rarely do we consider what we already own or if we will even wear it, we just get tempting offers with bright ‘girl power’ slogans fired straight into our inbox telling us to treat ourselves. Due to advances in online shopping technology, its entirely possible to go from receiving an email to buying a garment within 5 minutes all on your phone. Of course you can unsubcribe, but often its not about not wanting to receive the emails, its more than most of us don’t even think about them.

What I’ve realised since making a concrete effort to renounce fast fashion is that, the email isn’t just an email. The email gives you permission to browse, it gives you the justification, ‘but there’s a sale on’ or ‘I’ll just look at the new collection’ and then before you know it you’re buying an entire winter wardrobe. It’s often not even about resisting the emails, its about becoming conscious of them and their purpose. It’s absolutely fine if you want to receive the emails and actually use them as a purchasing tool, you do you! But if you are trying not to consume then unsubscribing is the first step and as I do want to give up fast fashion and absolutely refused to be beset by fast fashion brands in my own home, unsubscribing is what I shall be doing.

As I’ve told people about my commitment to give up fast fashion, I’ve had some supportive reactions and some of genuine confusion. Let me get one thing straight, I love shopping and my friends know that. I actually find it relaxing although occasionally irritating when you can’t find jeans that would fit an average human female under 5’4″ with hip bones. Crucially though I like shopping in person, I don’t often buy clothes online and if I do I often regret it. My number one reason for online shopping pre-lockdown was for occasion wear. I’m definitely not an ASOS haul person. It feels dedicant and wasteful to buy that much online without even trying it on and to be honest it feels desperate. Shopping for me is an experience. It’s going out with my mum or my friends, it’s physically going into shops, touching clothes for quality, trying on new things and going out for lunch. Its an occasion. That’s most likely why I find these emails so jarring, they don’t fit with my experience of shopping. For me its not about convenience, if I go for a shopping trip the trip itself is an integral part of the experience. In a lot of ways it makes it easier, if I don’t go into shops, I wont shop, simple.

As I’ve mentioned previously, I am approaching giving up fast fashion as I would with a major life change, holistically. From figuring out my what my own style looks like to literally not budgeting in shopping money, I’m trying to find the ways that fast fashion has permeated my life and how I can make the shift. Removing myself from as many subscription lists are possible is my first prong of attack. As these emails do work on me, its vital that trigger to consume is removed. So here’s my first piece of advice if you’re trying to give up fashion as well, if you’re looking to start giving up fast fashion, start by unsubscribing from your favourite brands. It doesn’t matter if you love them, you can always visit the website of your own volition but remove the email trigger. It’s the same premise as stopping a snack habit by just not buying snacks.

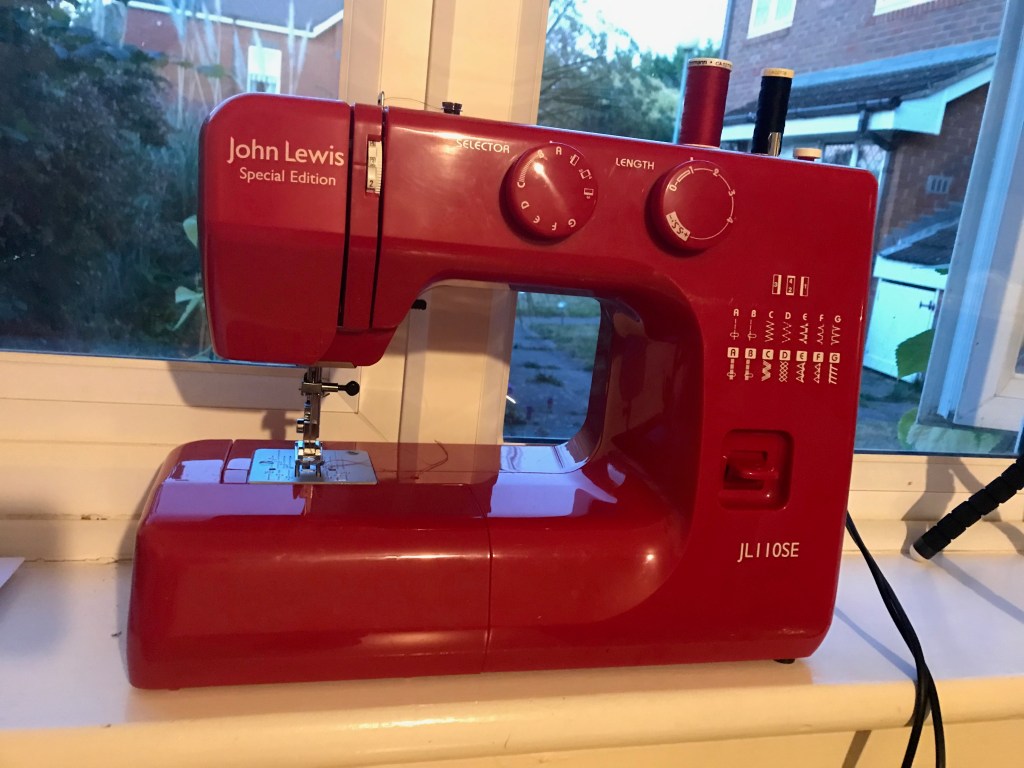
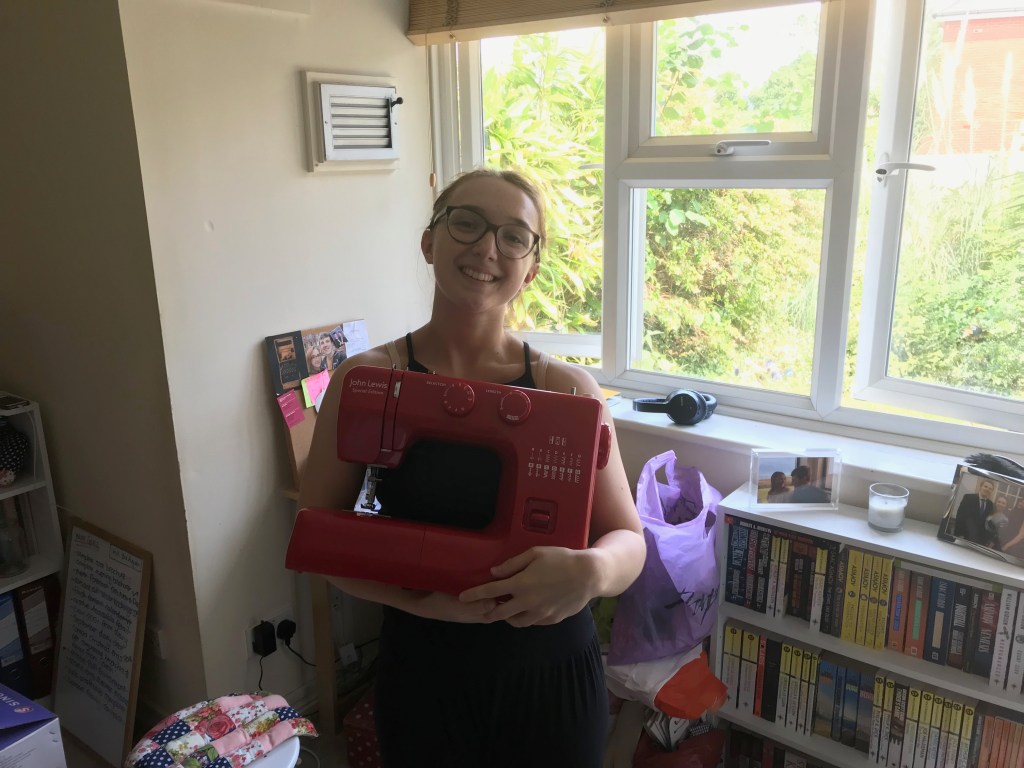
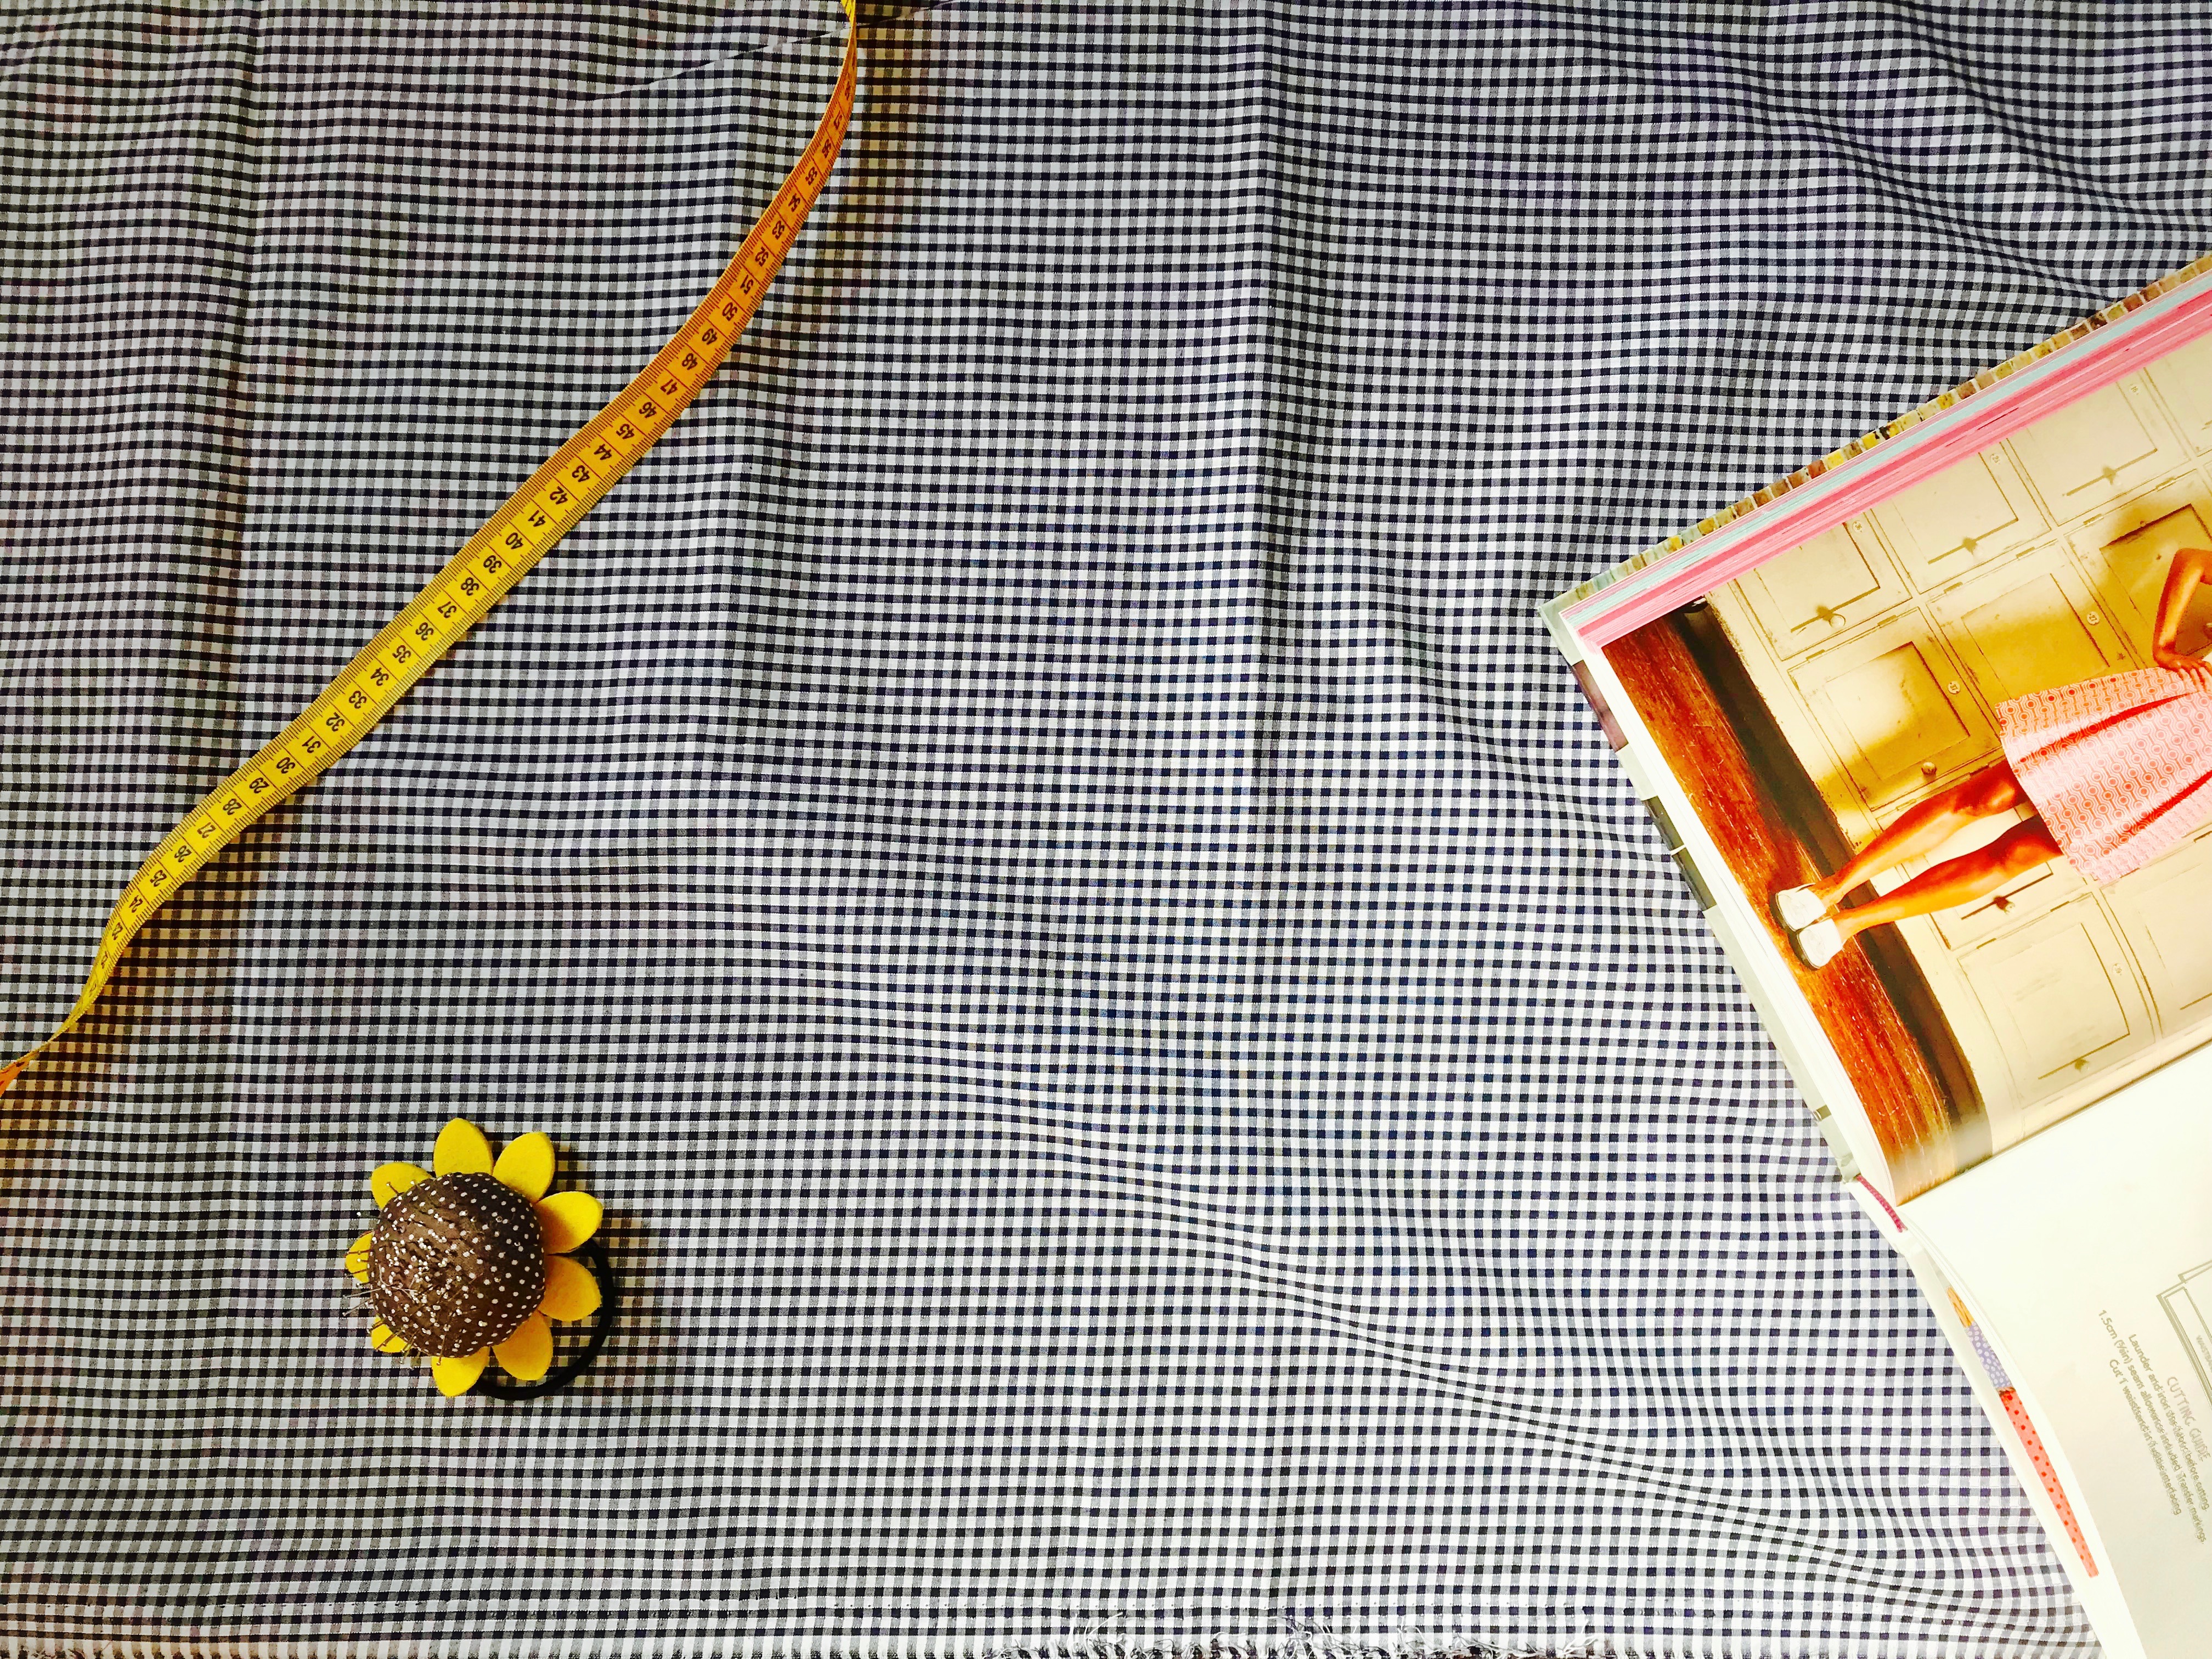
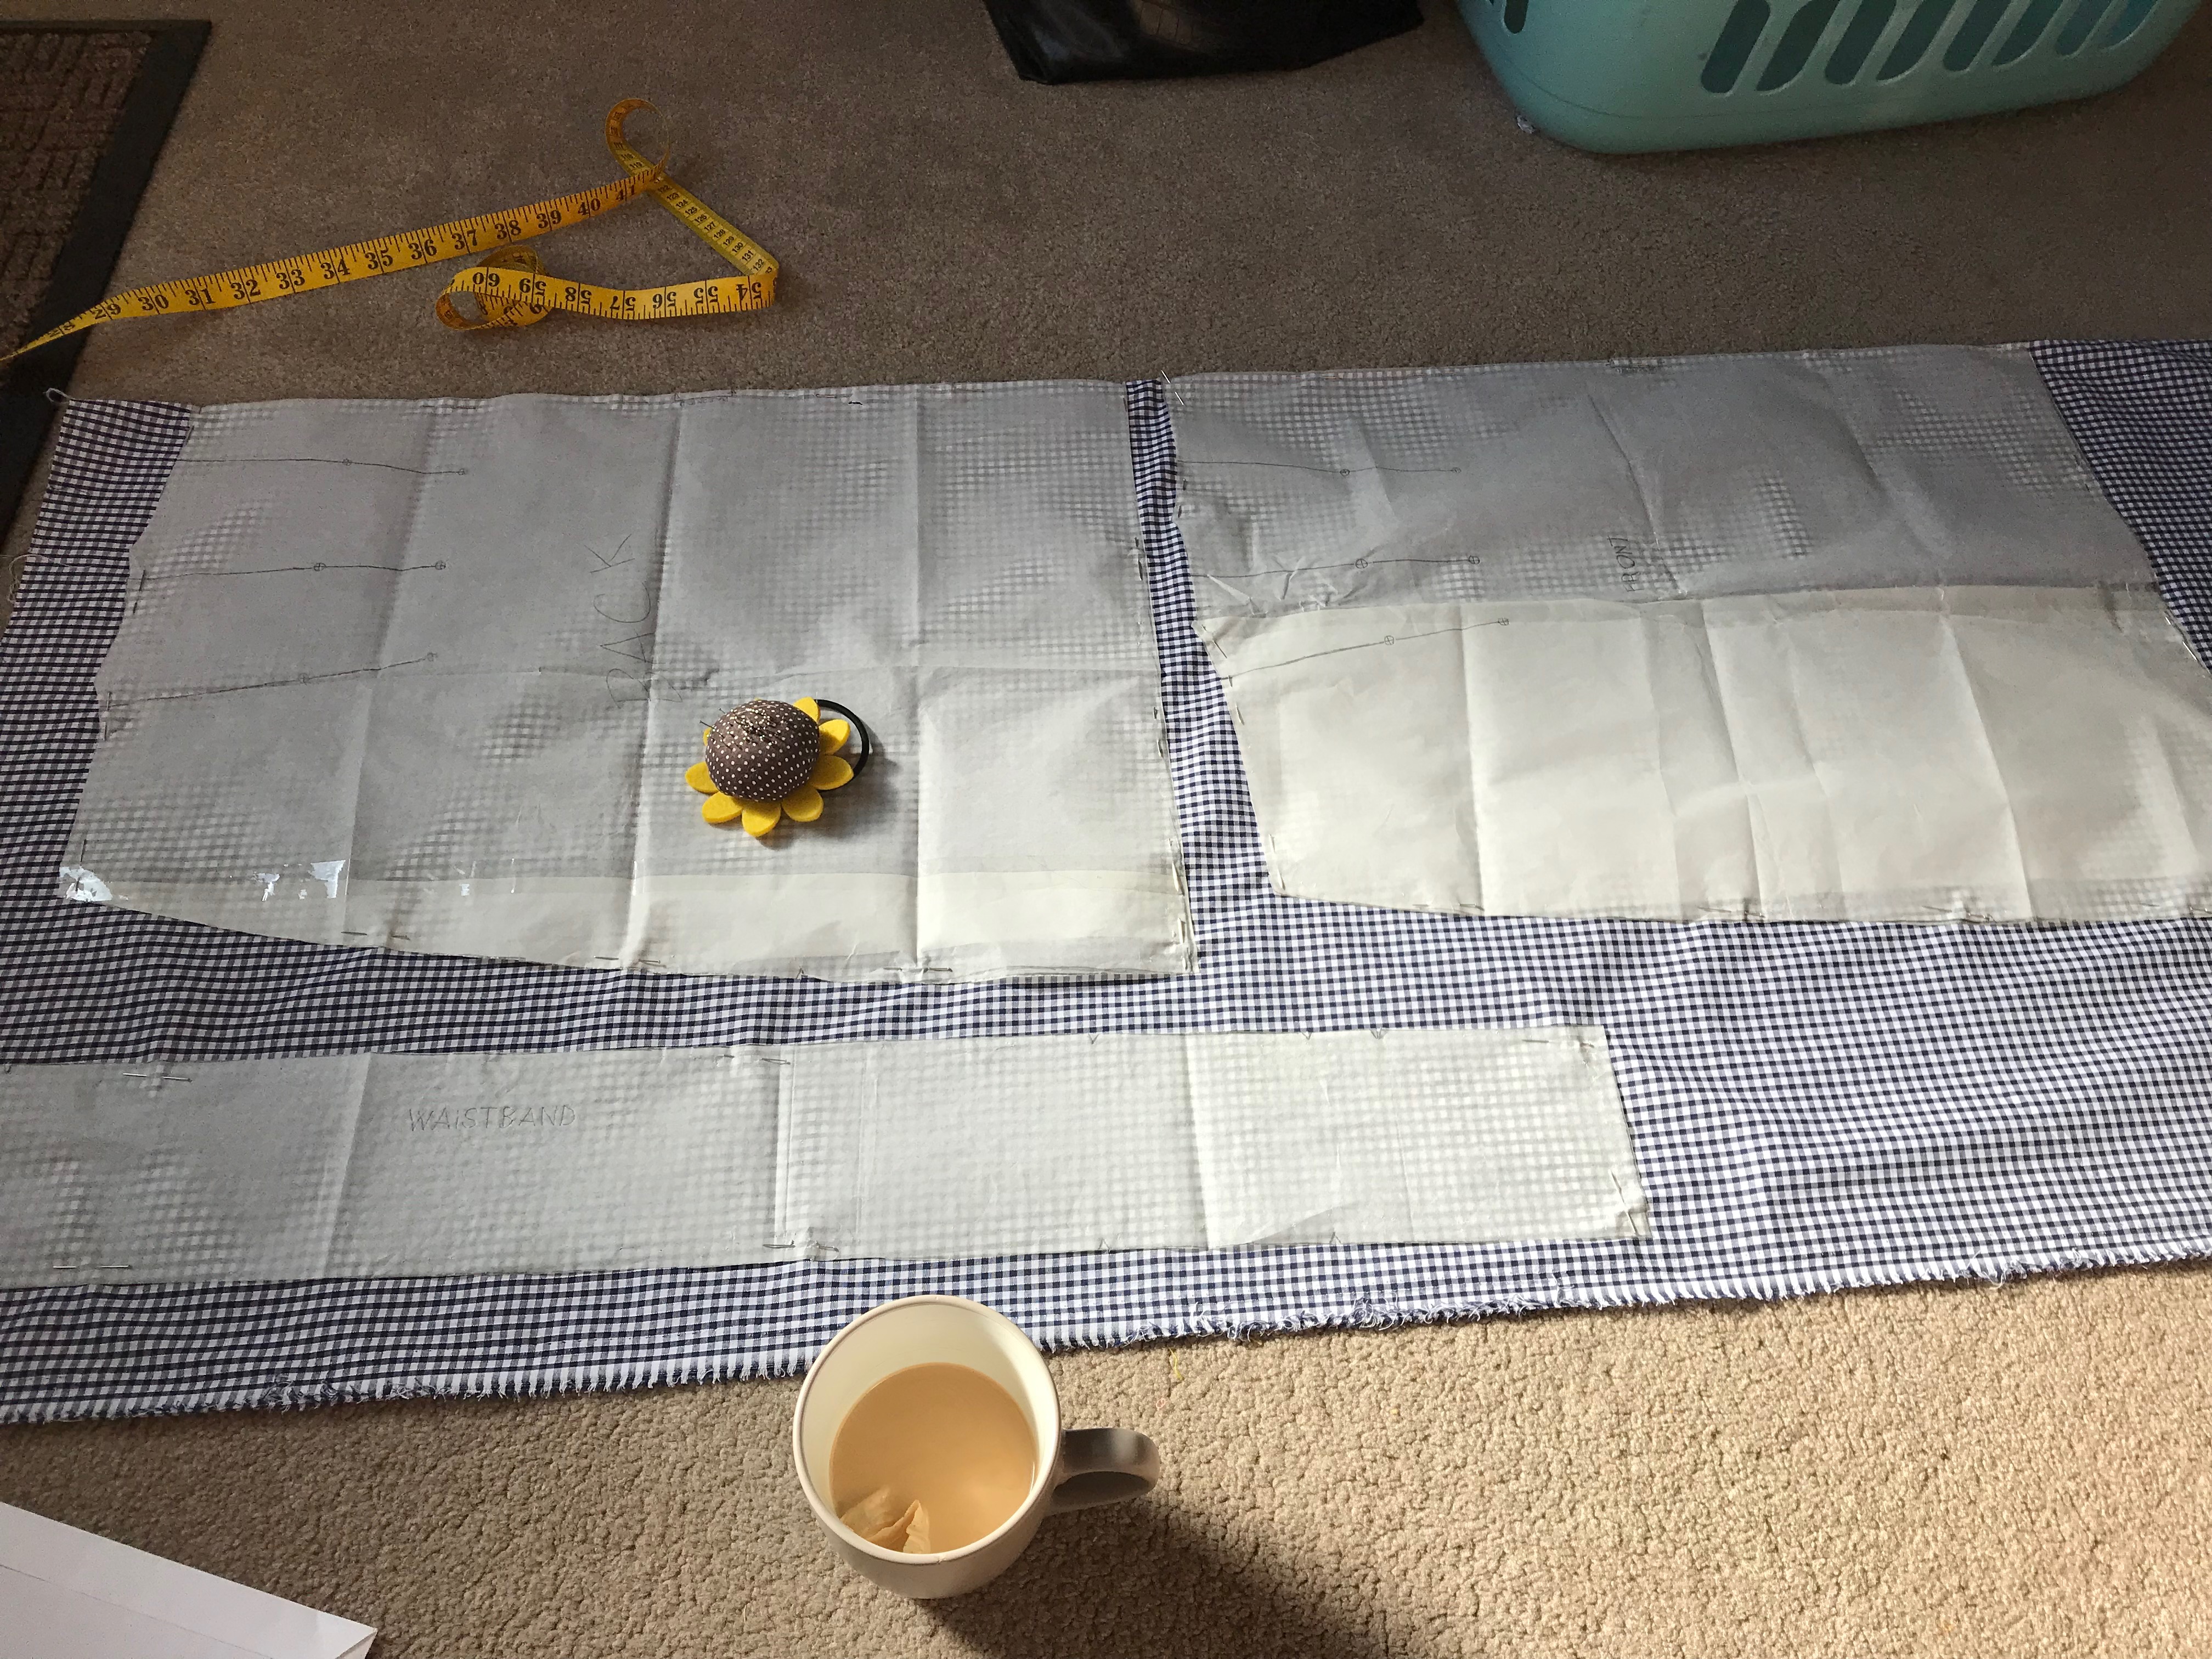
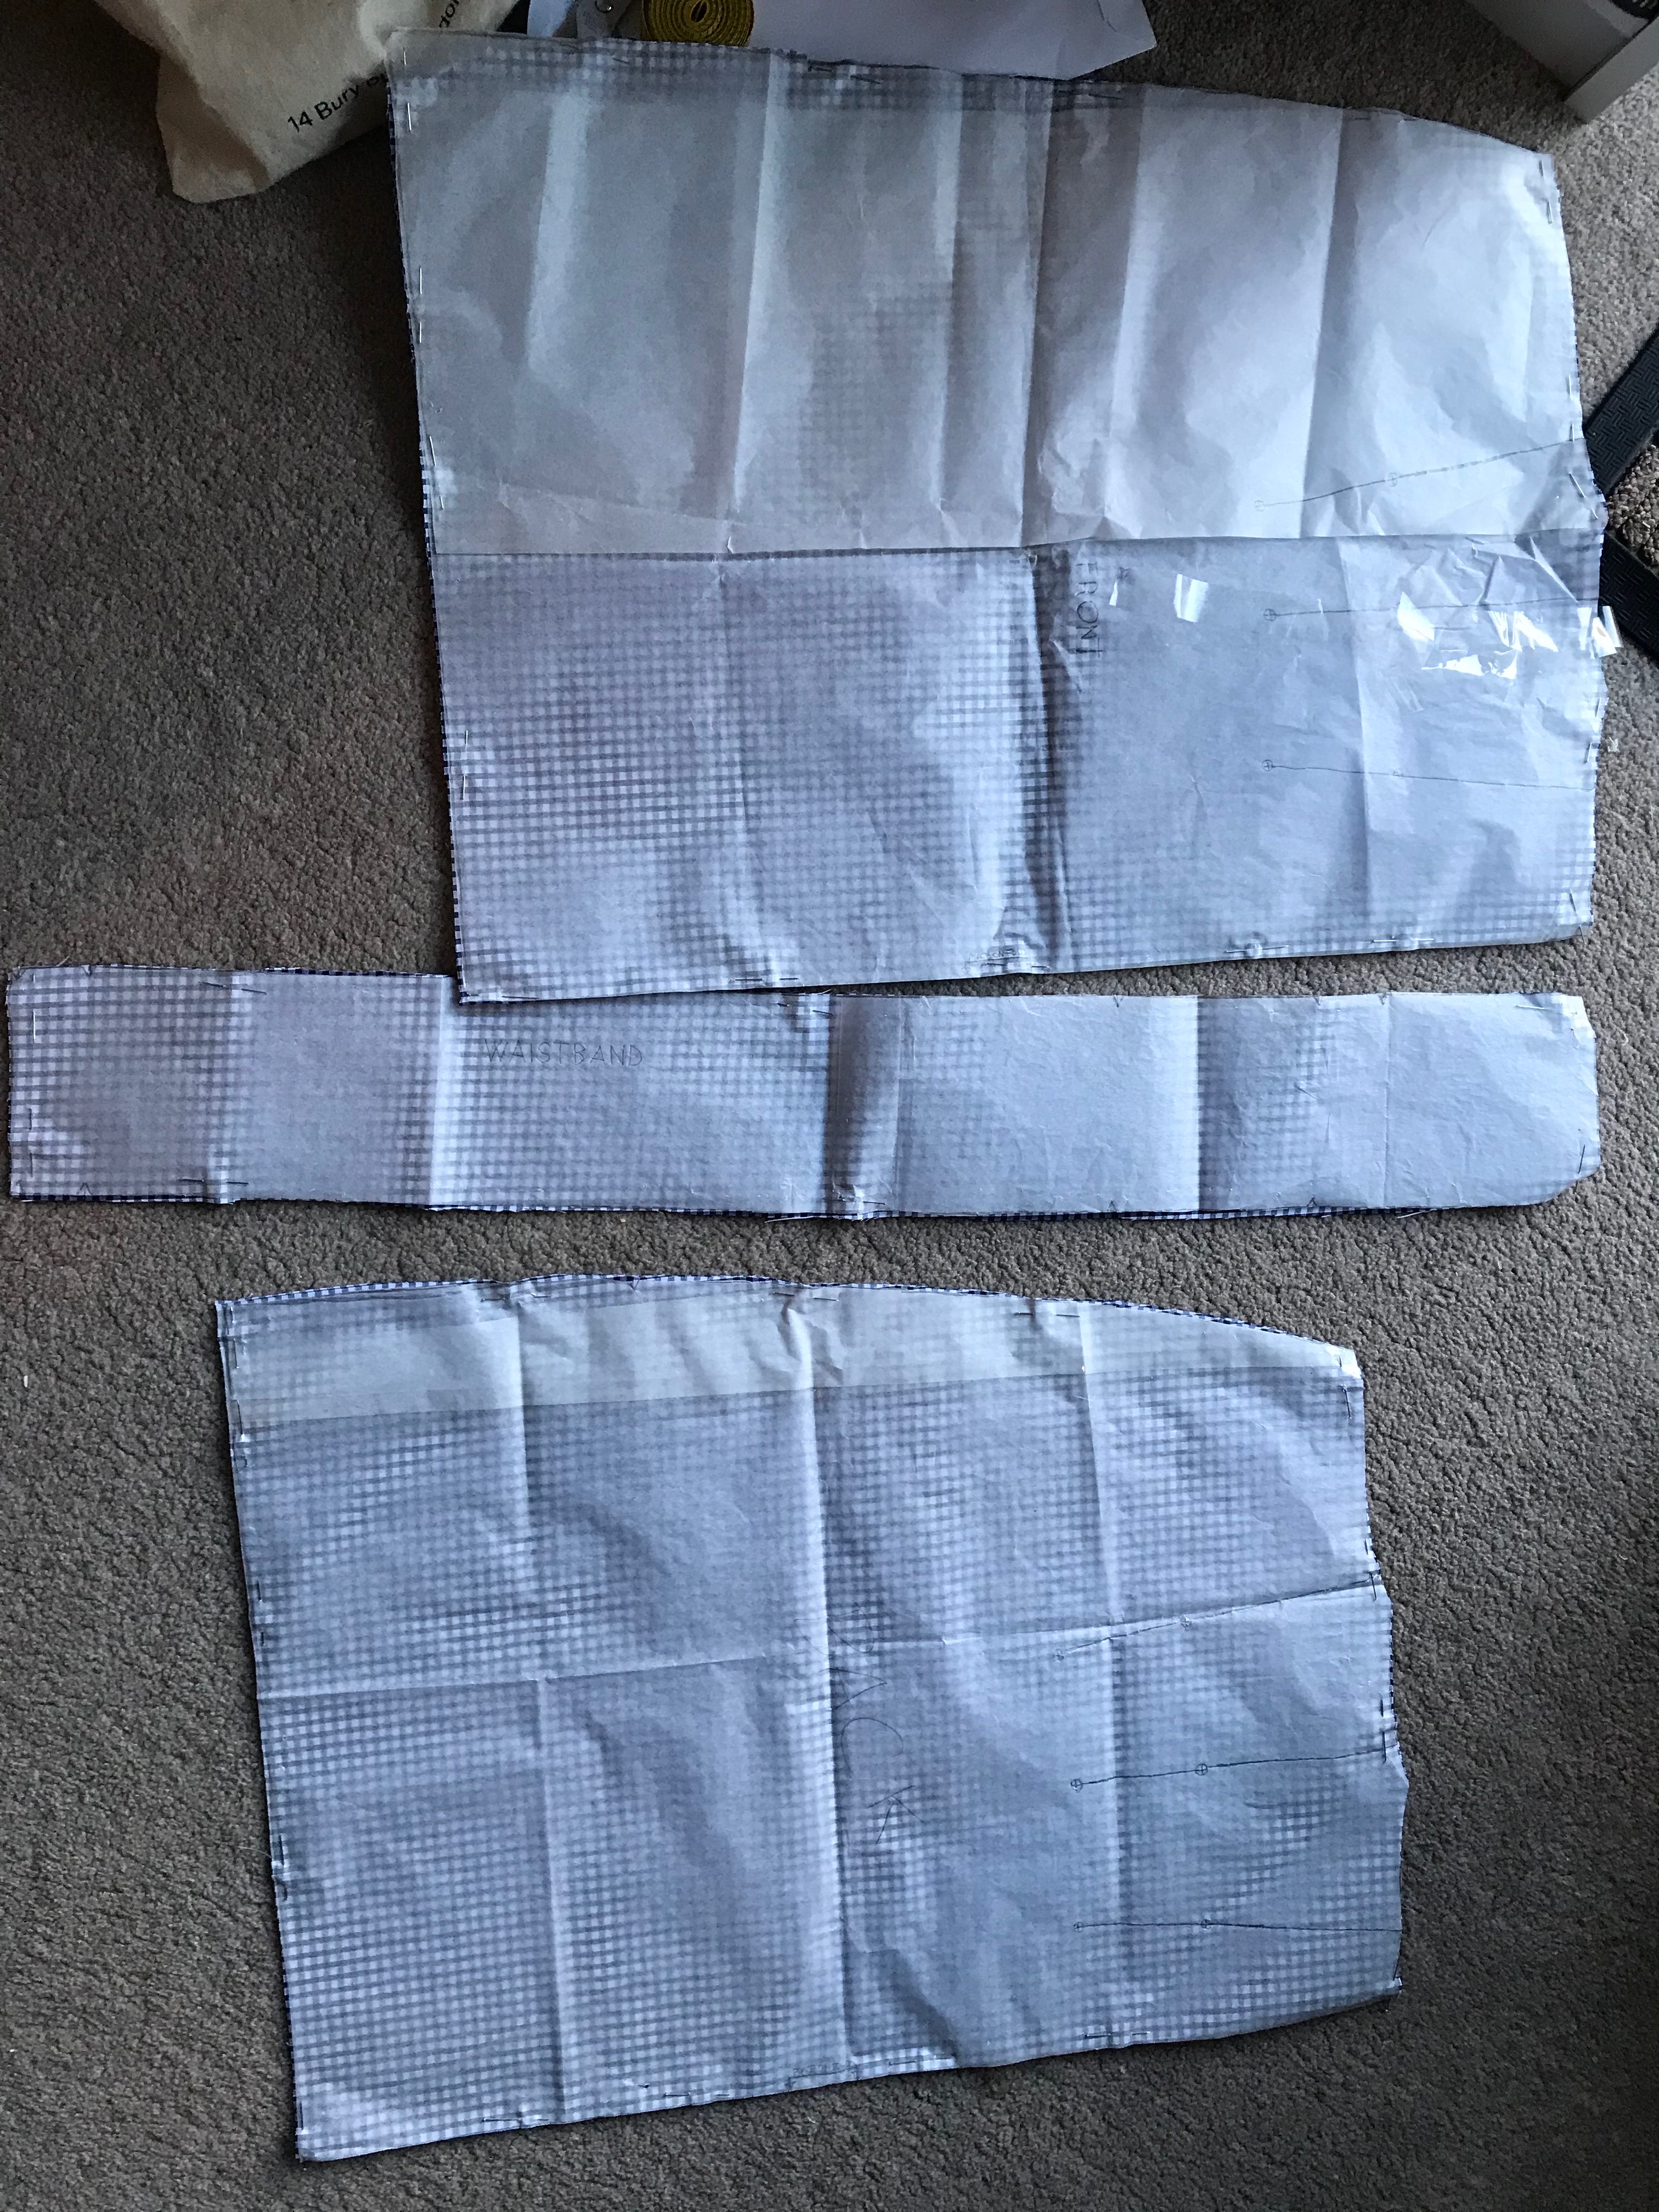
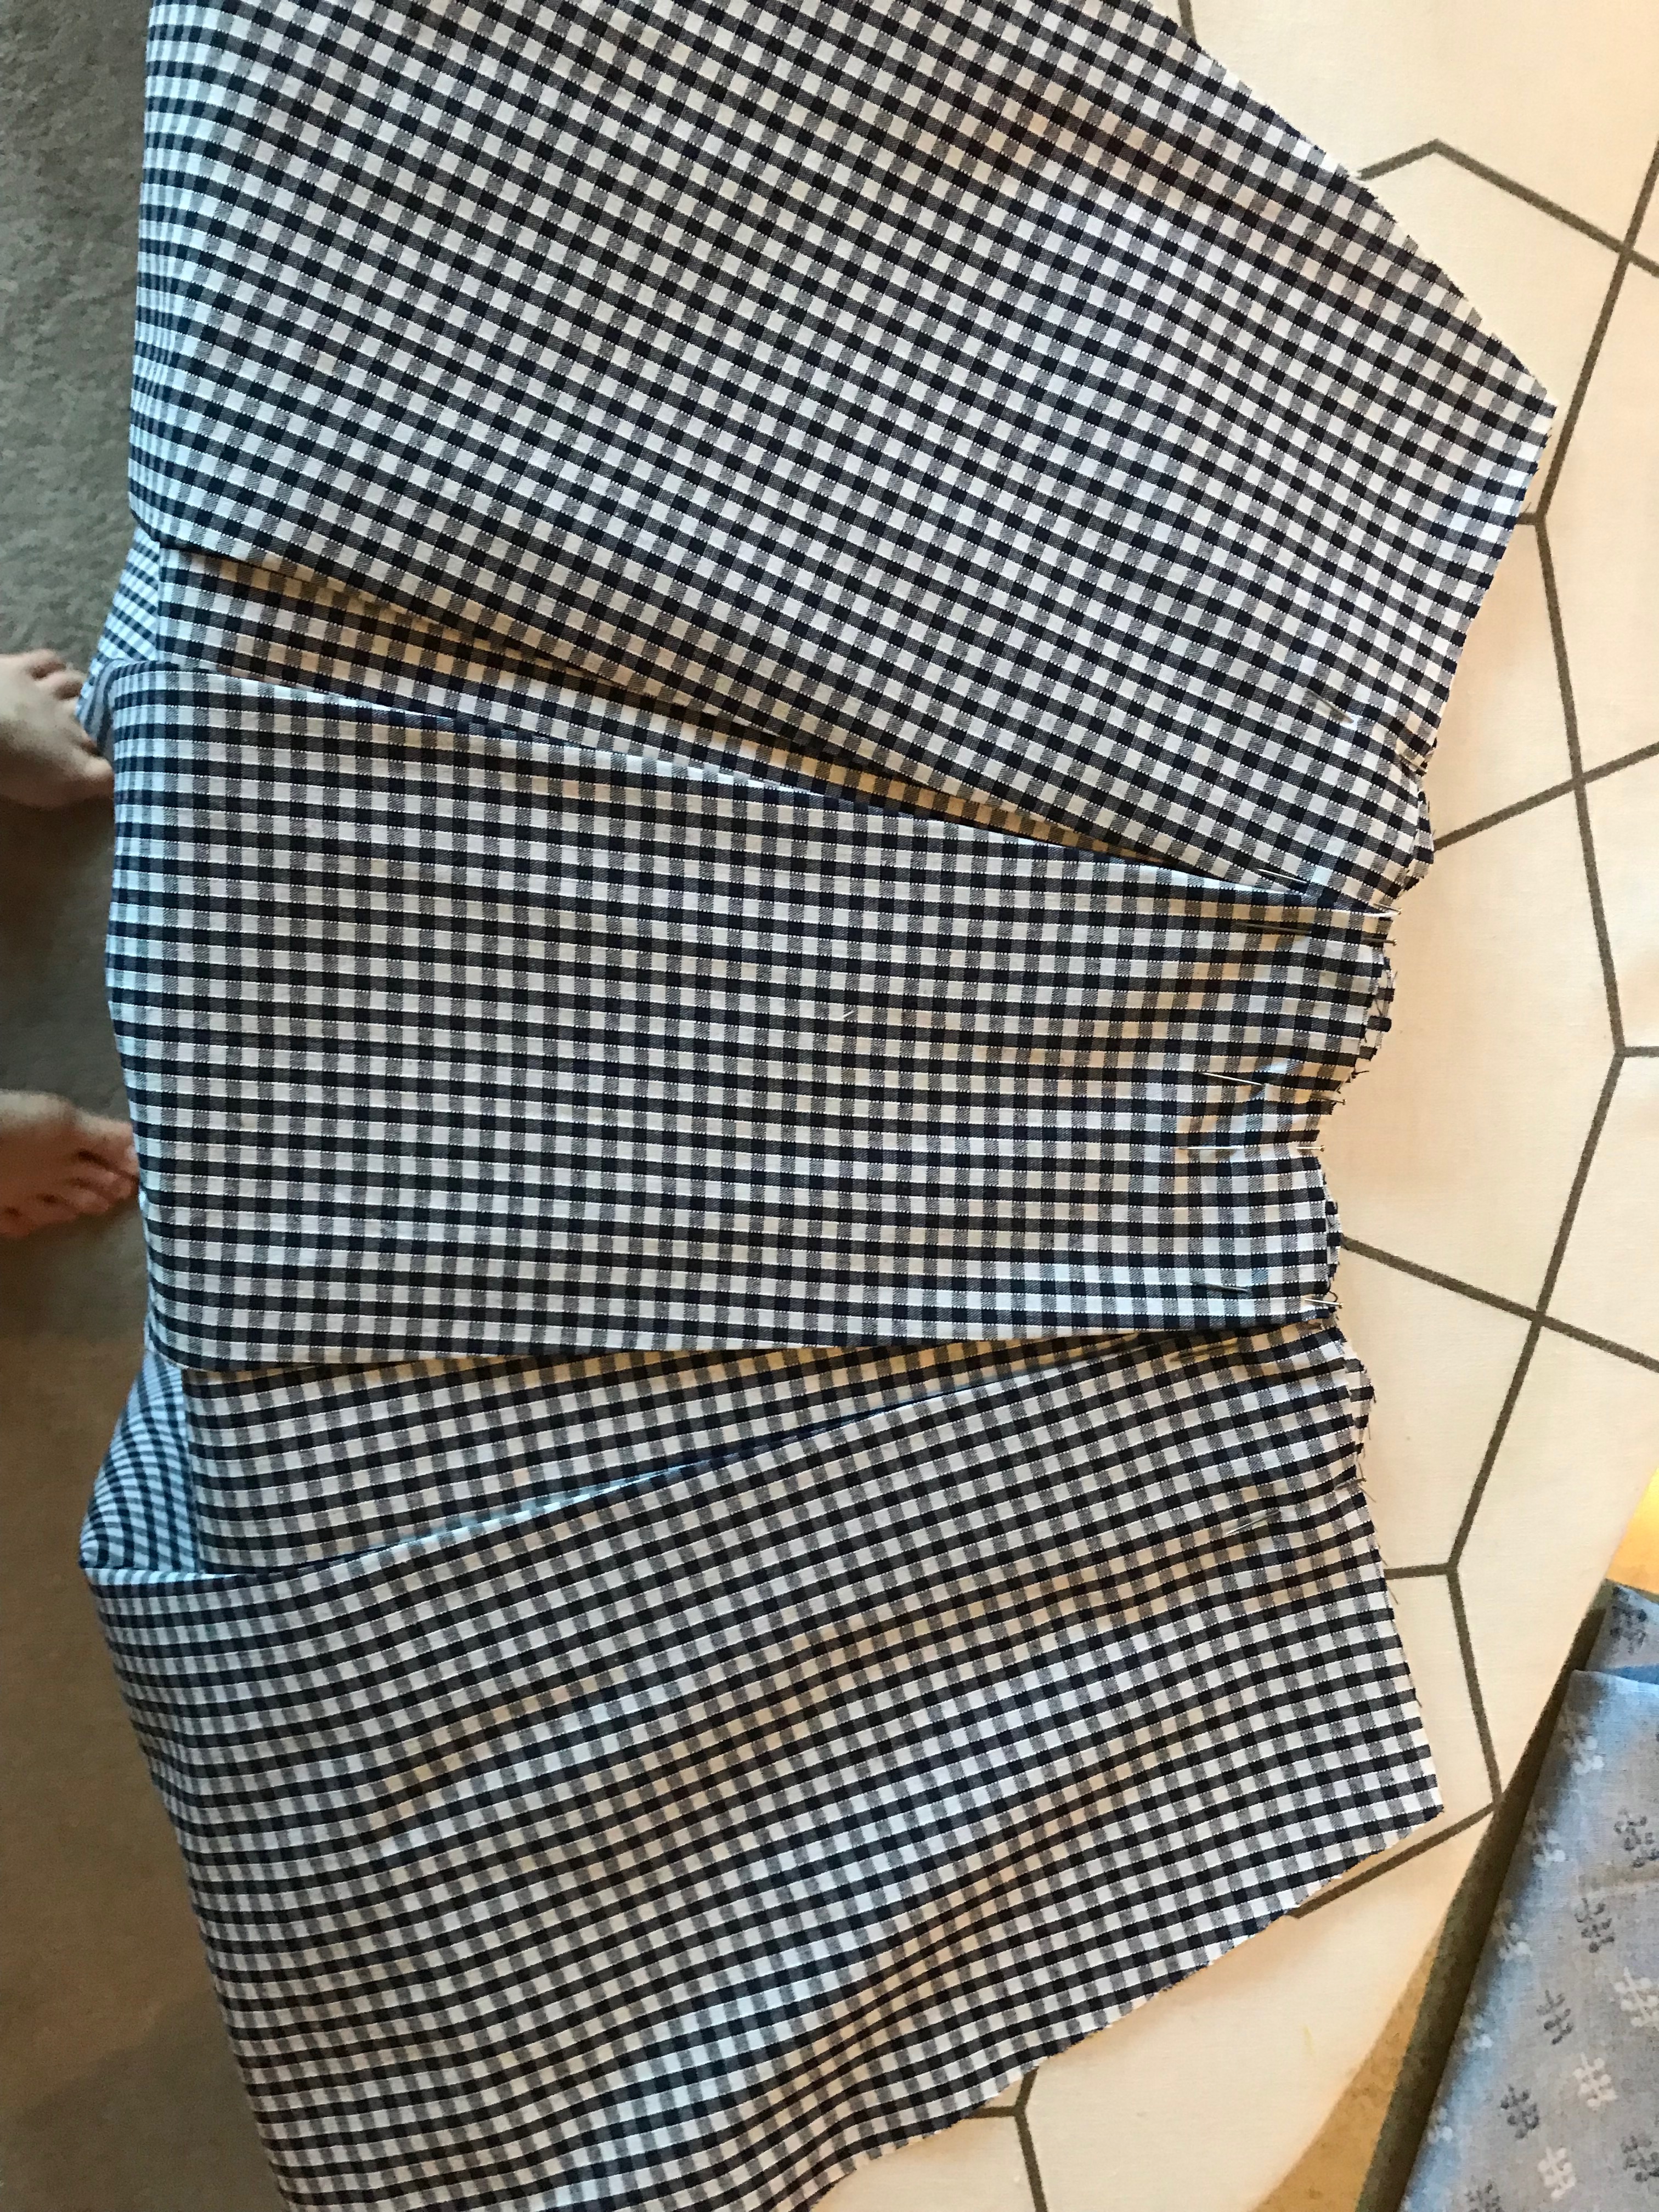
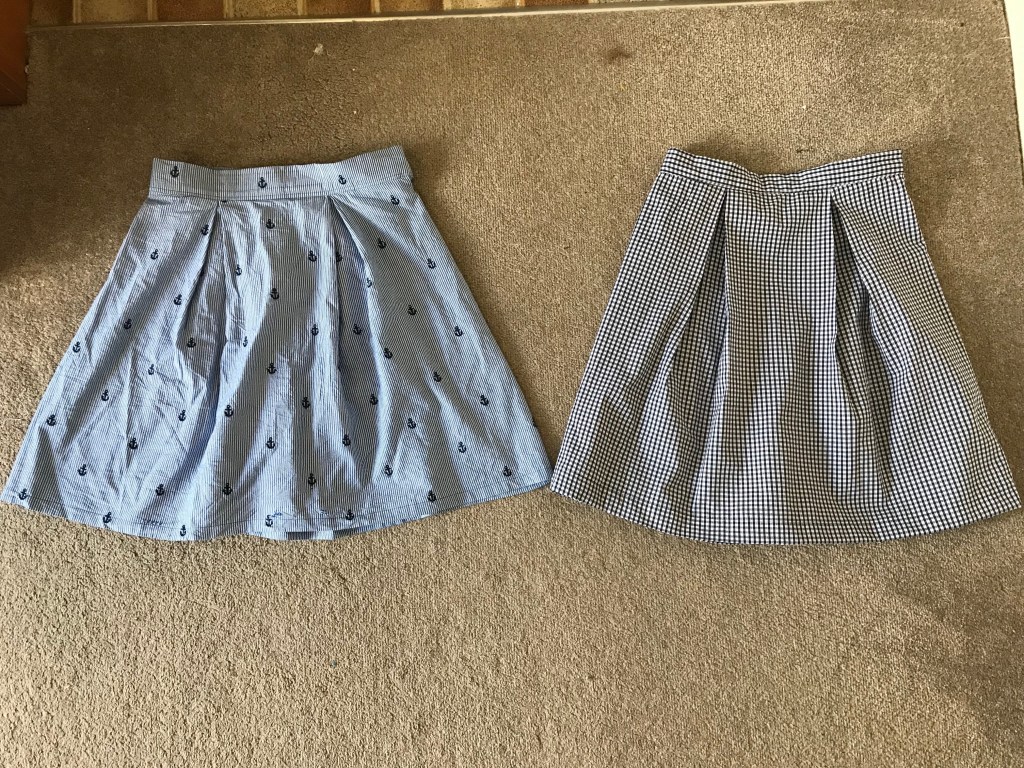
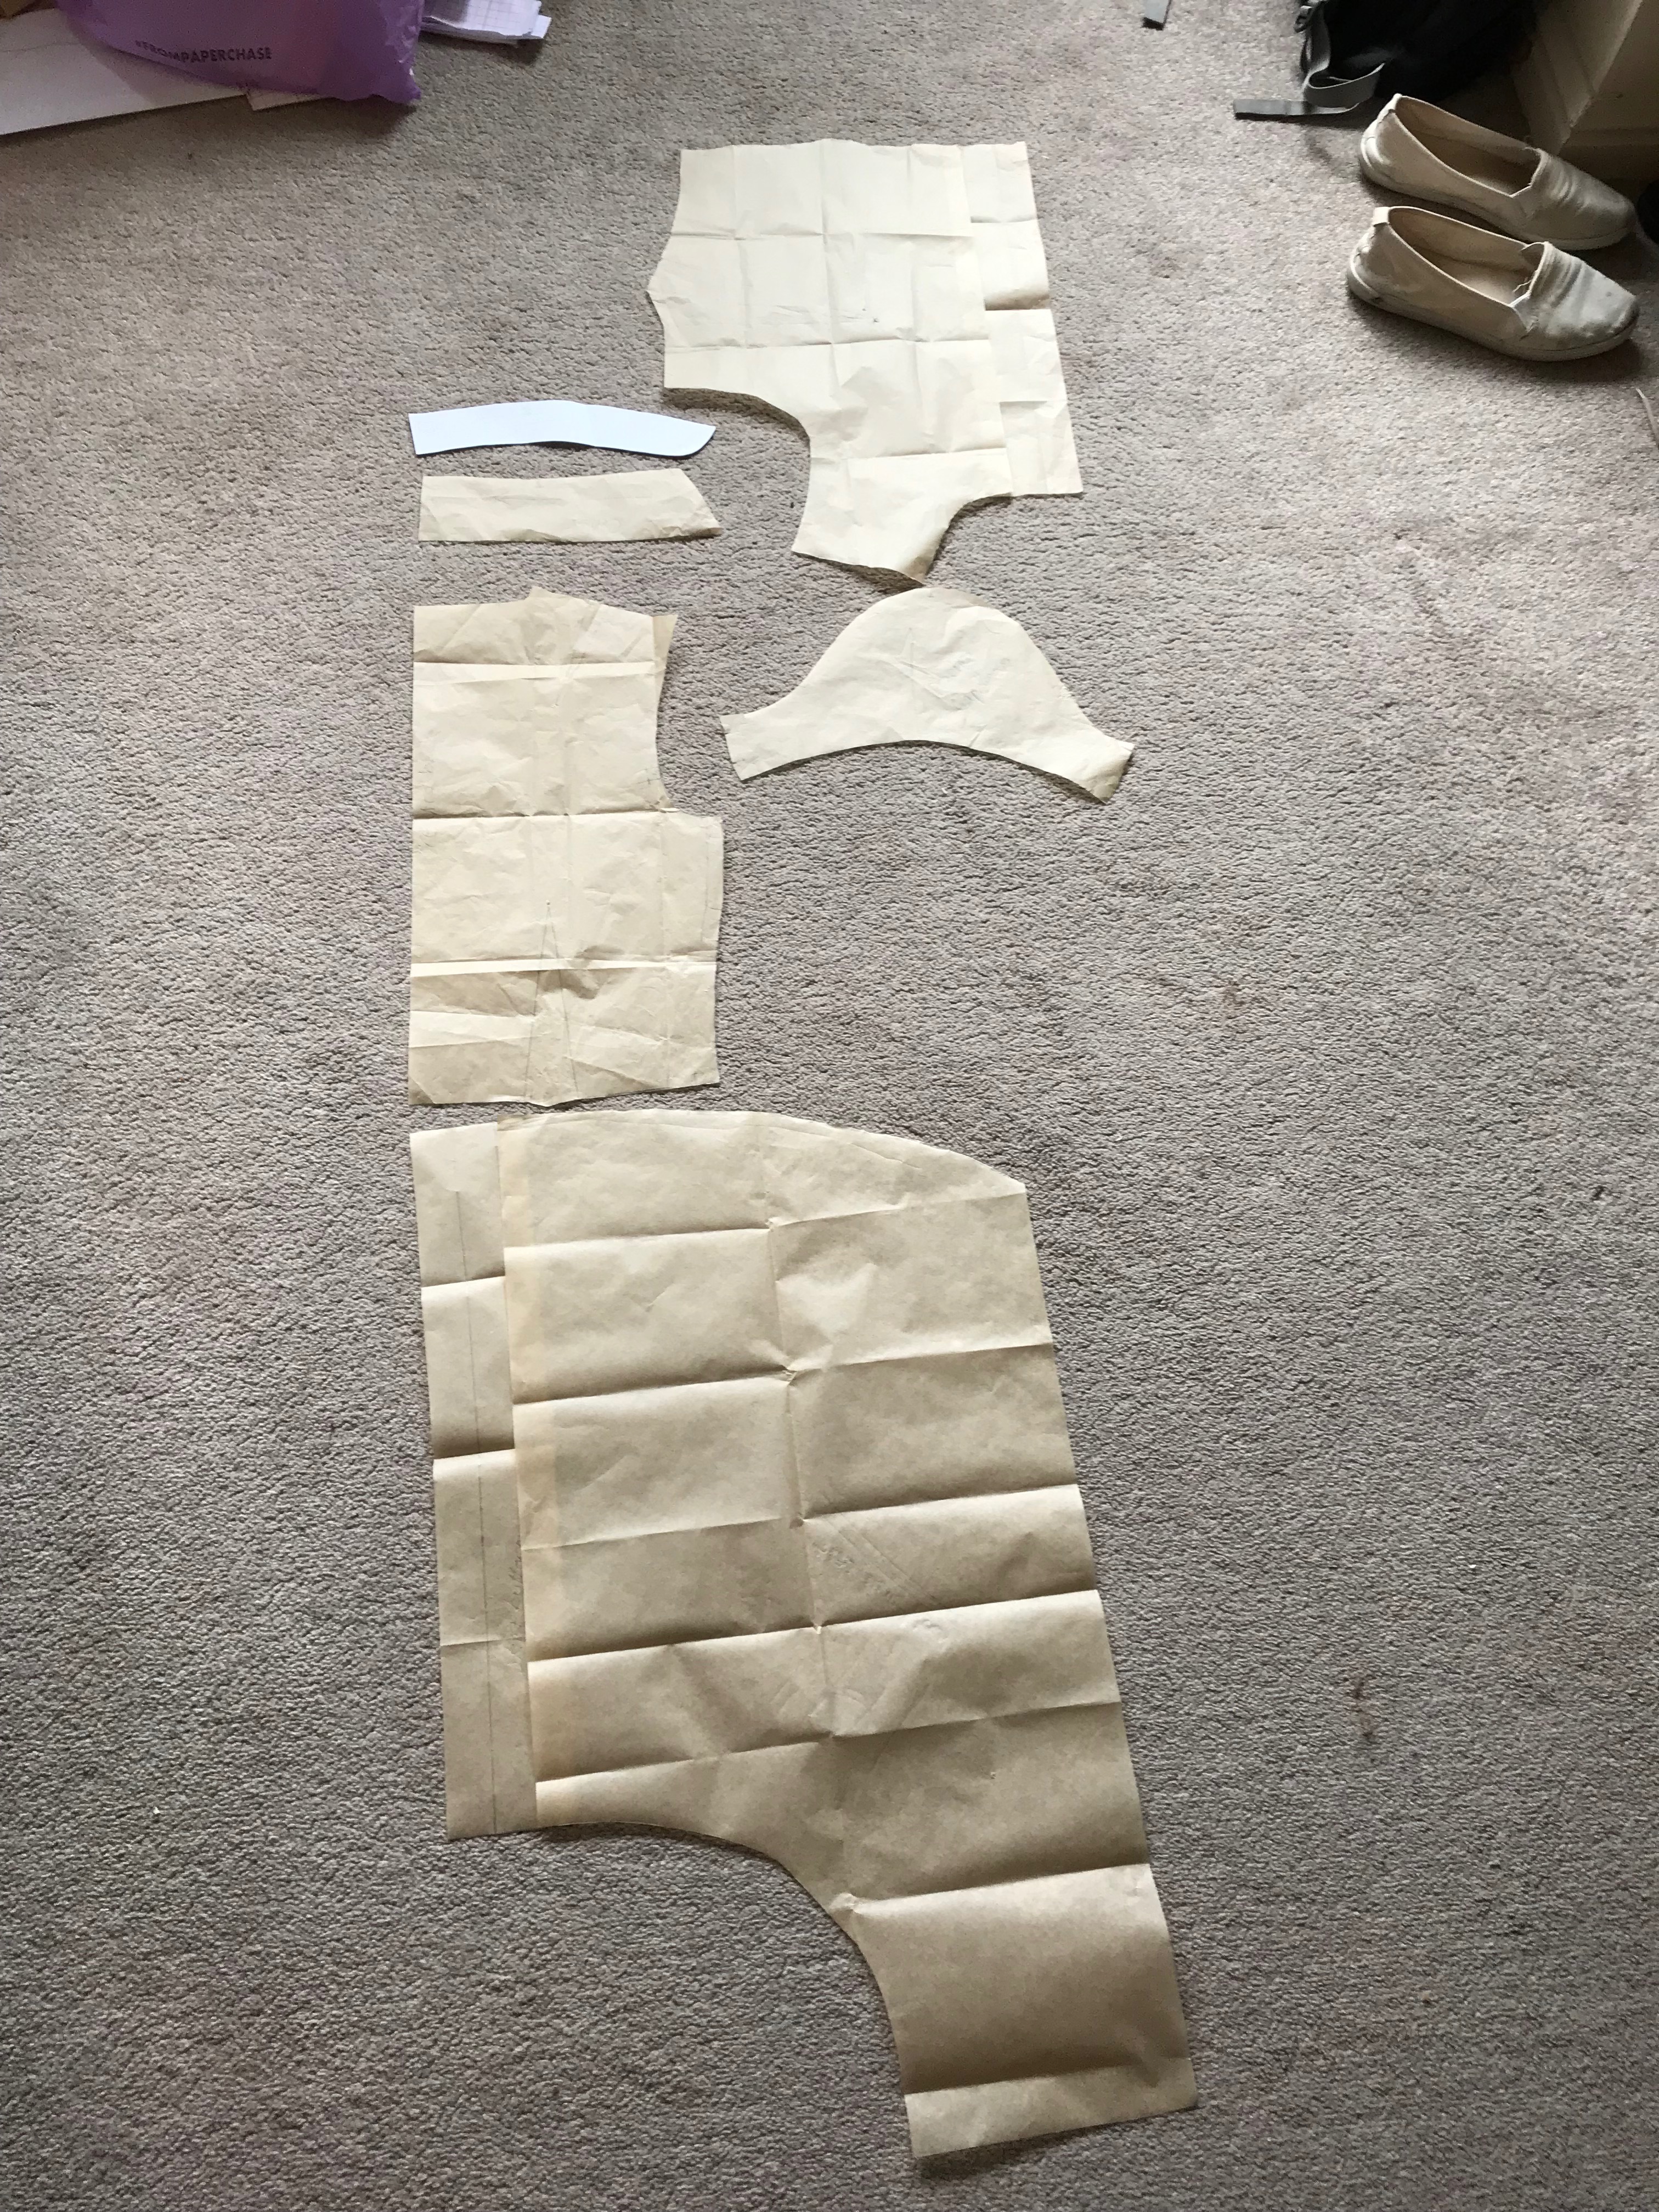
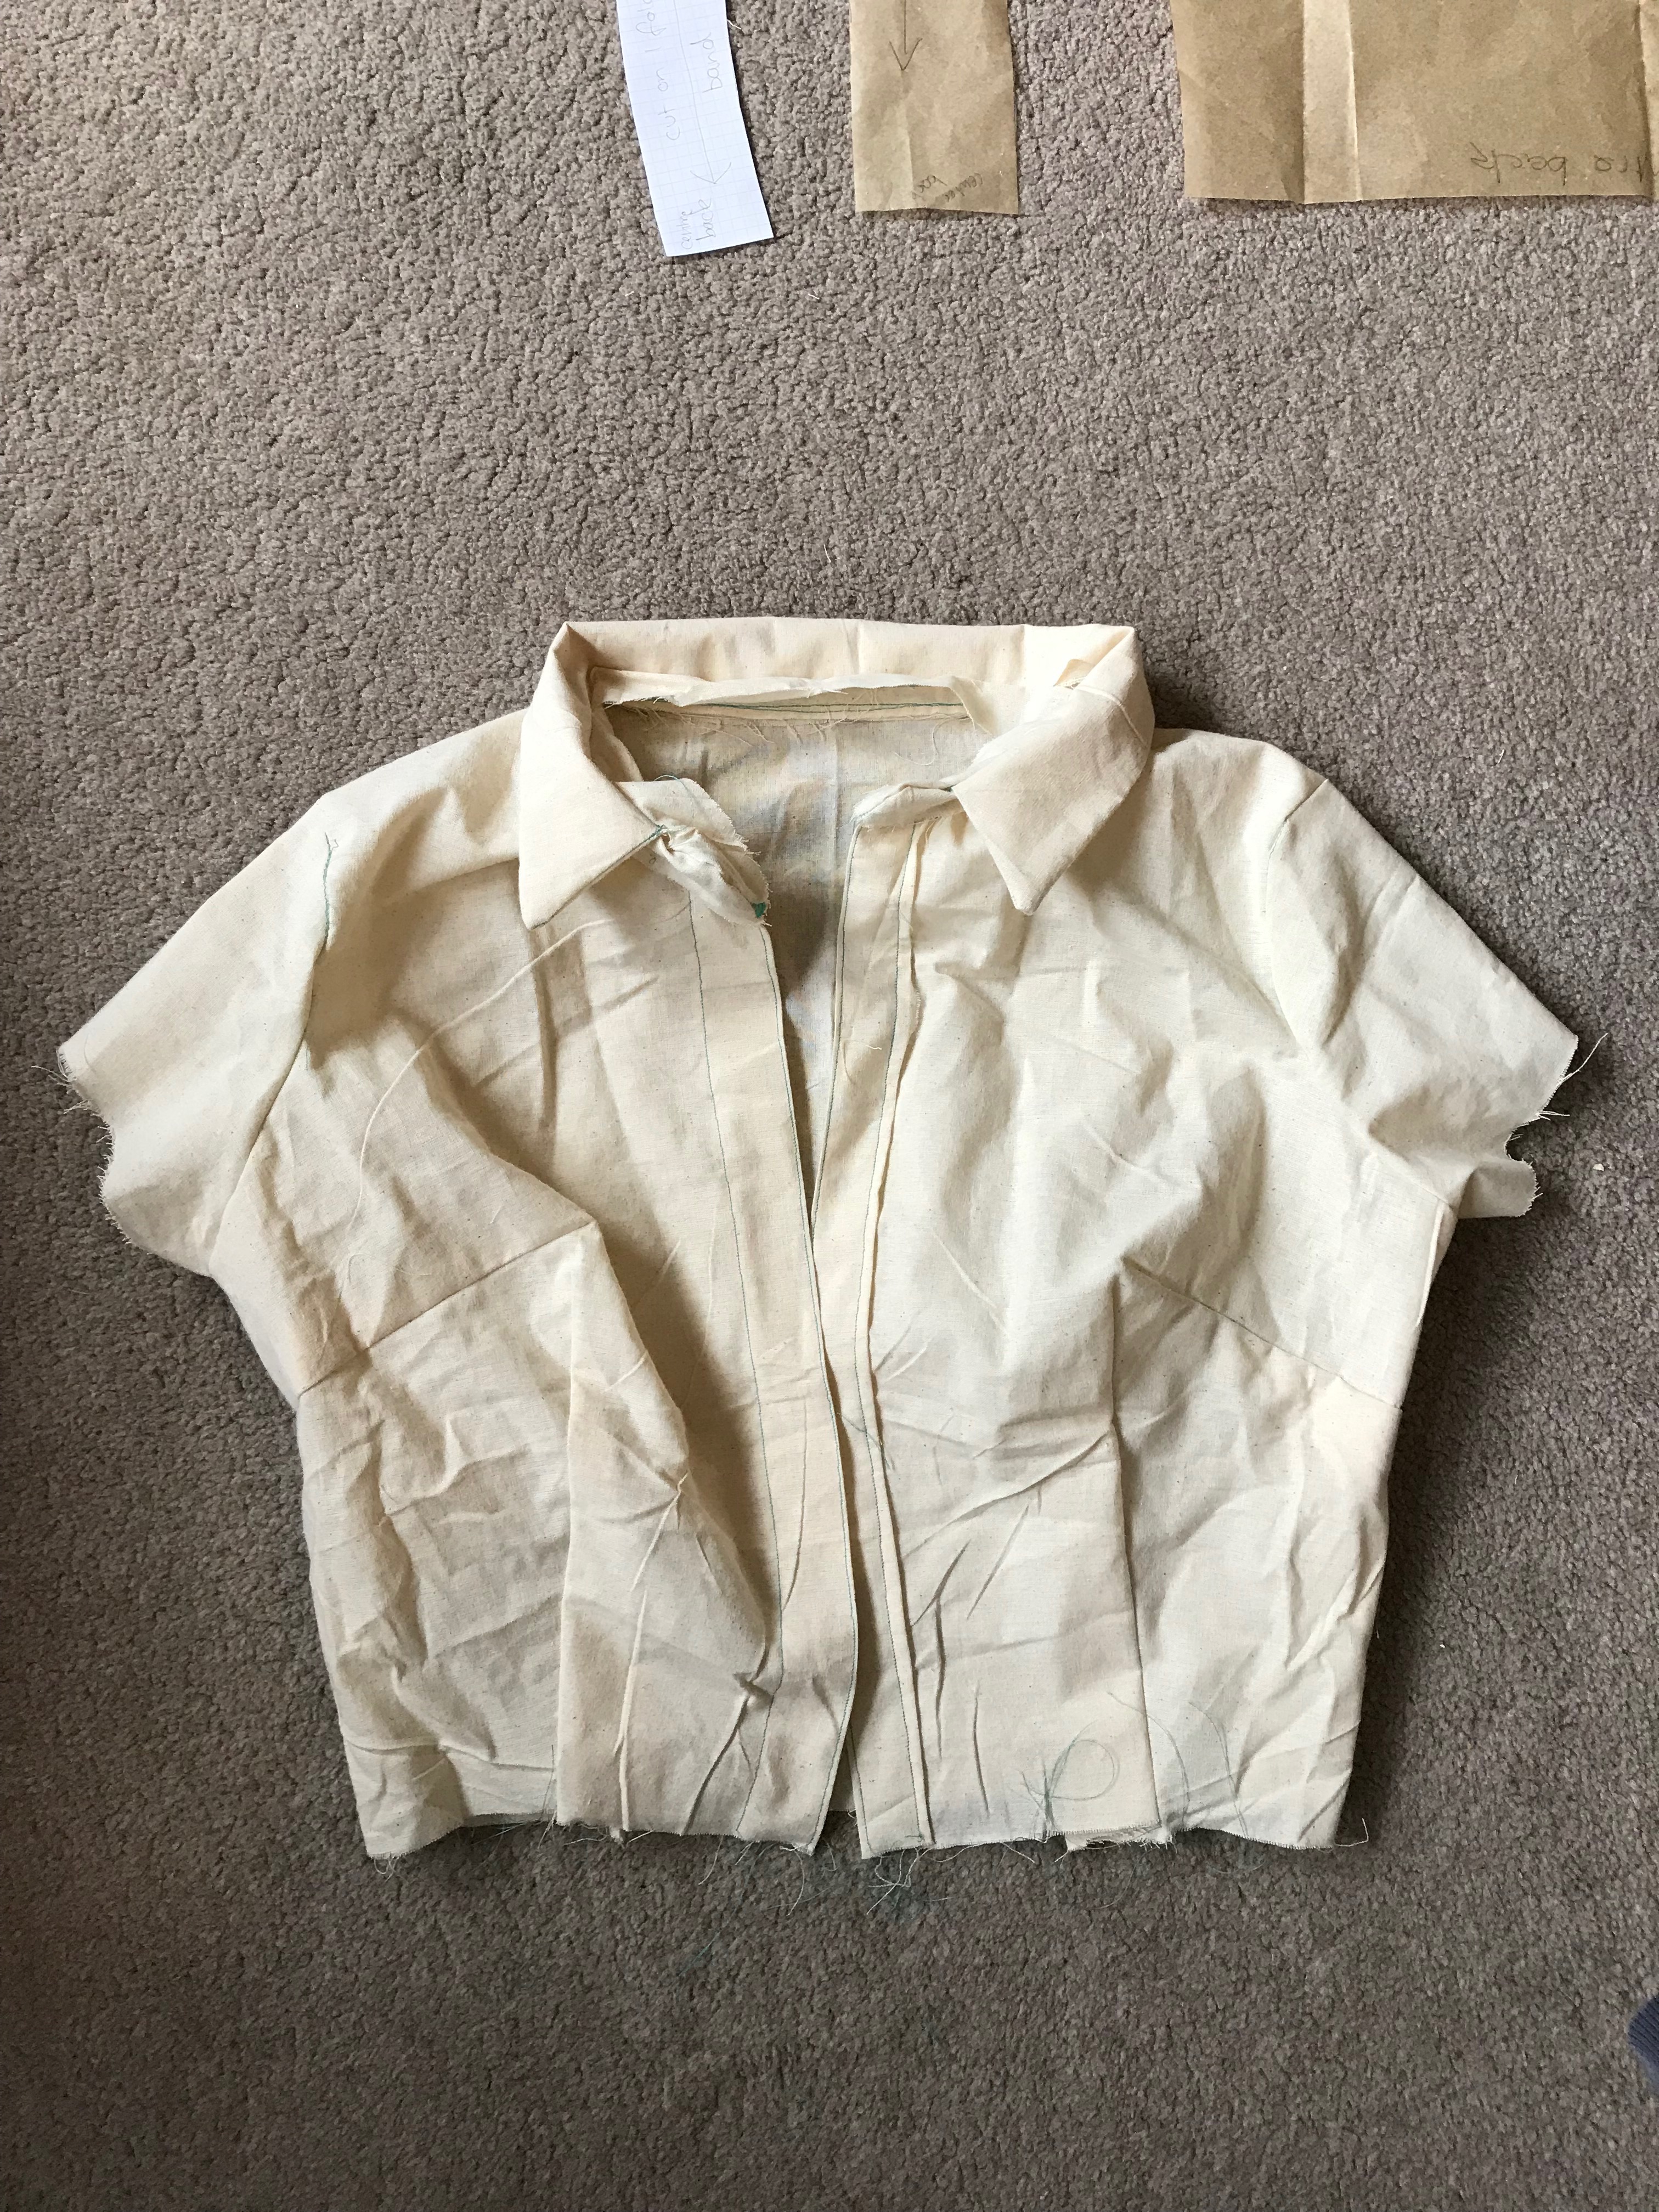
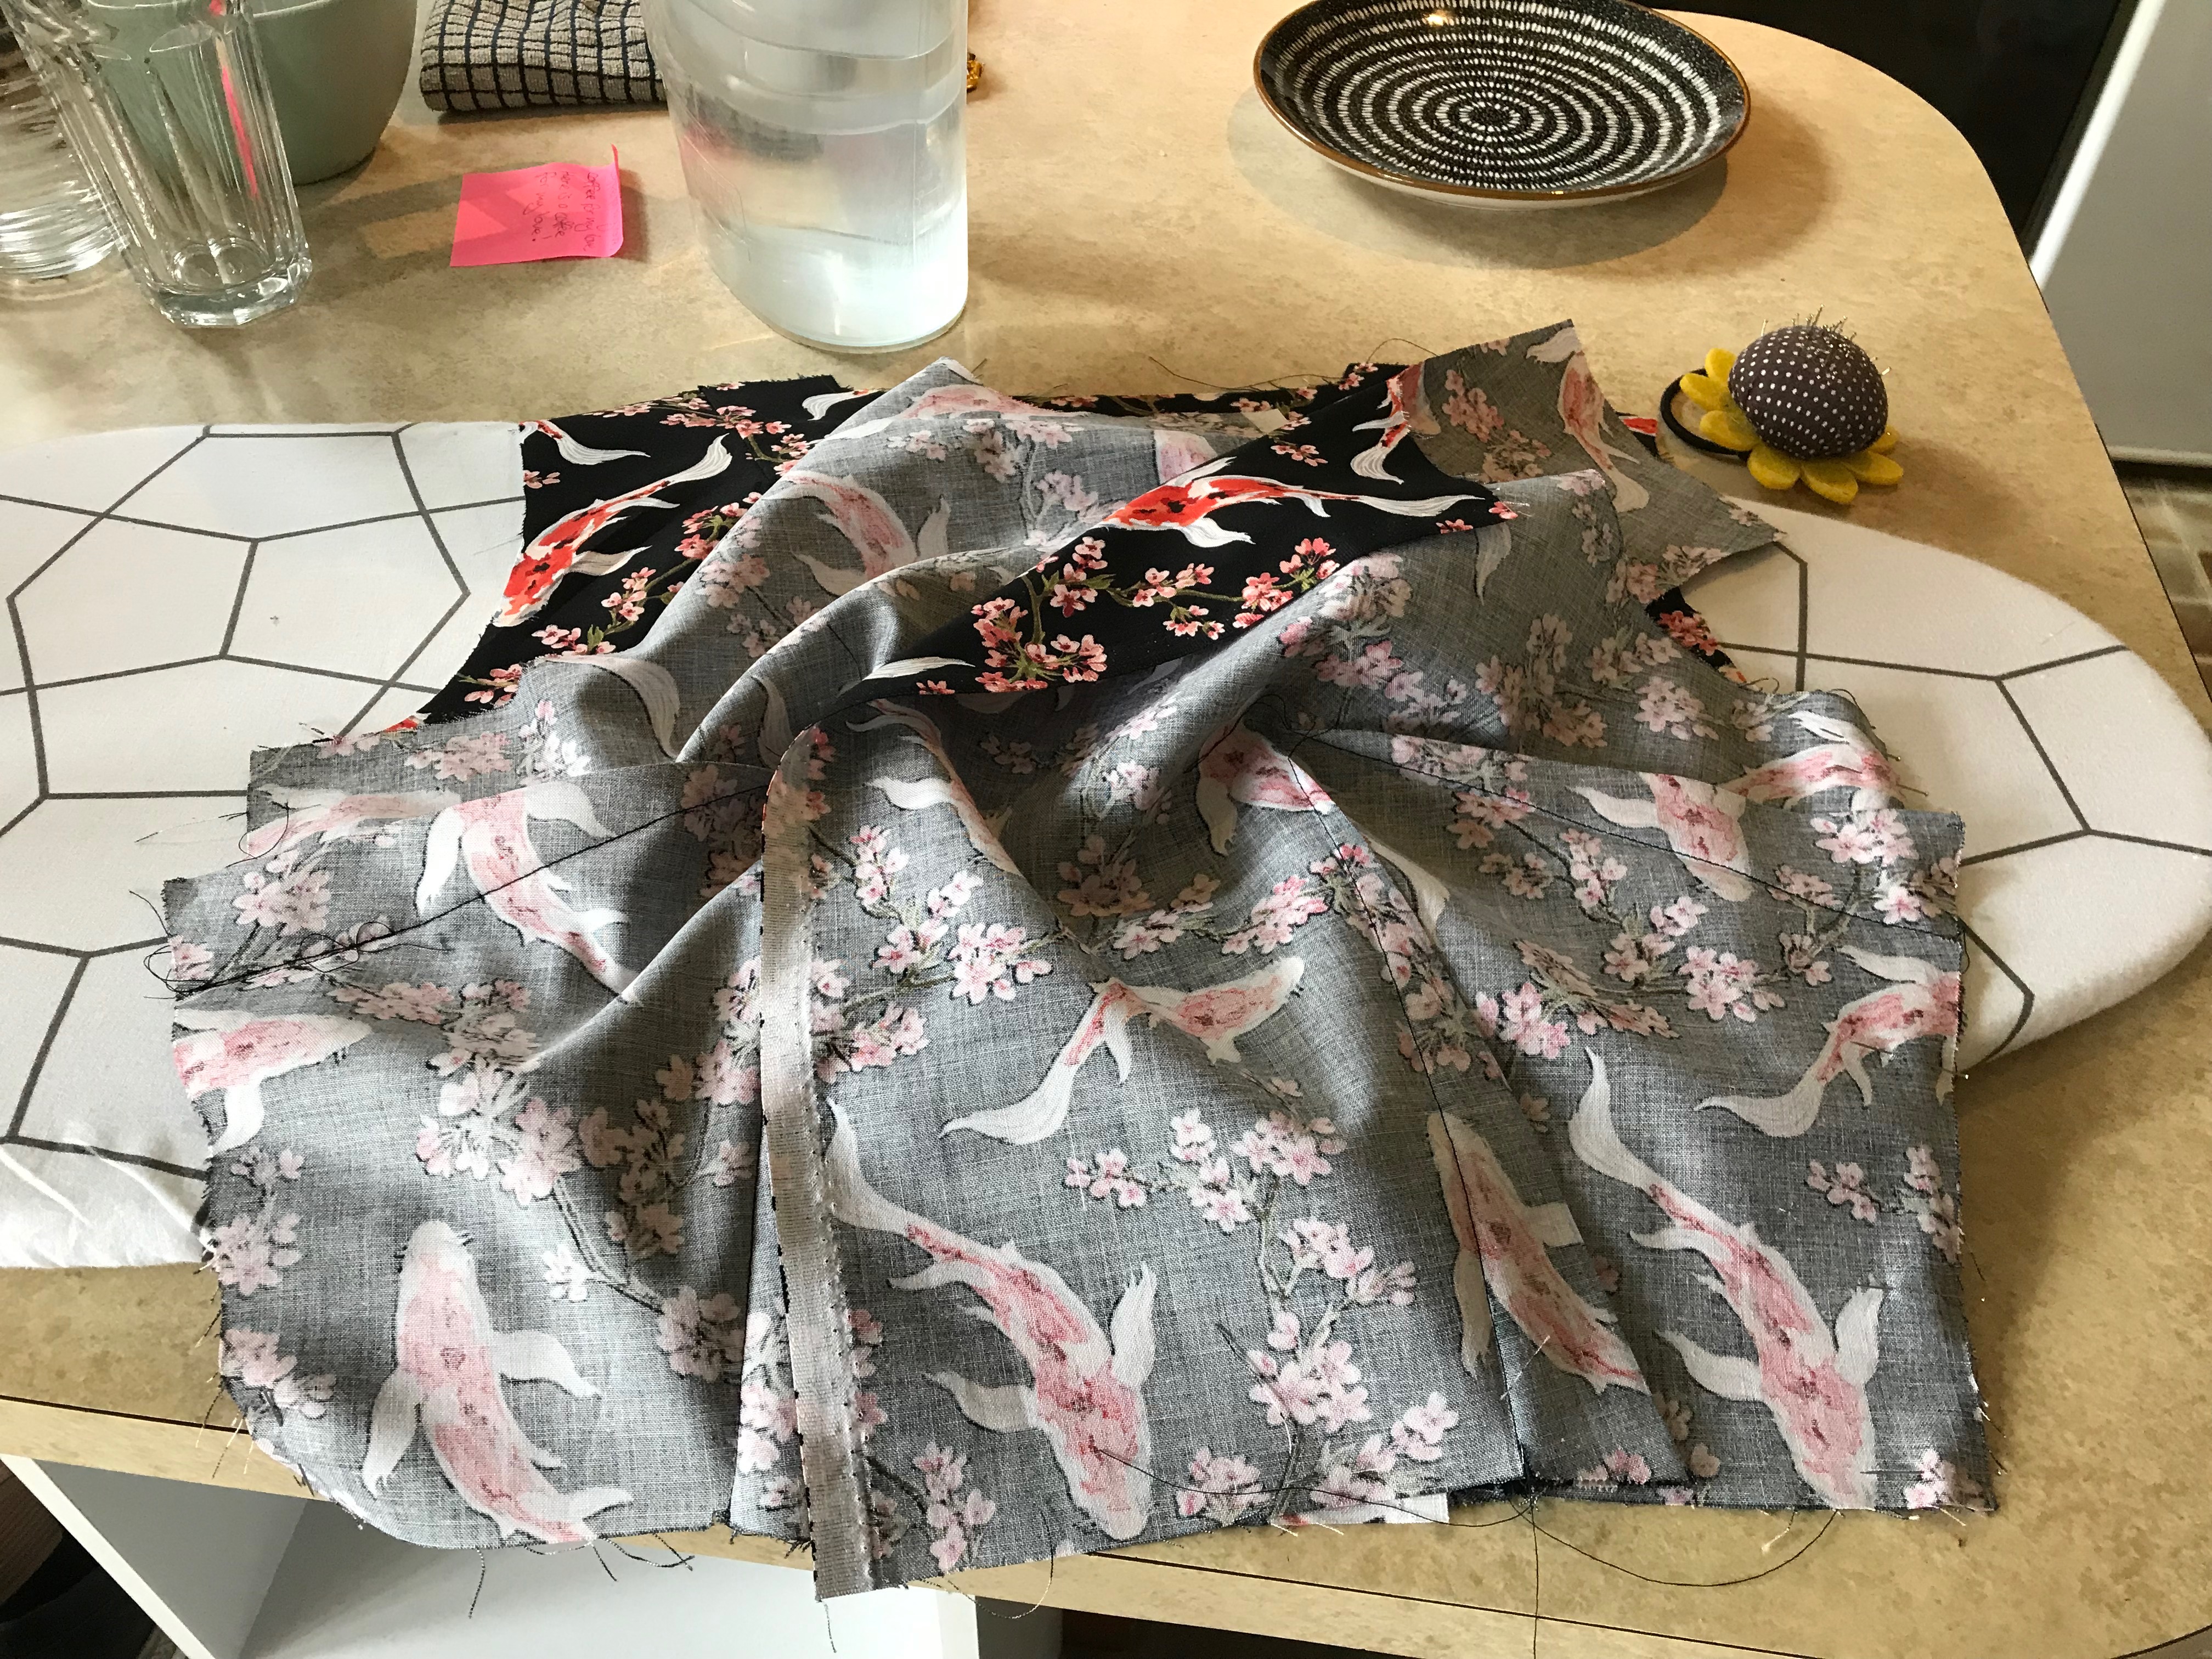
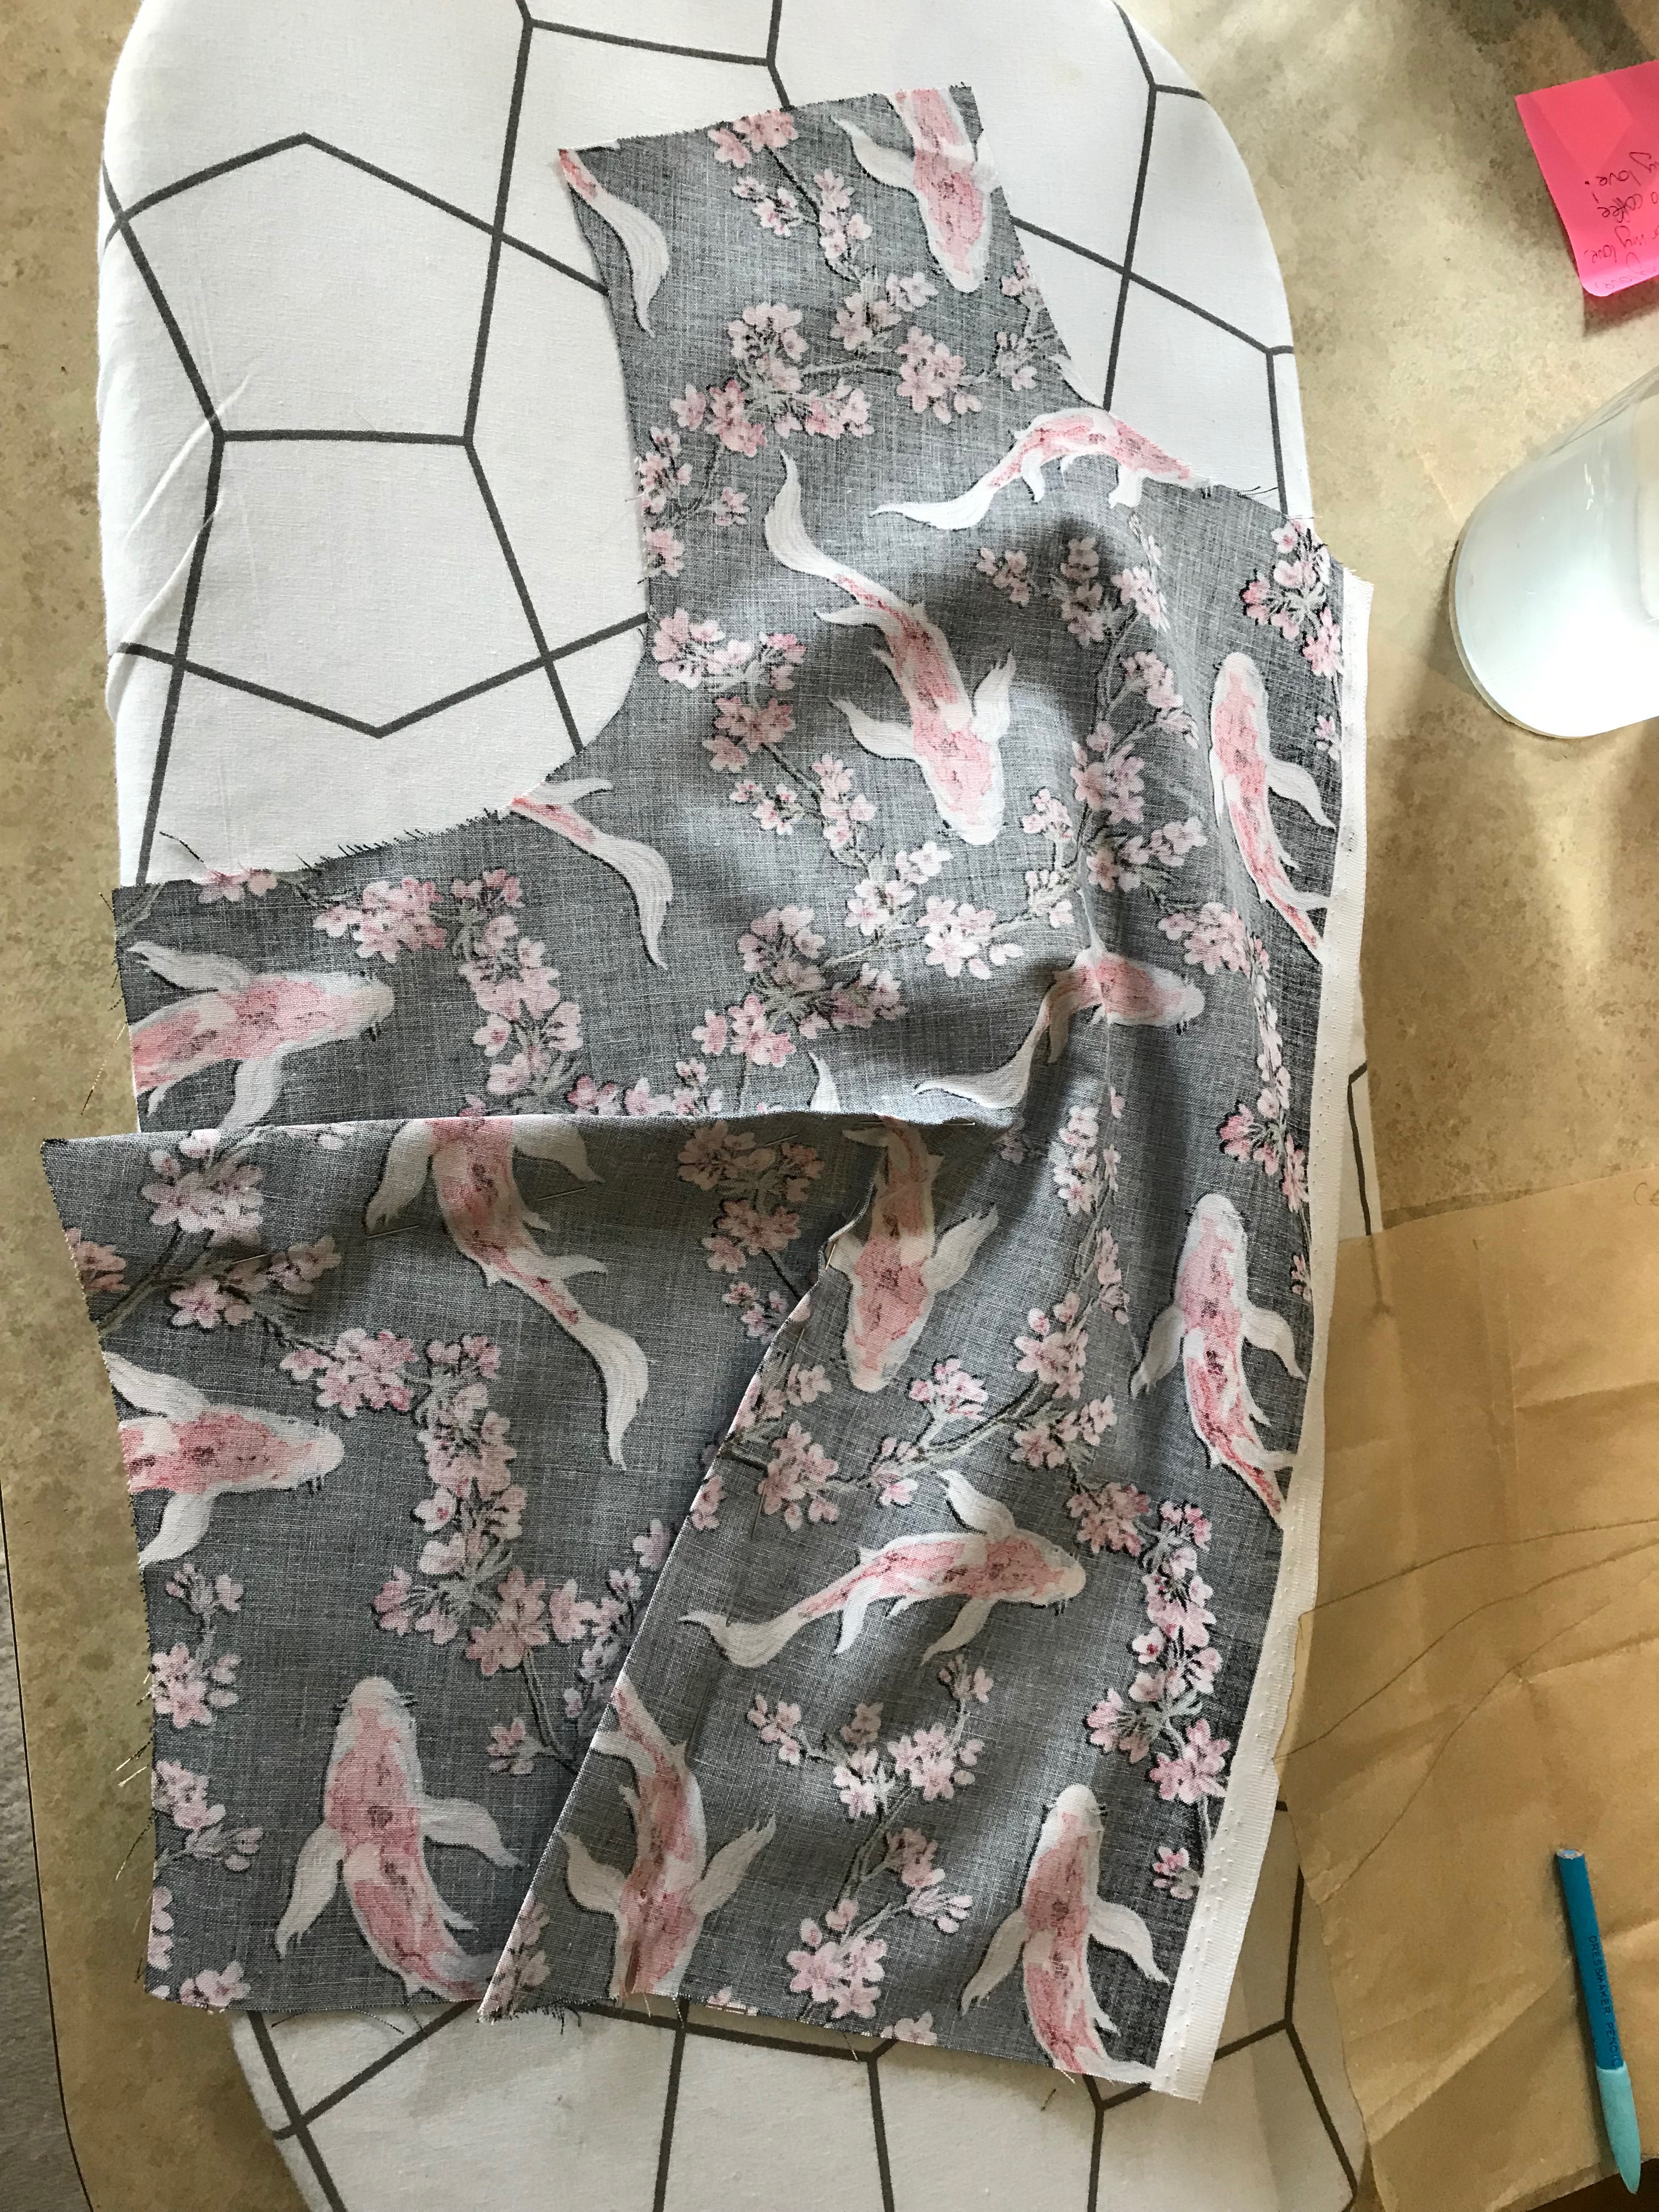
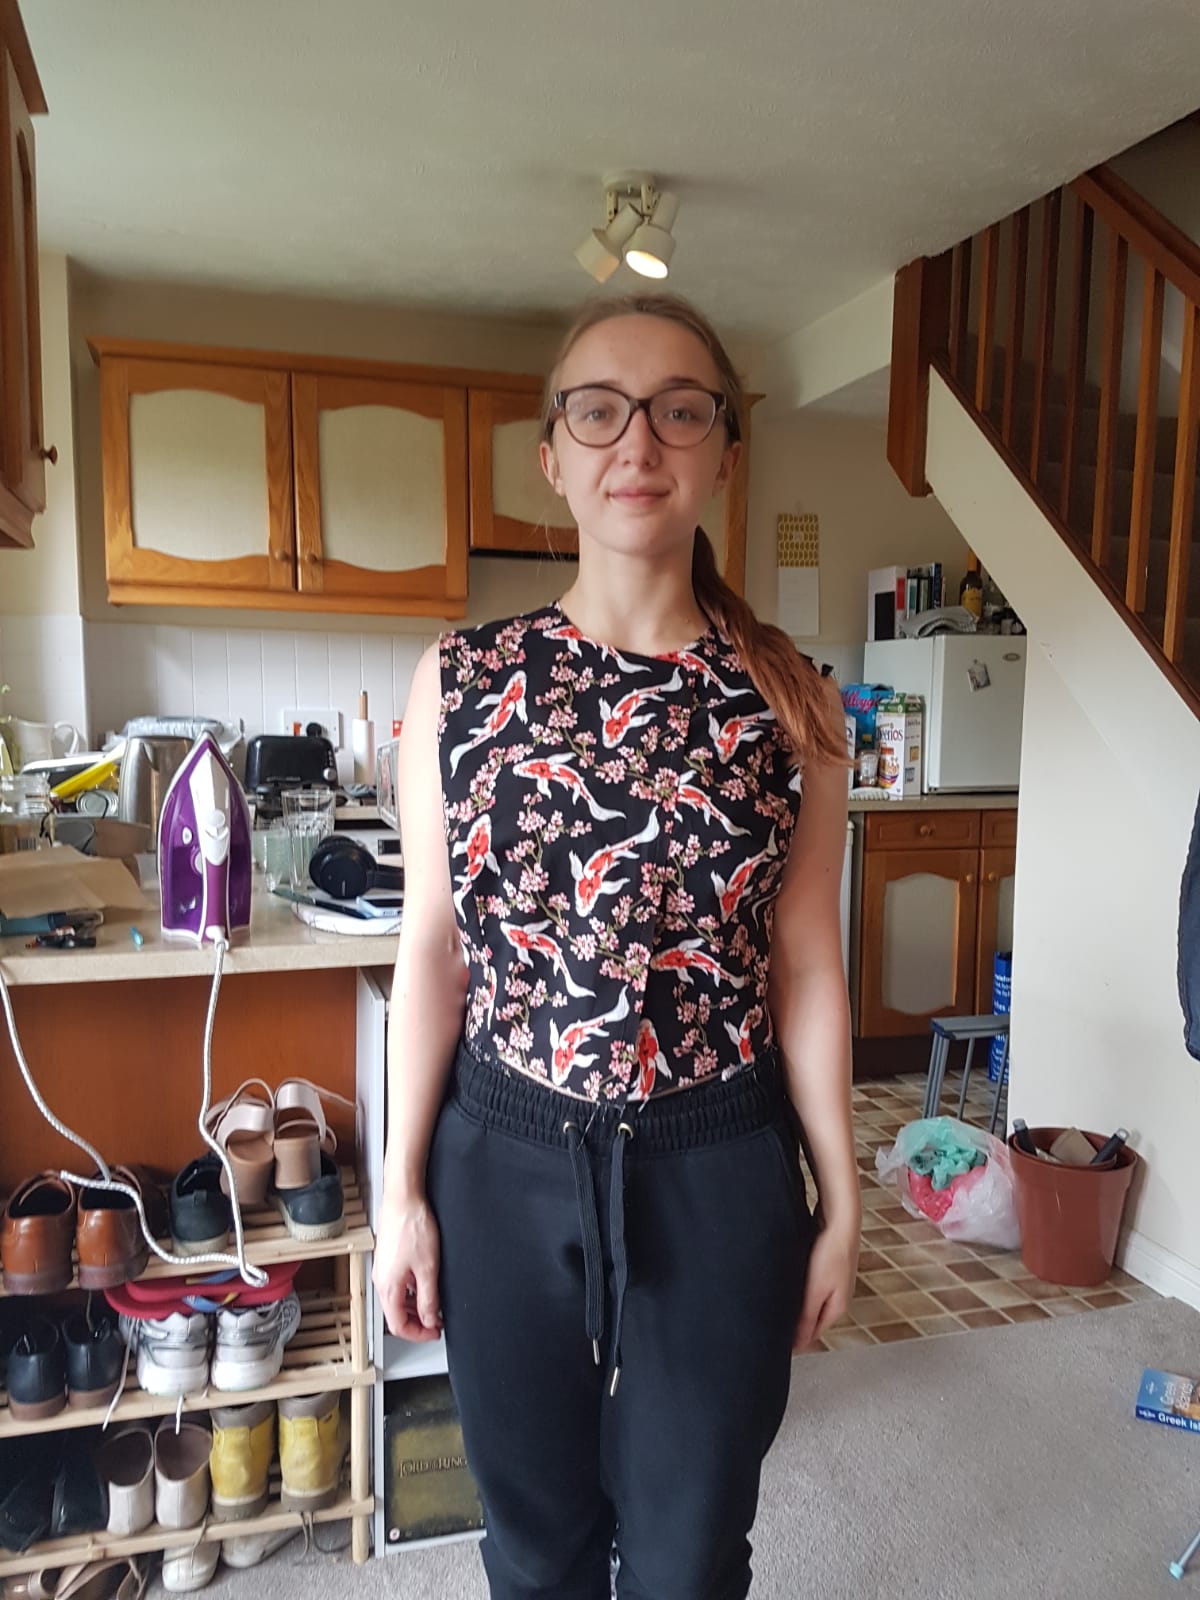
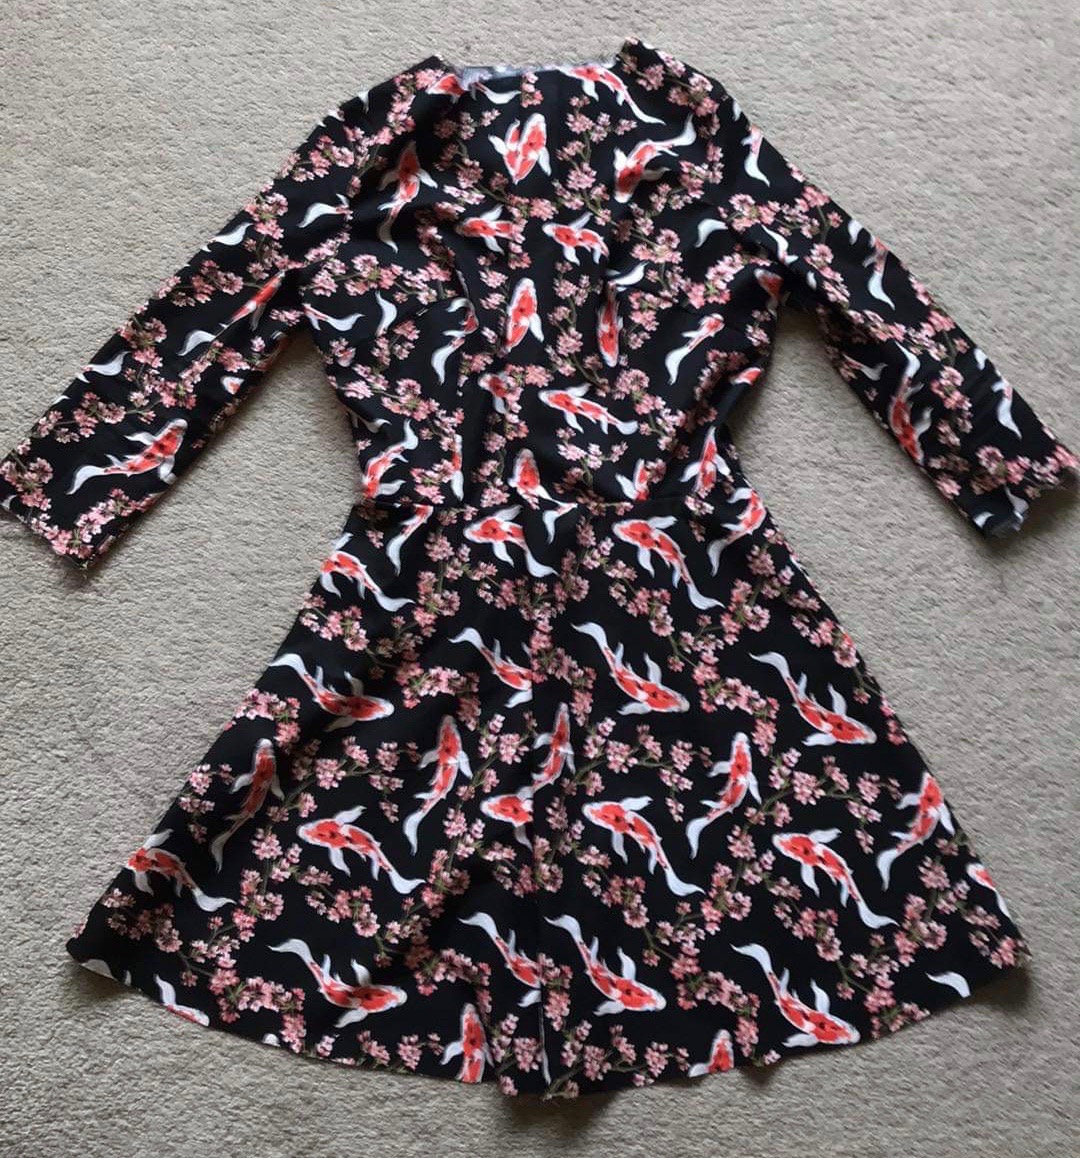
Instead I am directing that urge towards buying fabric and then imposing a fabric limit. I bought a lot at once and now I have a couple of months worth of projects to work on. I am going to celebrate every make and ensure that come September I start making things appropriate to the season so I don’t have to go out and buy a winter wardrobe, another weak point of mine in the shopping calendar.

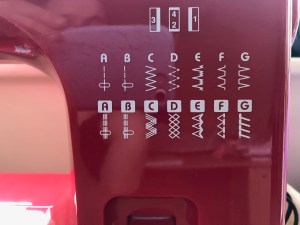
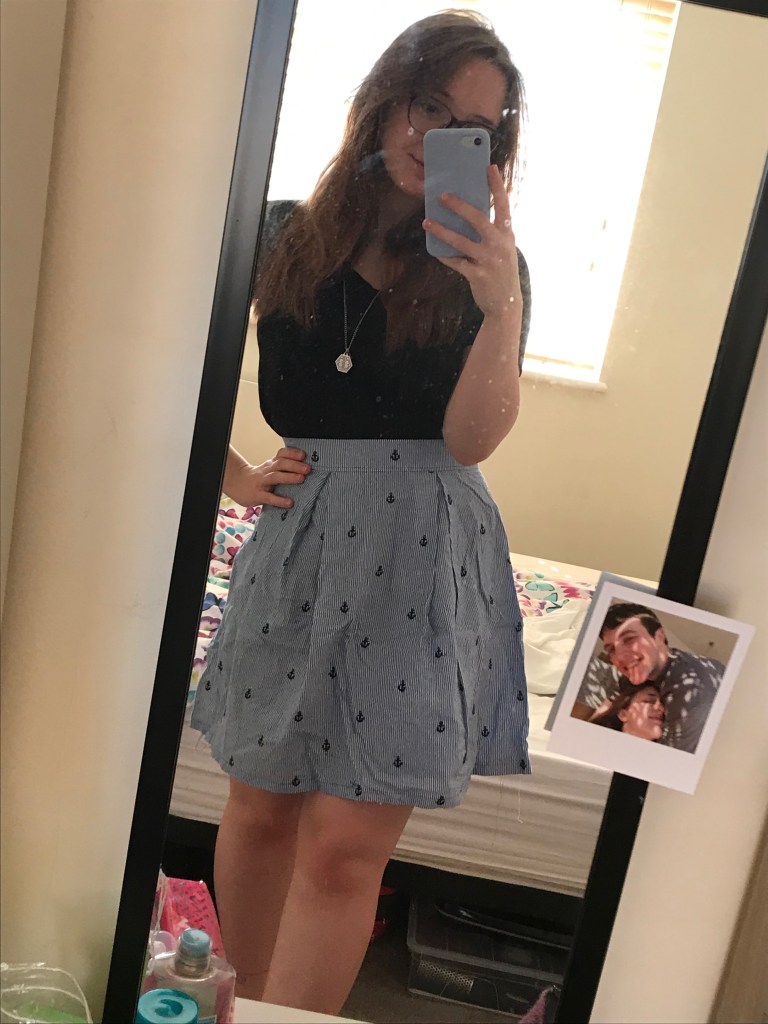
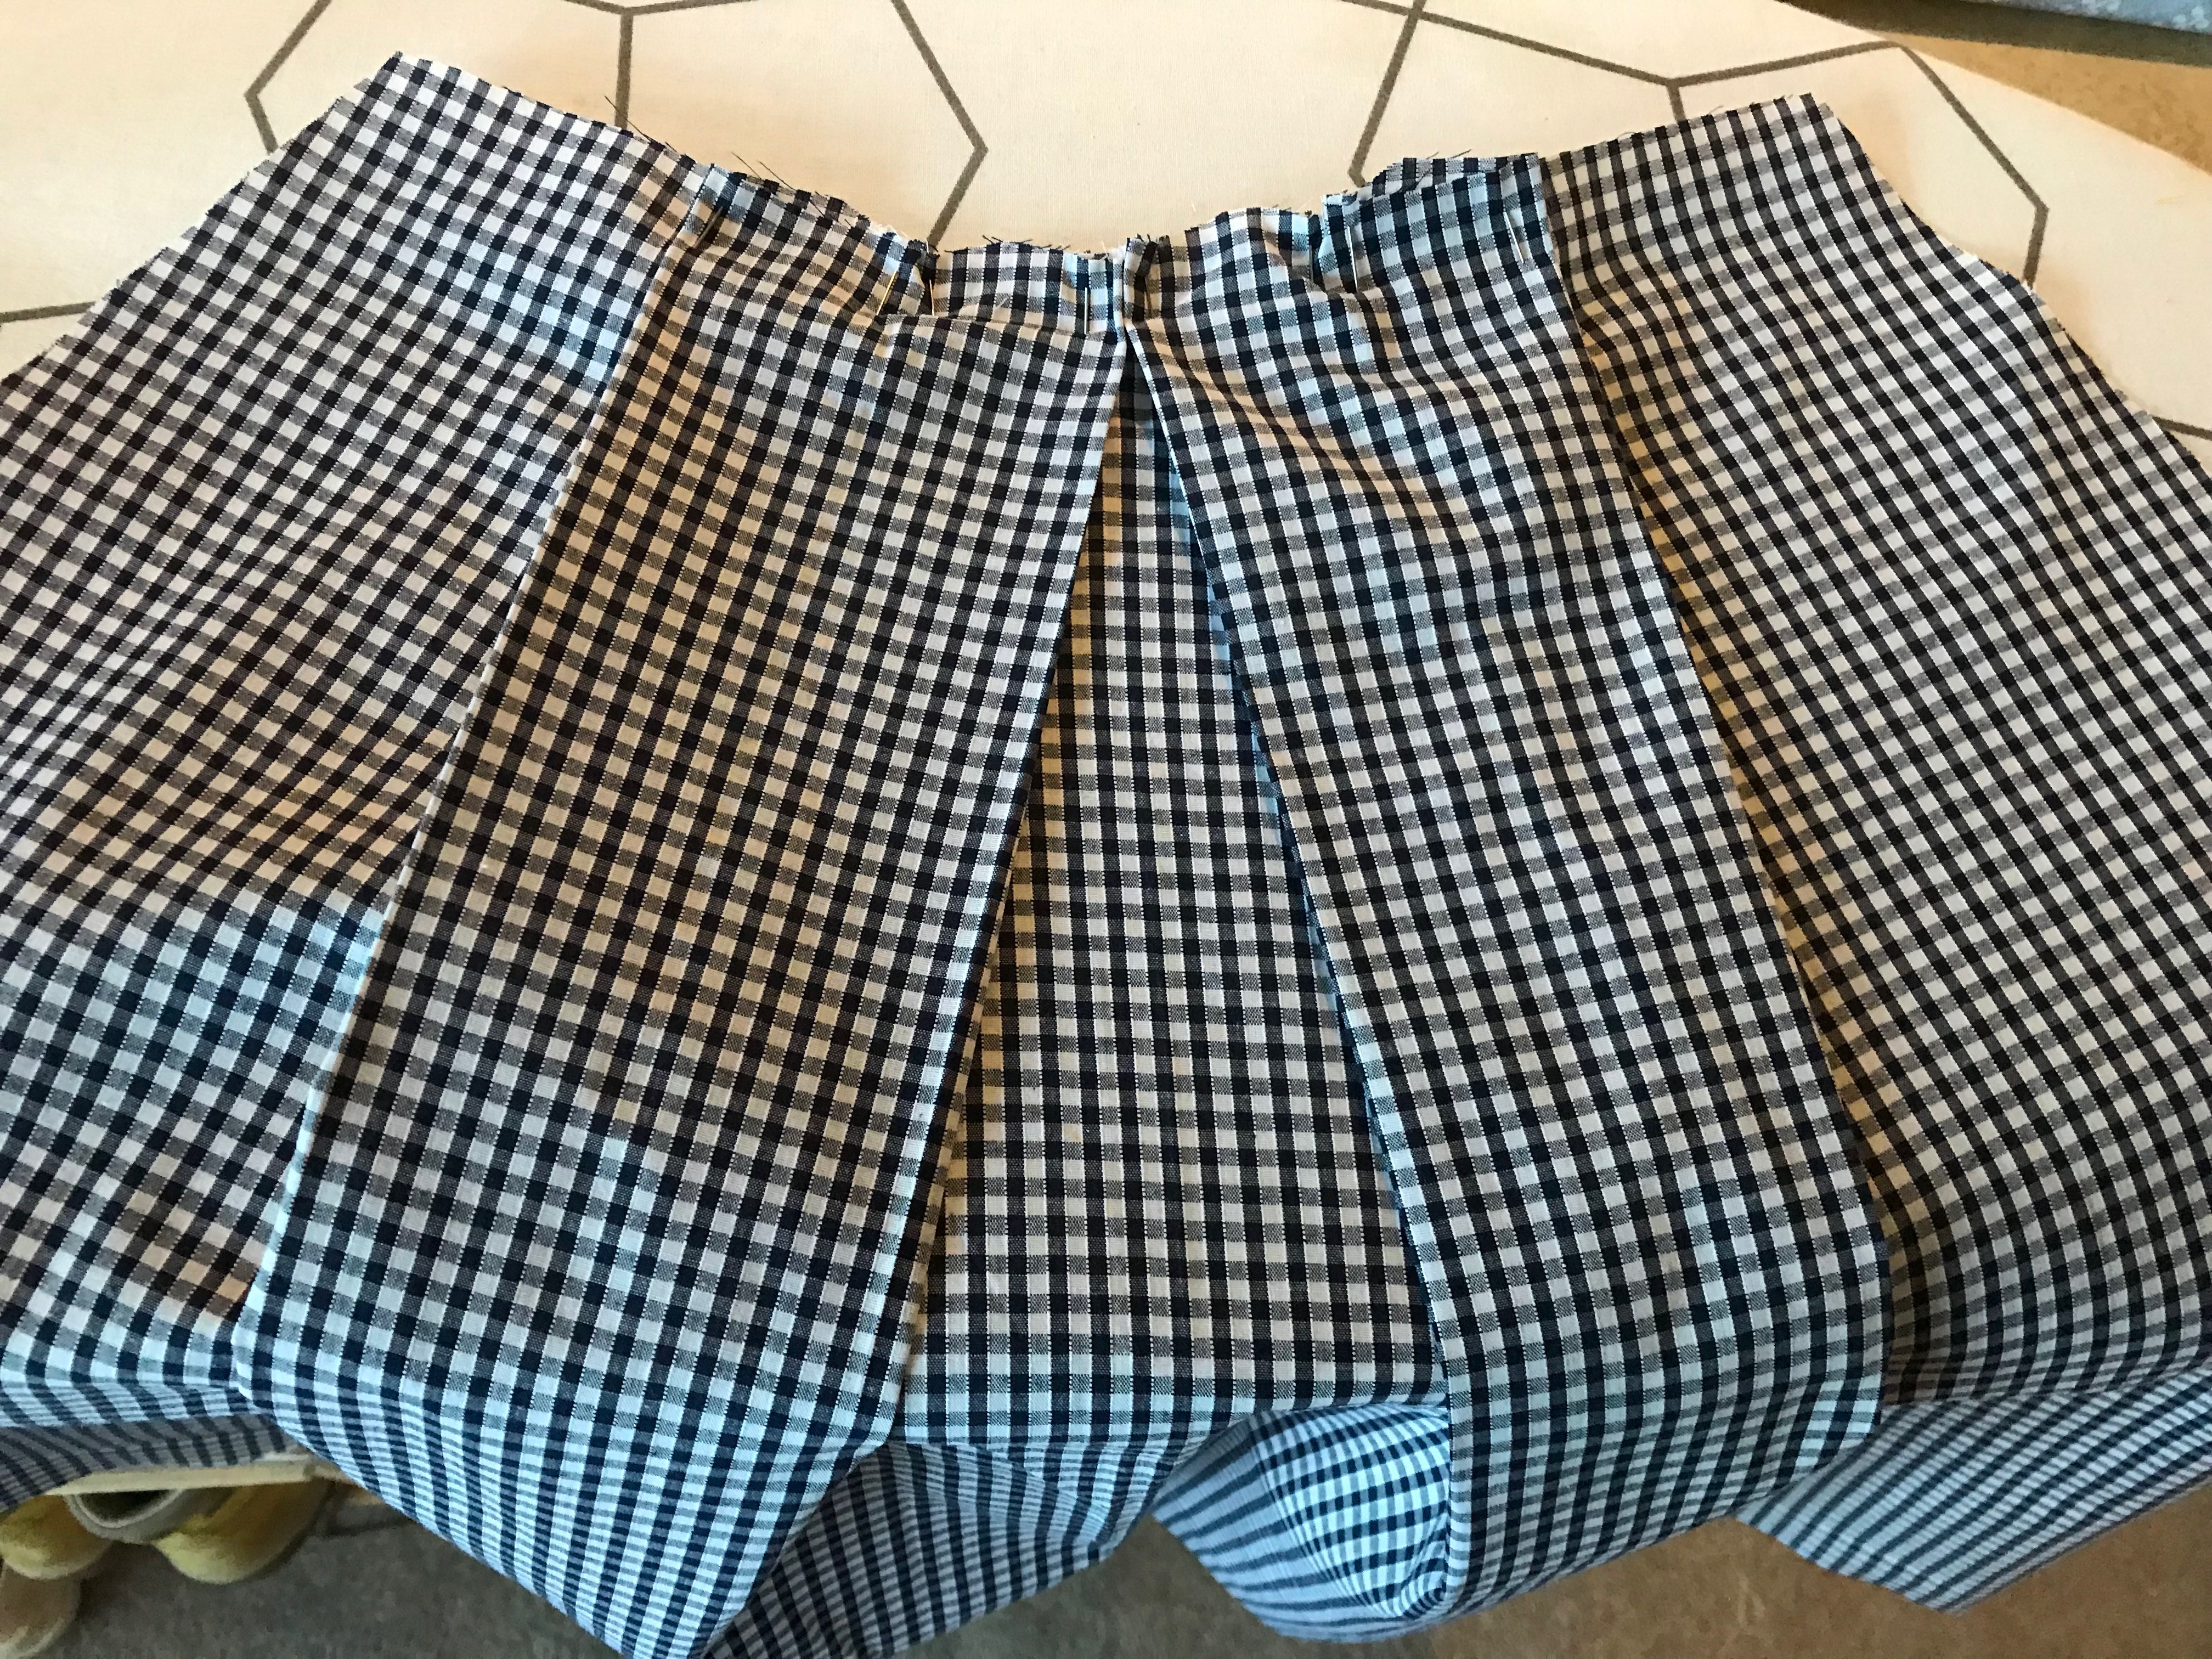
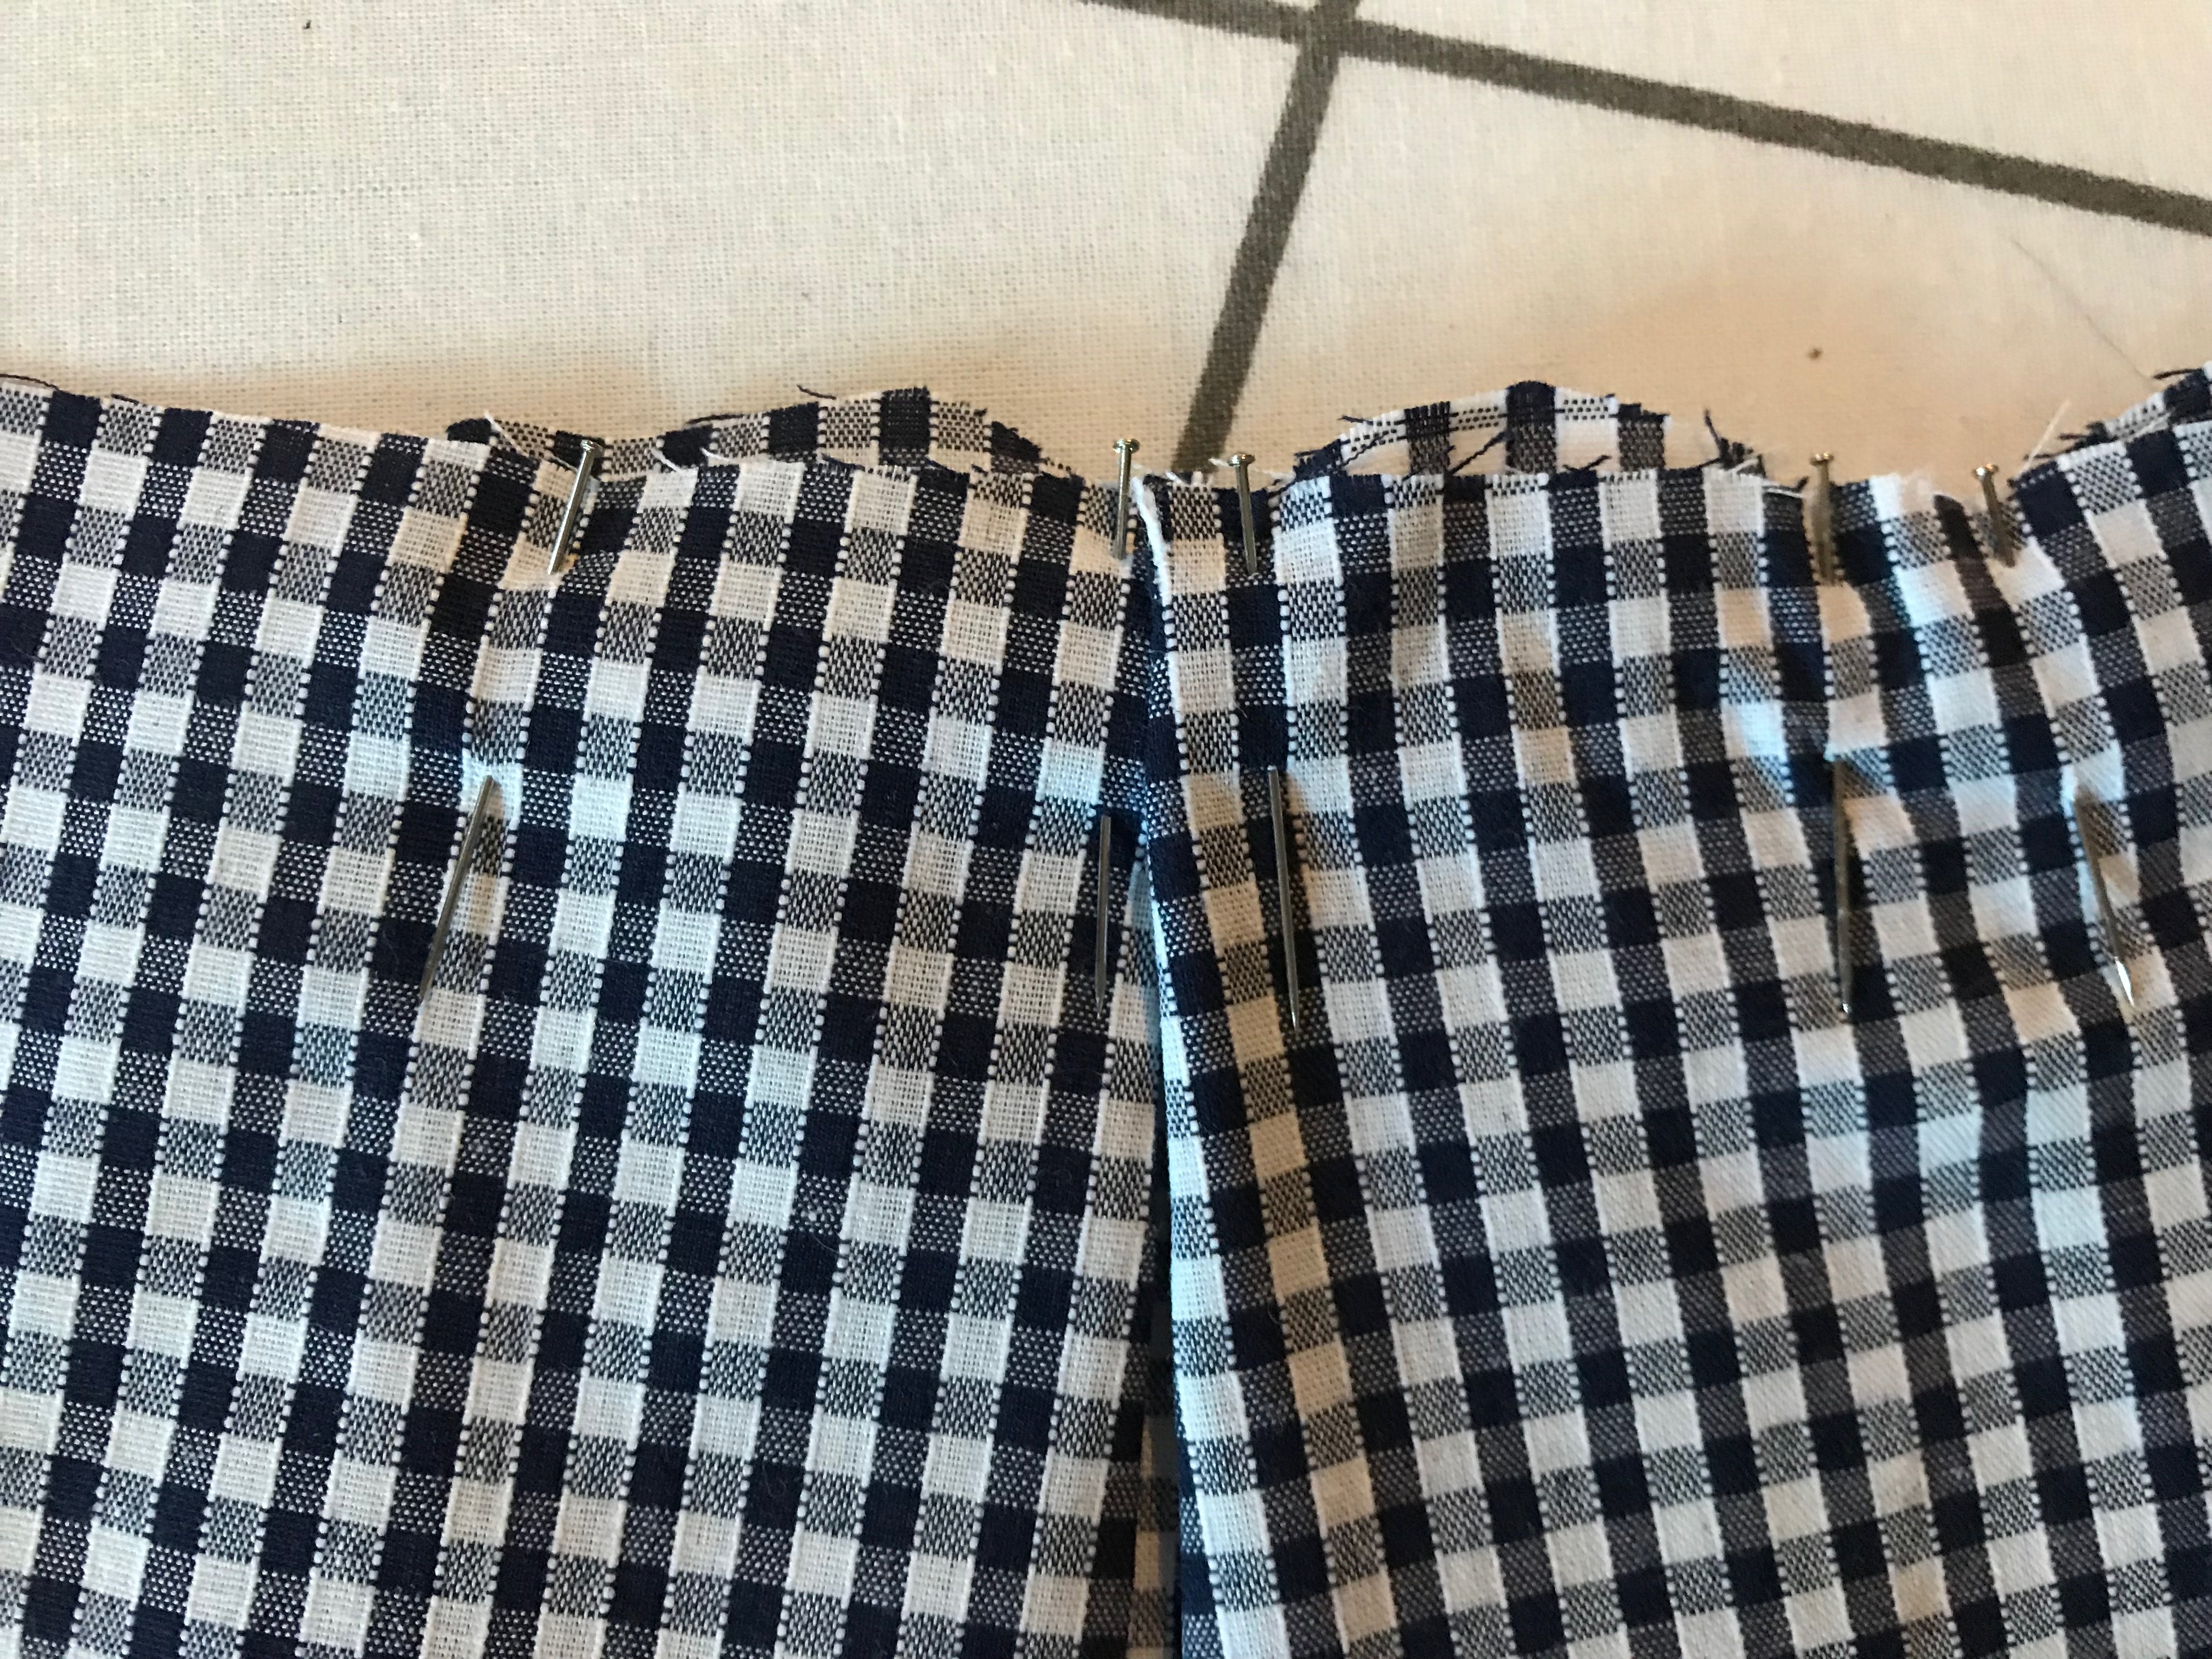
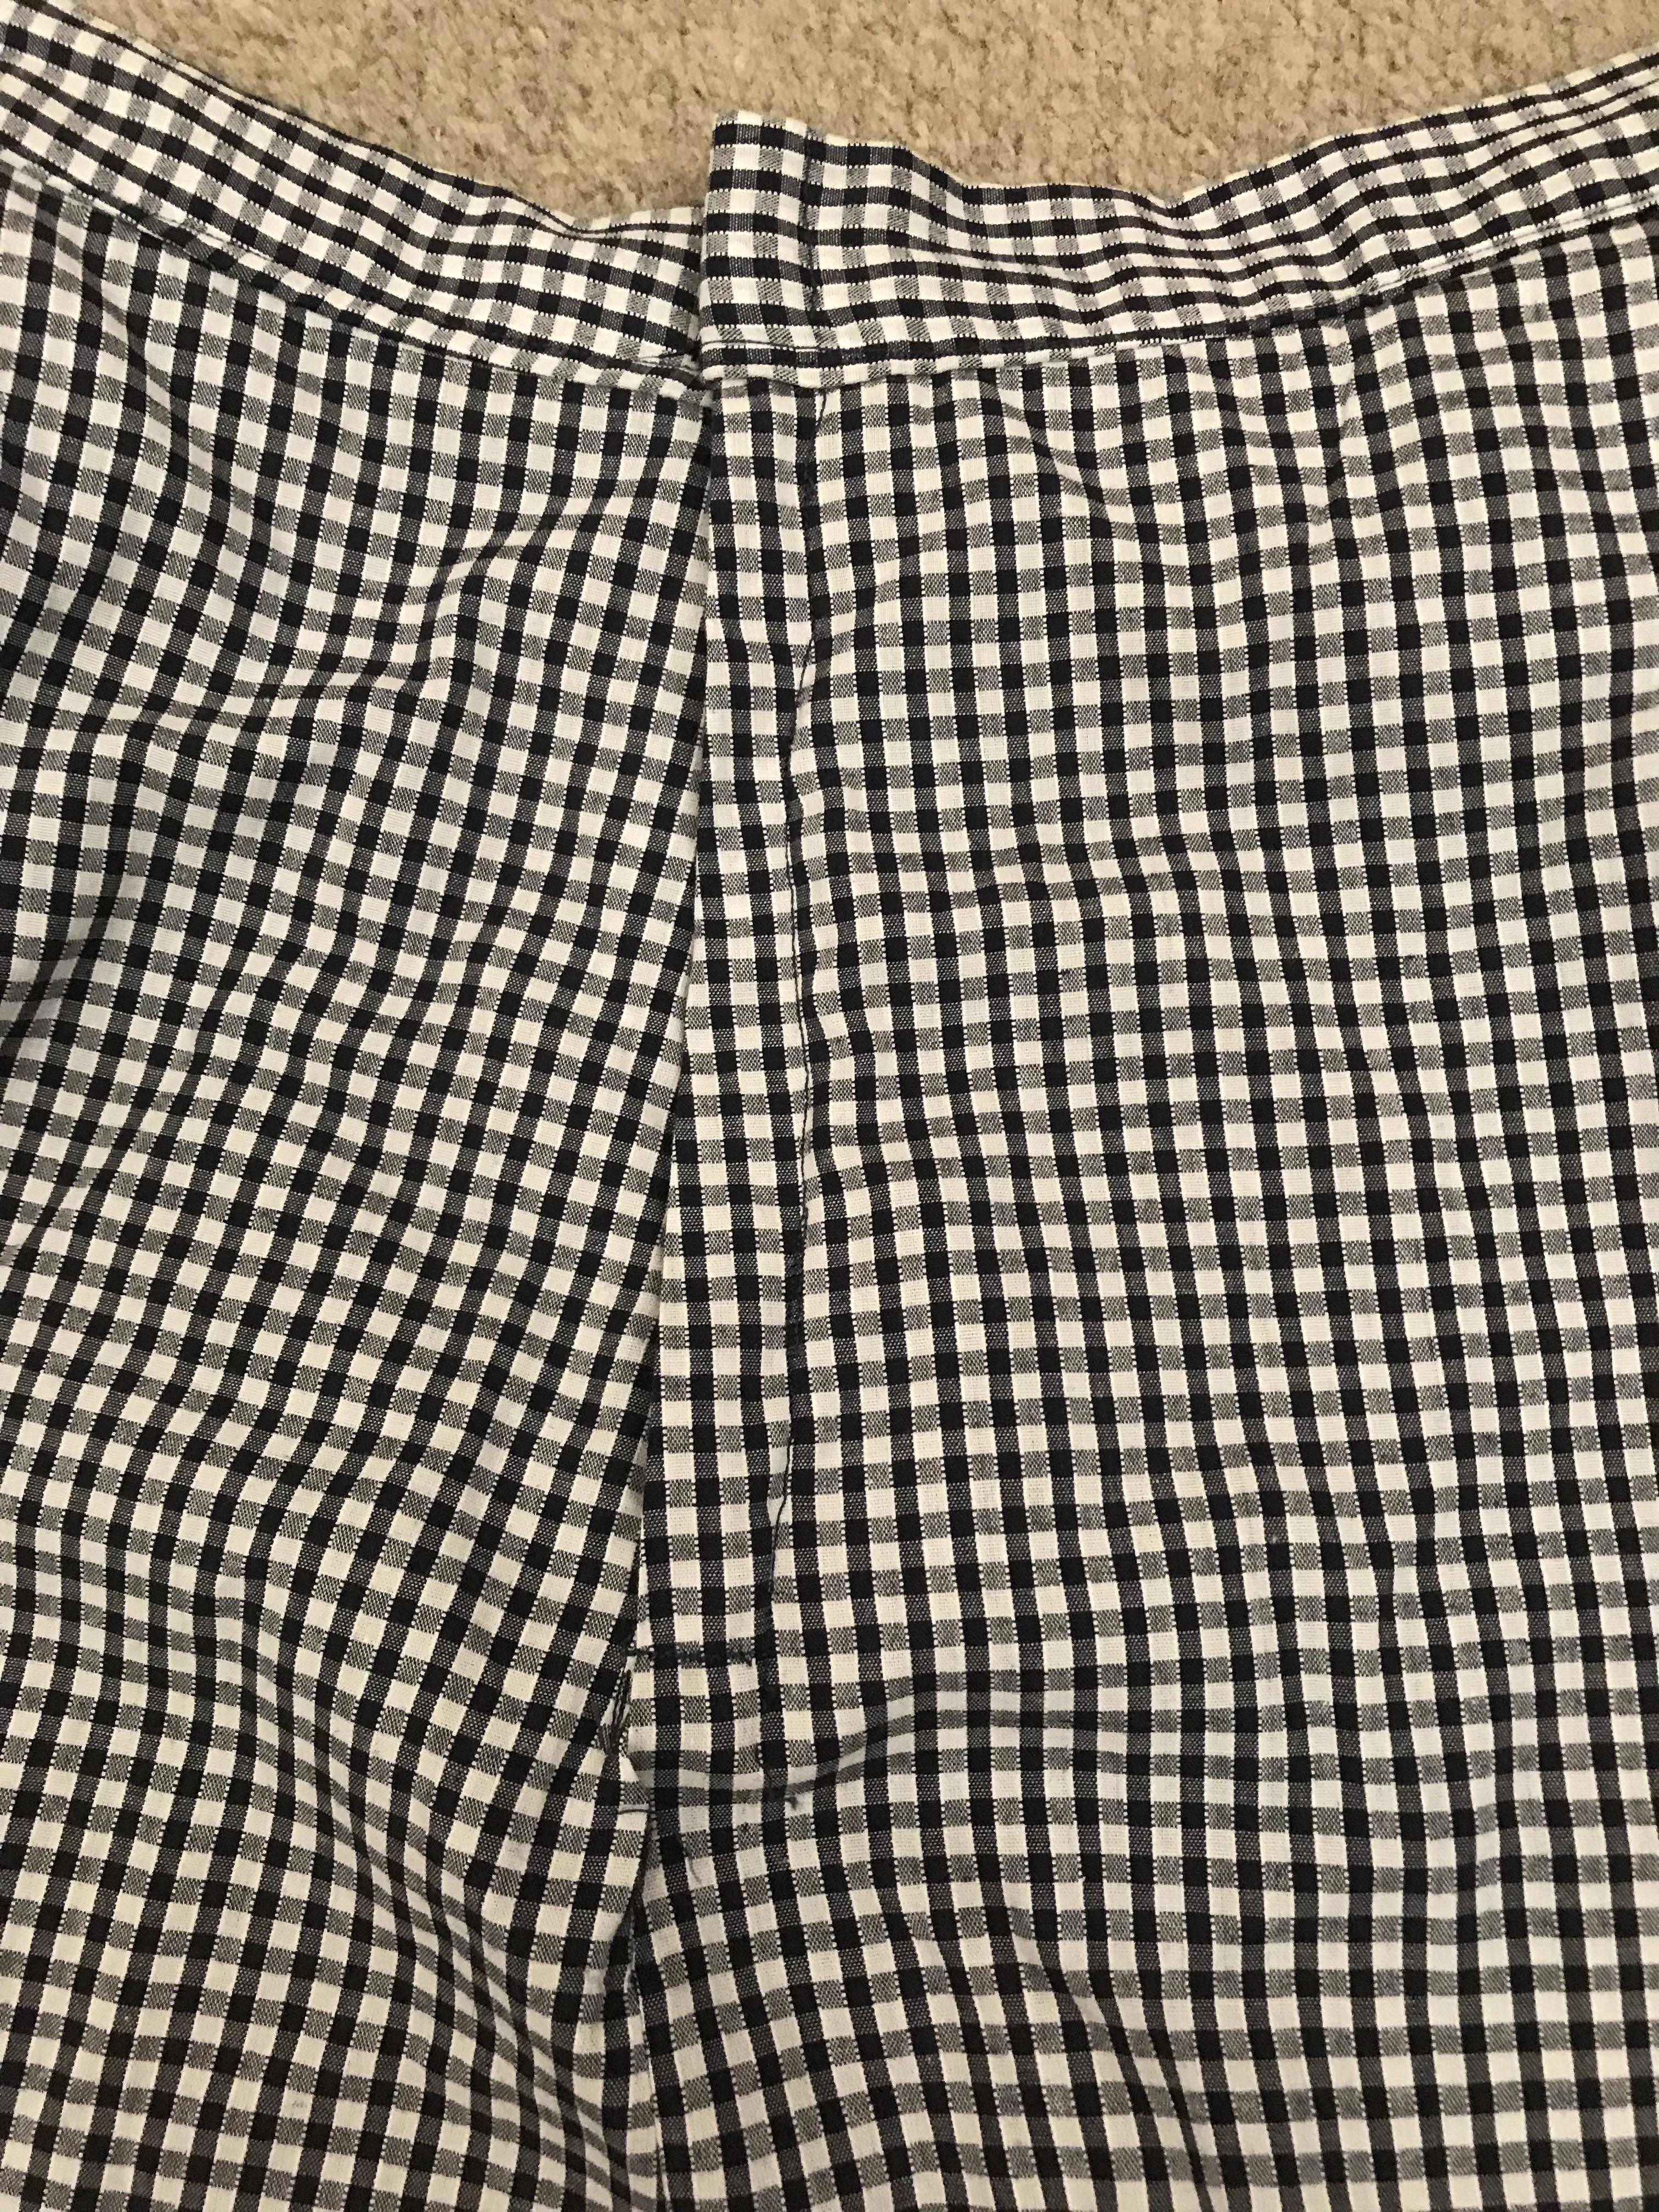
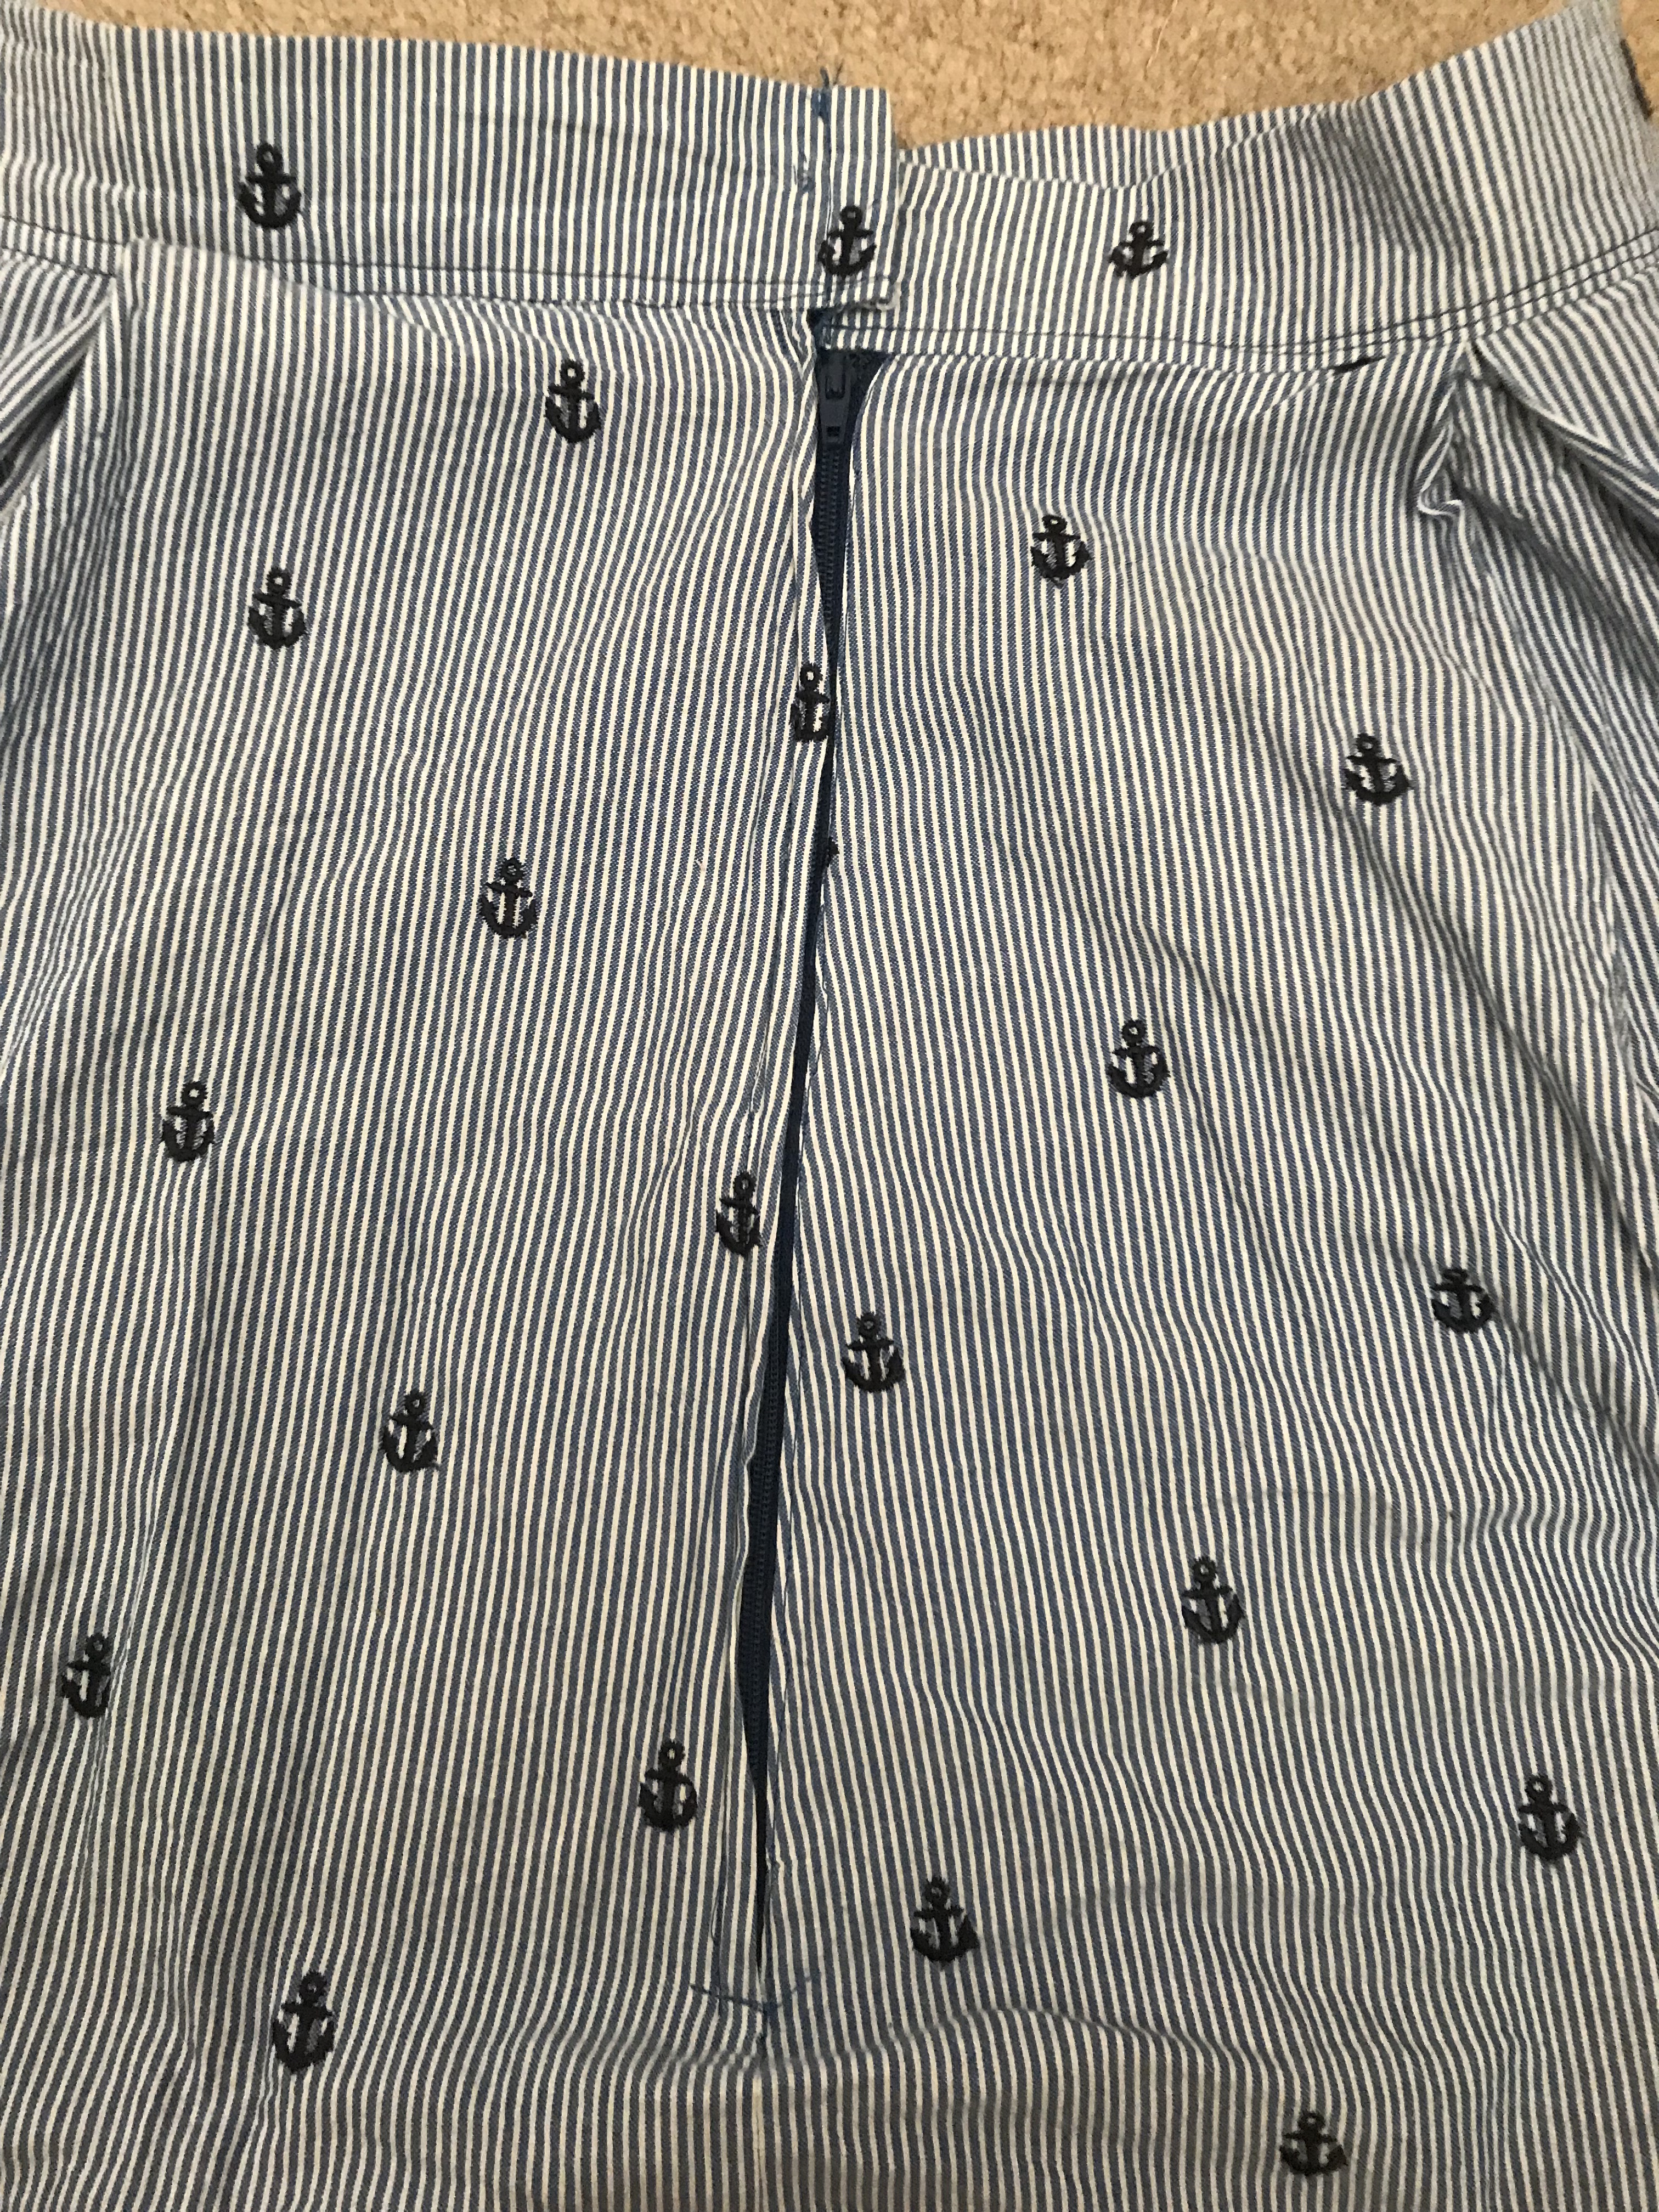
So after my marathon session of unsubscribing I’m going to make a cup of tea and start some sewing. I’ve got a massive project coming up and I can’t wait to get started. Build that excitement over every make the same way you do for a big purchase. The release is the same you’ve just got to train your brain and remember that no one, no one else will have what you’re wearing if its me-made. See I think that giving up buying fast fashion clothes is the easy part, disengaging with fast fashion culture? Now thats the hard bit.

Sewing Machine Review: John Lewis JL110SE

Last Thursday my beautiful shiny new sewing machine arrived and I had to confront reality. While I had been looking forward to the new garments I would explore with a more advanced machine, I did have a pang of nostalgia when I looked over at my little red sewing machine. Sat next to the almost Sci-Fi sequence frontage of my new machine, it was like looking at a horse and cart next to the Starship Enterprise. Now I wouldn’t say that I regret buying my new machine for one second. No the feeling is more like leaving junior school and starting senior school. It’s not a bad change, its a natural advance but there is still a sense of saying goodbye and it has to be said that I got a little weepy when I boxed up my old red John Lewis model. When I considered how best to process these feelings I hit upon the idea of reviewing the machine I’ve spent so long getting to know. My aim is to provide an honest and hopefully even-handed review highlighting both the positive aspects but also the little irritating things I noticed as a long time user and why I am looking to upgrade.

The first time I saw the red John Lewis JL110SE was in Buchanan Galleries, a huge shopping centre in central Glasgow. My mum had been teaching me to sew at home and I was really starting to enjoy it, to love and be intrigued by sewing. I saw that little red machine and fell totally in love. Next to all the big grown up white machines it looked fun and quirky and friendly. Sewing can be an extremely intimidating world as a beginner, to start with there is a whole language barrier of terms and techniques plus fabrics, patterns and notions the facts that all seem achingly complicated. You look at your ready to wear clothes baffled as to how a person could have actually constructed the grment from scratch. I think that’s why I have such a sense of nostalgia with this machine, I received it for Christmas in 2016 and I basically taught myself to sew with it. It was my friend, albeit one I shouted at a lot and swore at occasionally when my bobbin had run out and I hadn’t noticed. Above all it the was a fantastic machine to learn on as a beginner and that really is where I have to start this review. The JL110SE is the perfect machine for beginners because you can pick it up and start sewing straight away with minimal experience. My machine didn’t even come with a manual and I could still set it up fairly easily. Now that’s not to say that this machine is without its flaws but simple, affordable and easy to use, this machine is the perfect companion for your first forays into sewing.


John Lewis JL110SE

  • Weight 6kg
  • 14 Stitch Options
  • Twin Needle can be used but it doesn’t come with one.
  • Special Edition comes in lots of different colours
  • Comes With: standard and buttonhole foot, seam ripper, spare bobbins and spare needles.

Top 4 Things About This Machine

1. Price

In terms of beginner sewing machines, you really can’t beat this model for price. When I first got mine in 2016, the standard white JL110 was £89 and the special edition was slightly more ( I think £99?) now in 2020 the price has risen to £120 but that is standard across JL110 and JL110SE. A price rise of only £31 in four years is not bad. John Lewis are actively trying to keep this machine accessible for beginners which is to their credit.

2. Reliability

Honestly in 4 years I’ve not encountered a single fault in the machine or encountered any problems that weren’t actually my fault to begin with. I think of mine as old faithful because it just keeps going. If sewing machines were animals this one would be a cart horse. Just plodding along and doing its job for as long as you need it. I would recommend this machine based on its reliability if nothing else.

3. Very Simple & Easy To Use

There are so few options on this machine that it is almost impossible to set it up wrong. The set-up arrows are numbered, there are two dials, one to select your stitch and one to alter stitch length, there is a tab to backstitch and a stitch tension dial with the standard tension settings ringed in a box. Thats it. The bobbin mechanism is simple; to fill you place the bobbin on the winder on top and slide it to the left and use the pedal as standard. Then you place the bobbin in the metal case underneath, pull the thread through and away you go. One of the joys of this machine is that it is so simple and has nothing extra that very little can go wrong.

4. Stitch Selection Is Surprisingly Good

There aren’t too many stitch options, only 14, which is nice because 60+ stitch options can be very intimidating as a beginner and honestly you don’t need them. Even as an advanced sewist you don’t need most of those stitches but as a beginner it can be absolutely baffling. One of the functions I like about this machine is the sliding scale for zig zag stitches and the variety of basic embroidery stitches. So if you want to start experimenting with decorative stitching you have that option but equally the main range of stitches are solid and simple to understand.

Overall this machine is simple to set up, easy to use, affordable and as there’s very little extra functionality there’s very little to go wrong, it really is the perfect beginner machine.

Why Am I Upgrading?

The machine can’t handle heavy fabrics

This isn’t the fault of the machine, it clearly states on the website that this machine is designed for light to medium weight fabric and now I need to be able to do thicker fabrics like denims, tweeds, wool and coating for the autumn so I need a machine that can handle it. This machine just doesn’t have the weight or the power in the motor to get through thicker fabrics but thats okay because its not meant to! It is however one of the top reasons that I have chosen to upgrade.

The 3 Step Buttonhole is genuinely infuriating

Cards on the table, I’m not a fan of buttonholes and this machine doesn’t do anything to help. Put it this way, one of my big priorities with a new machine was a 1-step buttonhole. On the JL110SE Option 1 is meant to be the left hand side of your buttonhole, its a straight forward stitch that you can reverse, Options 2&4 are bar tacks for the top and bottom of the buttonhole, all good so far, its Option 3 that is my greatest bug bear. Option 3 is a backward stitch for the right hand side of your buttonhole. Here’s the thing though, IT ONLY GOES BACKWARDS. If you try to reverse it with the backstitch tab it still only goes backwards and that is honestly infuriating. There is no world in which you dont need to go over your stitches a few times for a buttonhole so why oh why does this function exist? Can you tell this has been on my mind for a while…!

Bobbin thread catch is really unreliable

The bobbin thread sometimes catches absolutely fine but sometimes it takes over 5 minutes to get the bobbin thread to catch when I replace the thread in the bobbin that has started to irritate me somewhat. This is a little thing but it has started to frustrate me alot because I have to spend a long time staring into my machine and it stops me sewing.

You can’t get into the machine if you do need to make repairs or defluff

I didn’t need to do this until recently but it is a valid point. Its extremely difficult to get into this machine to make repairs or clean it. You would need to pay to get it properly surfaced when all you really need is to get into the workings with an old toothbrush and your machine will be good as new. Although of course it is a beginners machine i do feel that this is a little short-sighted and the cynic in me says its because John Lewis want you to pay them to service it for you.

Pedal and power cable connect on the same lead which makes it hard to set up the machine unless you are the perfect distance from power.

This is a moan for me because I live in a house where the power points were located by a complete idiot. We have loads of plug sockets but they are all in moronic places so this was a problem for me. The fact that the pedal and plug come out of the same lead means that I’ve had a few issues on finding somewhere that my machine can actually get power and I can use the pedal.

Overall I need the ability to do heavier weight fabrics and to move on with my sewing. This is at the end of the day a beginner’s machine and I think when you start to notice flaws like this and start to have a preference on mechanism and functionality then you need to upgrade because you’re not a learner anymore. You might still have green P plates on but you’ve passed into intermediate and need a machine that can keep up.

Does It Stand The Test Of Time?

Yes it does. This little machine is a great companion for your first forays into sewing because so little can go wrong and its just so simple and easy. It will allow you to learn about sewing and crucially to learn how you sew and what you need. When I first started to work on projects that my machine struggled with, I told myself that I wasn’t allowed to upgrade until I actually understood what I needed from a machine. This machine allows you to learn, you can’t become reliant on automatic functions because it doesn’t have any and it makes you a better sewist as a result. The JL110SE may be thoroughly out classed by my new machine but it will always have a special place in my heart as my first sewing machine.

Box Pleat Skirts – What I’ve Learnt In A Year

Back in April 2019, after four years of living in the south, I found my self missing my sewing machine more than I can explain. With a stressful job and a long commute I felt I was lacking my own mental space. I needed a calming outlet for my stress and something constructive I could do at home. After long discussions with my partner about my stress levels and how we could manage them, we decided it was time to get my sewing machine sent down from Scotland. I had previously thought that this would be impractical and expensive but my mum, presumably glad to get some more space in the new house, happily complied and sent me not only my machine but the rest of my equipment and my sewing books as well.

As to why I didn’t do this much earlier, up to the summer of 2018 my partner and I had lived in shared houses and as we all know, sewing machines are not exactly quiet and I didn’t think it would be fair on my housemates. Fast forward then to April 2019, I had 10 days of leave booked, my sewing machine was ready to go, all I had to do was pick a pattern. And I picked this! A box-pleat skirt from one of the Sewing Bee pattern books. It took me a few weeks because I really wanted to take my time and get it right but on the 19th May 2019 I finally finished my first entirely me-made garment. There are definitely a few things I could have done better but it’s precious to me and despite its flaws I wear it all the time. It’s a work-appropriate length and incredibly light plus the shape given by the box-pleats means the skirt doesn’t flip up in the wind – what’s not to love?

I feel like my sewing has improved a lot since that first make, well I hope it has, but I wanted to do an experiment to measure the difference. To see just how much I have learnt in the last year and a bit. Initially I wondered about aiming for a really complex make to show how far I’ve come but I wanted a direct comparison and I didn’t think just making a more advanced garment would provide that. Instead I decided the best way would be to make the same skirt again and observe the differences. I dug out the pattern again and I chose to make the skirt out of a lightweight navy blue gingham from Rainbow Fabrics Kilburn. The fabric has a good amount of structure to it and it’s opaque while still letting some light through. The big thing I’ve learnt about gingham is that it frays incredibly easily so I used my pinking shears quite a bit and tried to use lots of enclosed seams.

Today’s blog is not going to be a ‘how-to’, instead I want to reflect on the changes in the garment and how I felt making it. I’m going to start with material changes in the garment and move on to the overal changes in how I felt making it.

Material / Physical Changes

I’m so much quicker at cutting and stitching.

This is a big one for me. I remember just pinning the pattern took me about half an hour the first time and cutting it out took even longer. That was because I was so scared to make a single wrong incision, terrfiyed it would ruin the garment from the outset. This time I had this ironed, pinned, cut out and ready to go within 30 minutes. It has to be said I also have much better scissors than I did a year ago but also I’m used to cutting fabric now and in particular I’m used to cutting on carpet which was a challenge for me when I started sewing in this house. The next big step for me will be a cutting mat and a rotary cutter to help me use my slippier fabrics to better effect as I refuse to use my scissors on chiffon.

My pleats are so much neater now.

I mean come on look at those, those box pleats are beautiful if I do say so myself! My first ones are fine, there’s nothing particularly wrong with them but these are gorgeously sharp. Honestly after I had stitched them I just sat and stared at them for a bit because I was so proud.

The lapped zip is actually a lapped zip this time!

Right so it’s still not perfect but its a sight better than last time. The zip is actually covered this time. I wanted to use a shorter zip because I felt the last one was too long but sadly I went too short this time and it requires a bit of a wiggle to put it on. Maybe I’ll make another one in a years time and I’ll finally get the zip completely perfect.

General Changes

I care much less about pattern instructions.

This sounds awful but its true. I promise I do read the pattern instructions but I definitely read them less or perhaps a better way to say this is that I am less worried by the instructions. If it’s a new pattern then of course I will sit down and properly read the instructions before I start just to get the shape of pattern journey in my head. However when I first started I was almost terrified of making micro mistakes or missing anything in the pattern but its because I really didn’t know what I was doing when I started. Now I have a better understanding of sewing techniques and of garment construction, I don’t worry as much about the instructions. Making this skirt is incredibly simple anyway and I didn’t look at the book until it got to the lapped zip stage and then I gave the book a very close reading! Otherwise the next steps of the pattern just seem clear and make sense now and you know what? It feels good. I feel like I have matured into someone who osn’t just following instructions but actually understands what I am doing and that feels like an achievement.

The whole process is much more fun.

The first time I made this skirt, it was pretty much dead silence in my living room, I was really scared that I would make a mistake and wanted my full concentration. Honestly, it was tense! Now I’ve loosened up and that comes down to experience. I know what I’m doing, I can trust my judgement and relax into the rhythm of sewing. I put netflix on or a good radio crime drama and I’ll happily sit and sew for the rest of the day. Making this skirt a second time I was able to revel in the process a lot more. To congratulate myself for little successes like my zip or my frankly knife sharp box pleats. I was able to identify, celebrate and own my successes as micro sewing achievements while recognising that of course I still have a long way to go. I was also able to trust my judgement which enables me to relax and go with the process. Observing what I do, correcting errors before they become mistakes and laughing at any mistakes I make.

What the second make of this skirt taught me is that not only am I technically a better dressmaker than I was 15 months ago but that I am more mature as a person. I am able to laugh at myself, trust my judgement and grow through every garment I make measuring against no one’s standards but my own.

Sewing Project: Shirt Dress (Pt. 1)

I think that most sewists and dressmakers have one item of clothing or one design that they’ve always wanted to make. One thing that prompted them to start sewing or to take their sewing more seriously. For me it was the inability to find a shirt/blouse that would fit. I have a larger bust, a narrow back and a narrow waist and as I got older I got embarrassed and frustrated that I just couldn’t get a shirt to fit me. Either I had to buy a shirt three sizes too big or risk an embarrassing button based incident. It was a problem at school and still is a problem at work if I’m honest. I had always thought shirts were outside of the realm of sewing possibility for me until I started sewing more often and realised that, whilst there were more techniques at play than in other patterns, a shirt is still made from a sewing pattern.

As I had never been able to get a shirt to fit there is one garment I have always wanted but never had the confidence to buy and that is a shirtdress. That is I didn’t have the confidence until I received my Christmas present from my boyfriend, a wonderful book called ‘Sew Many Dresses, So Little Time by Tanya Whelan’ which contains a series of bodices, skirts and sleeves and enables the sewist to make over 200 different dresses from those combinations. This book also has a fantastic section at the back on pattern adjustments and it was with the aid of this chapter I began to slowly and very carefully adjust the bodice pattern to my own measurements. I really made myself take my time, working slowly and methodically and stopping every time I remotely lost concentration. I then paired my button-down bodice with a three-quarter length sleeve and a full skirt, also with a button-down front. Every single piece of the pattern was altered or drafted by me. I wasn’t sure if the pattern would work in practice as there were so many skills I’d never tried so, as every good dressmaker should, I made a toile of the bodice complete with collar, button tabs, bust darts and a cap sleeve.

Once I made my toile and realised that my pattern might actually work I went fabric hunting and I finally found the perfect fabric. Its a medium weight cotton with painted fish on a black background and I love it. Its got enough structure to make an excellent shirt and it hangs really well in a full skirt.

Fast forward to yesterday when the fabric arrived in the morning and 6 hours of feverish sewing later and I have the outline of my dress! This dress is the first time I’ve ever inserted sleeves, my first self-drafted bodice and I am actually really proud of myself. I used to be really scared of sleeves but they really aren’t that bad, I don’t know what I was worried about! I understand there are more difficult sleeve patterns out there but its reassuring to know that I can insert basic sleeves.

The next stage is to add the collar and then create the buttonholes, add buttons and then hem the skirt and sleeves. It sounds like a lot and I am definitely going to take my time on those elements to make sure the garment comes out perfectly. For now here I am in the shell!