Envelope Pillow: A How To Guide For My First Home Make

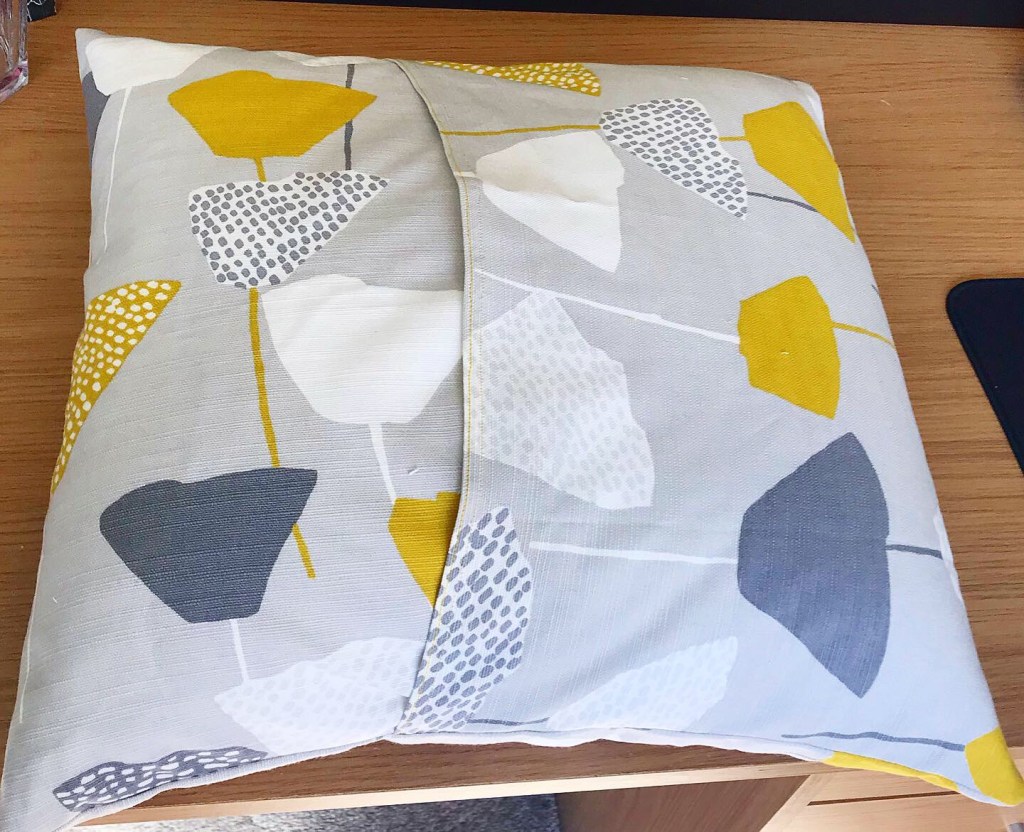
Today’s project is a little different to my usual sewing projects and its actually my first ever home make! I have officially welcomed the envelope pillow into my repertoire. My partner’s mum bought us some towels and a beautiful throw so I wanted to make something nice for her and I decided on a throw pillow. She actually gave me some beautiful homefurnishing fabric that she bought when she was redoing their house. She loved the fabric but wasn’t sure what to use it for so I thought I would make her an envelope pillow.

Envelope pillows are a really simple make, it took me an hour maybe an hour and a half at most. The longest part was waiting for the pad to arrive! I didn’t use a pattern, I just took measurements and went with it. Its honestly the easiest make and I would encourage anyone, particularly beginners to have a go.

Step 1 – Measure Up

Select the size of pillow you want to make. Either choose a pillow pad or measure an existing one if you looking to refresh an existing cushion. Take the measurement of the length and width of the pillow with a cloth measuring tape and ensure to measure including the curve of the pillow. Then add an inch at both ends of each measurement and mark out your square or rectangle on your fabric with tailors chalk.

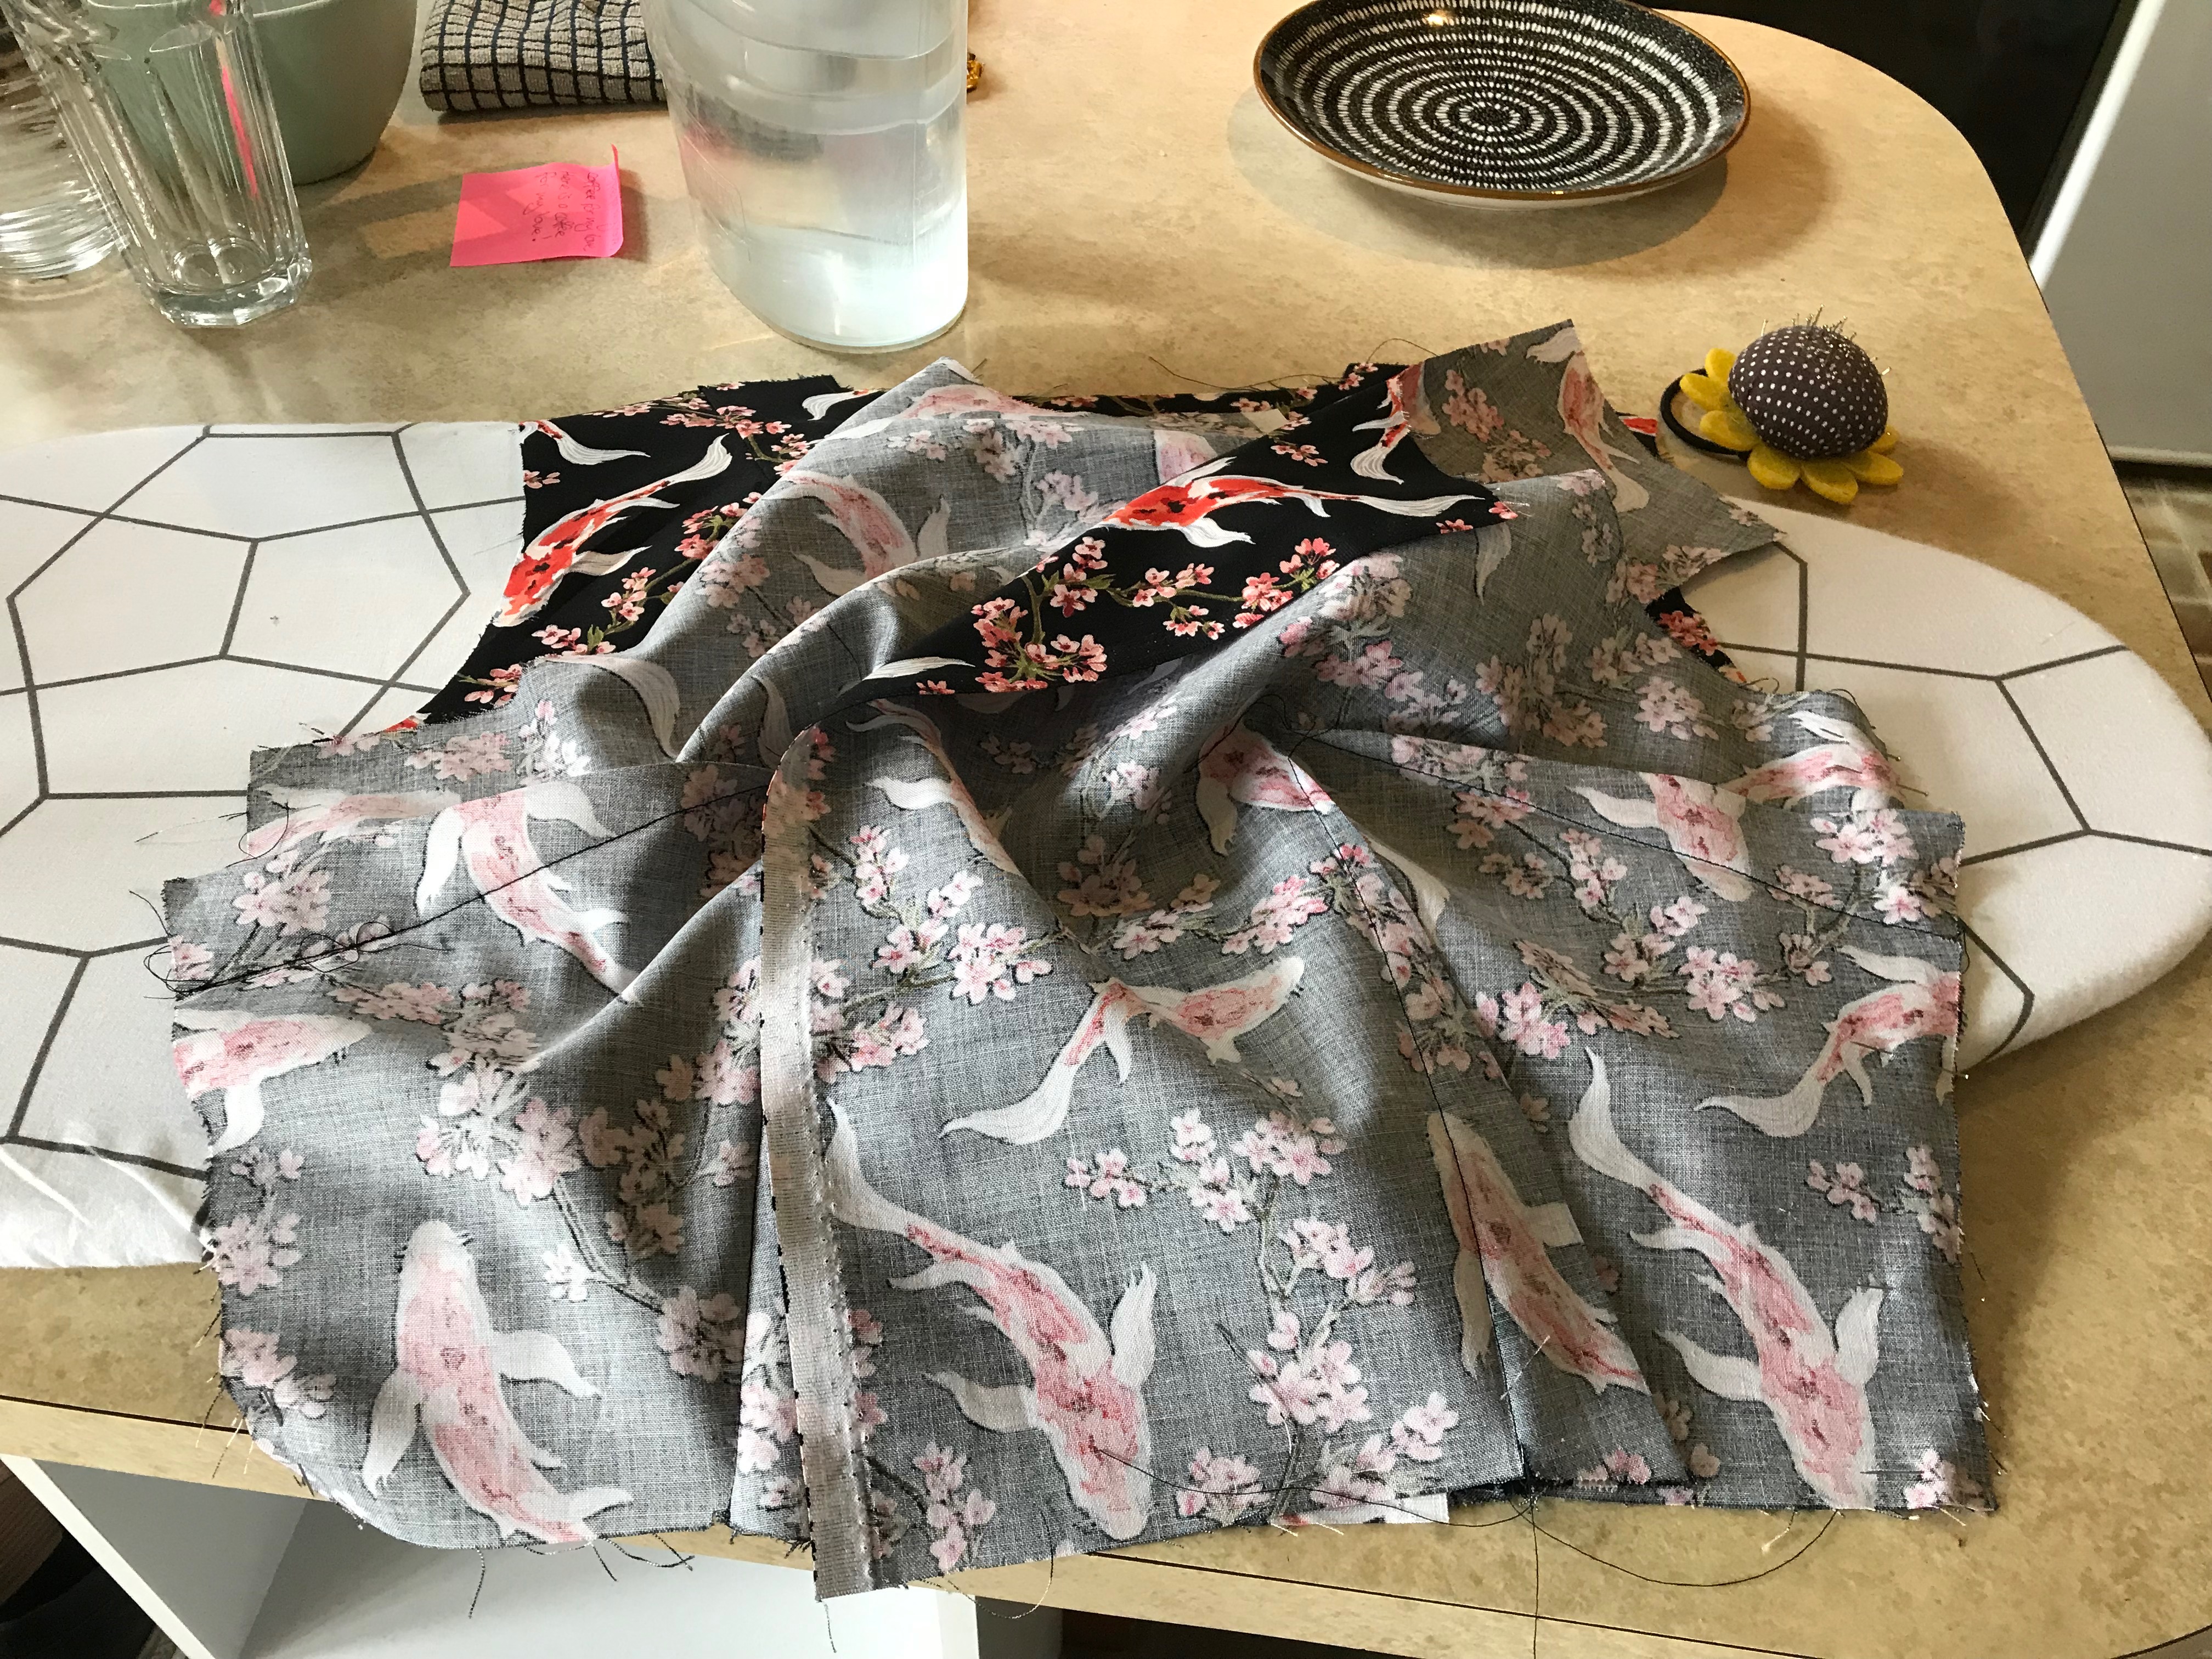
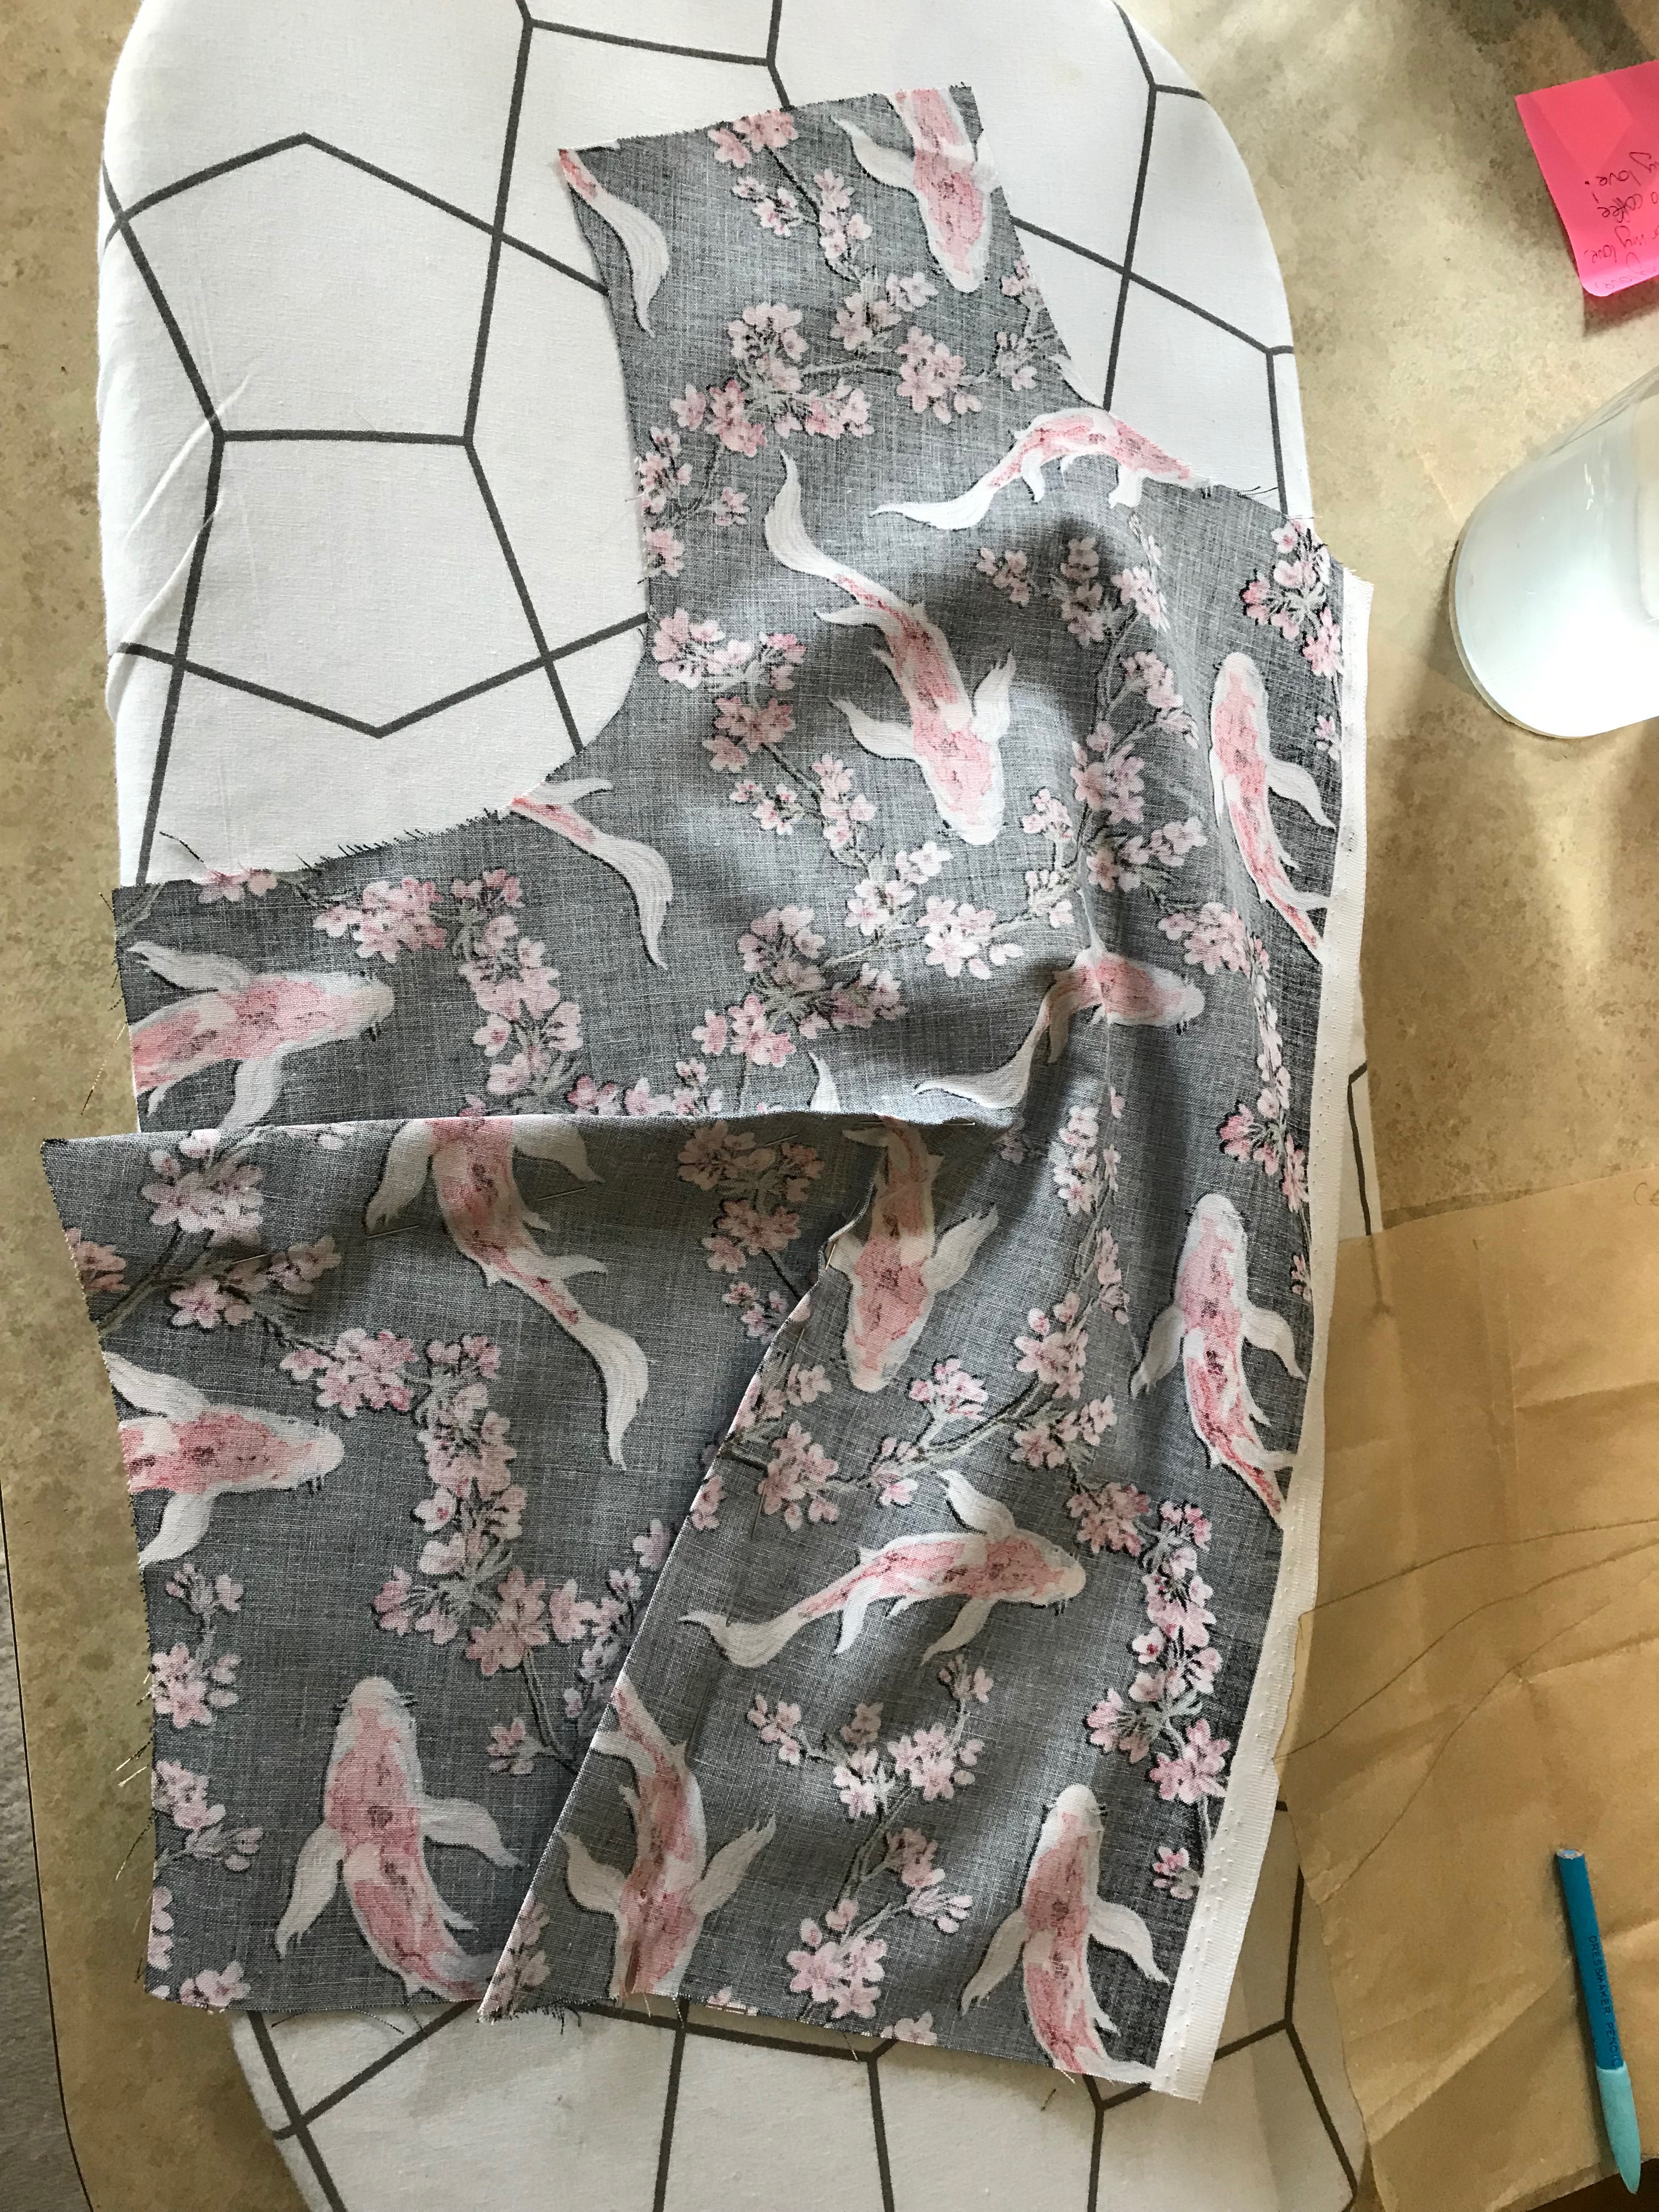
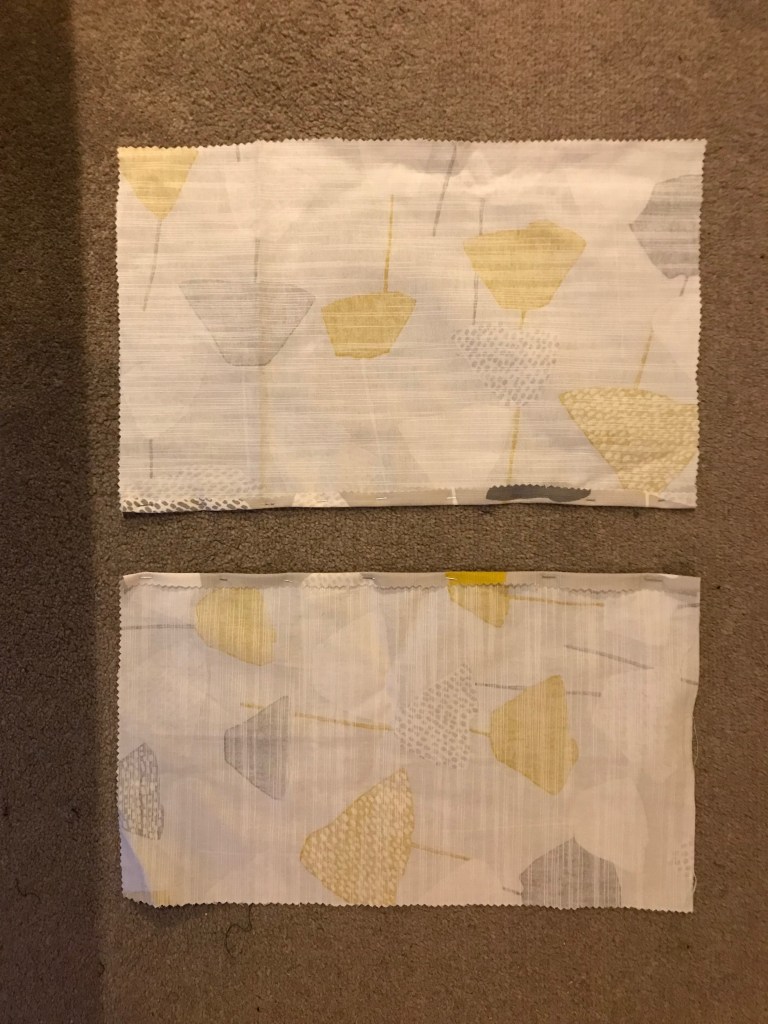
Step 2 – Cut Your Three Pieces

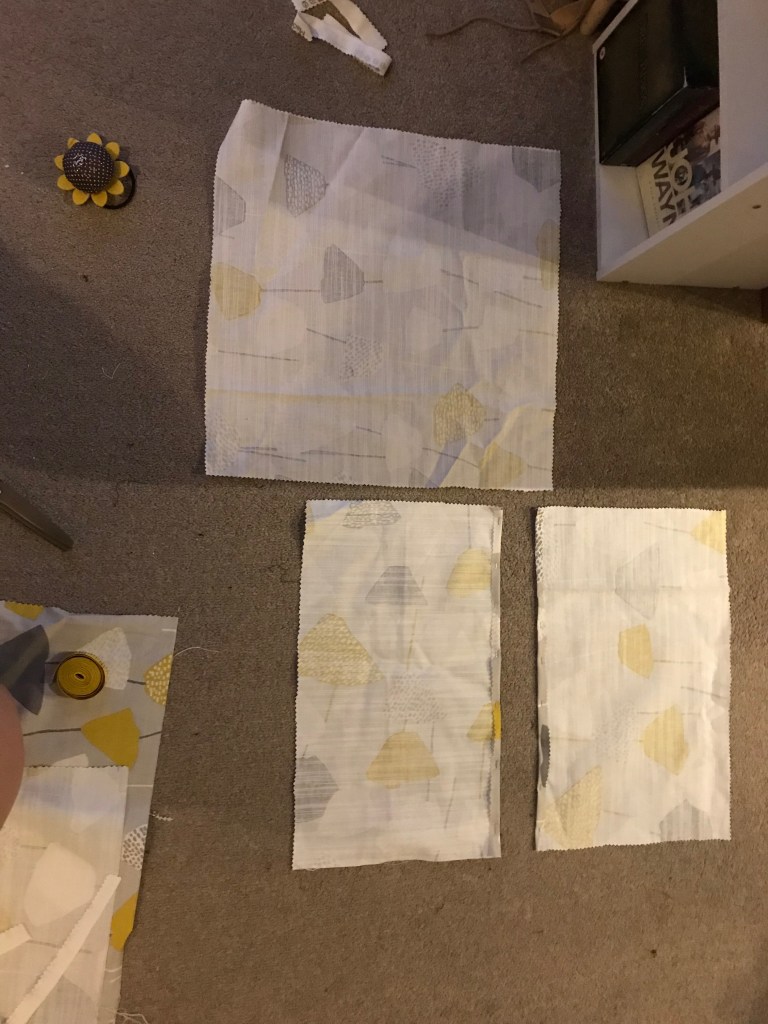
When cutting upholstery or home-furnishing fabric I tend to use pinking shears as they have a bit more bite and stop fraying. To make the pillow you need three pieces.

  • 1 x square (or rectangle) to the measurements from above.
  • 2 x rectangular pieces the same width and approximately two thirds the length of the main square with at least a 4cm overlap.

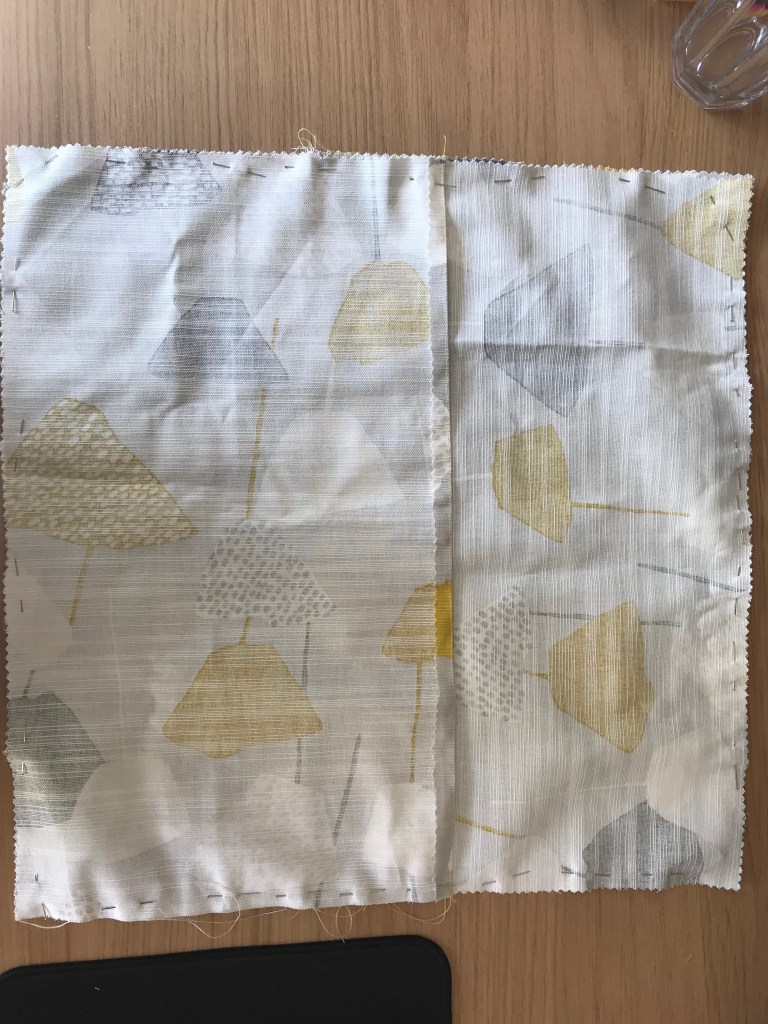
To ensure the pieces fit lay them carefully on top of each other as you will sew them and make sure the outside edges match.

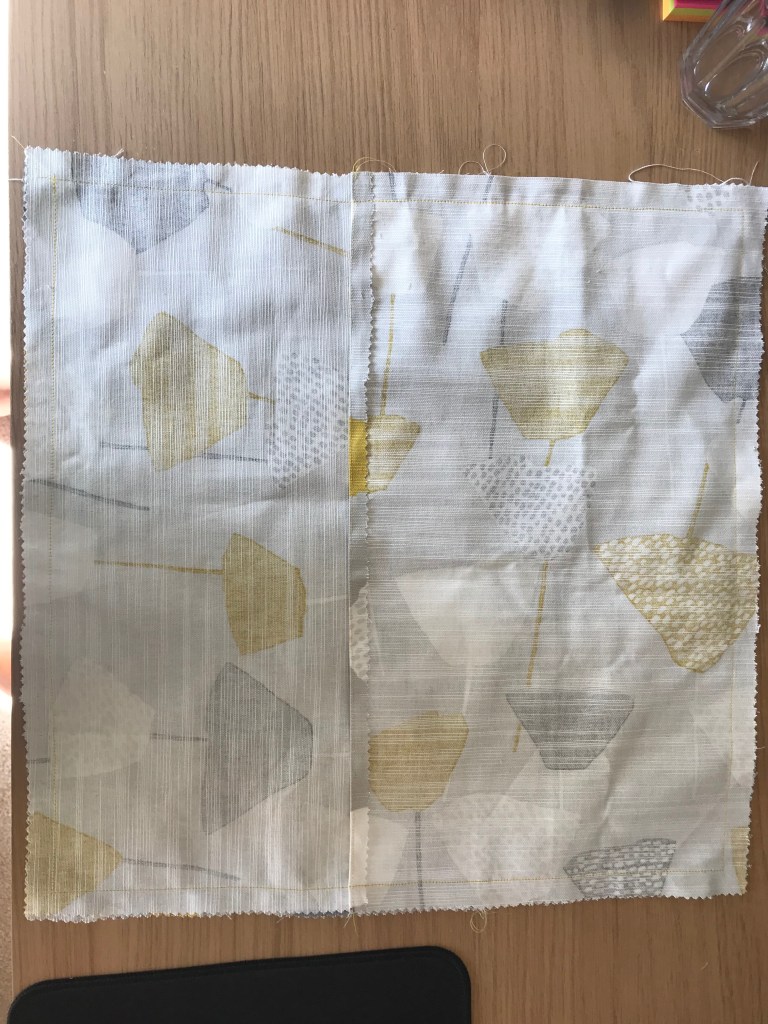
Step 3 – Finish the Envelope Edges

In order to create a nice finish on your pillow you are going to want to finish the two overlapping edges on the back. To finish the edges fold it over by 1/8inch and stitch and then do the same again.

Step 4 – Pin Together and Sew

Pin the pieces right side together and stitch along the outside edge with 1/2 inch seam allowance. Stitch continuously around the square and then press.

Step 5 – Clip Corners and Turn Out

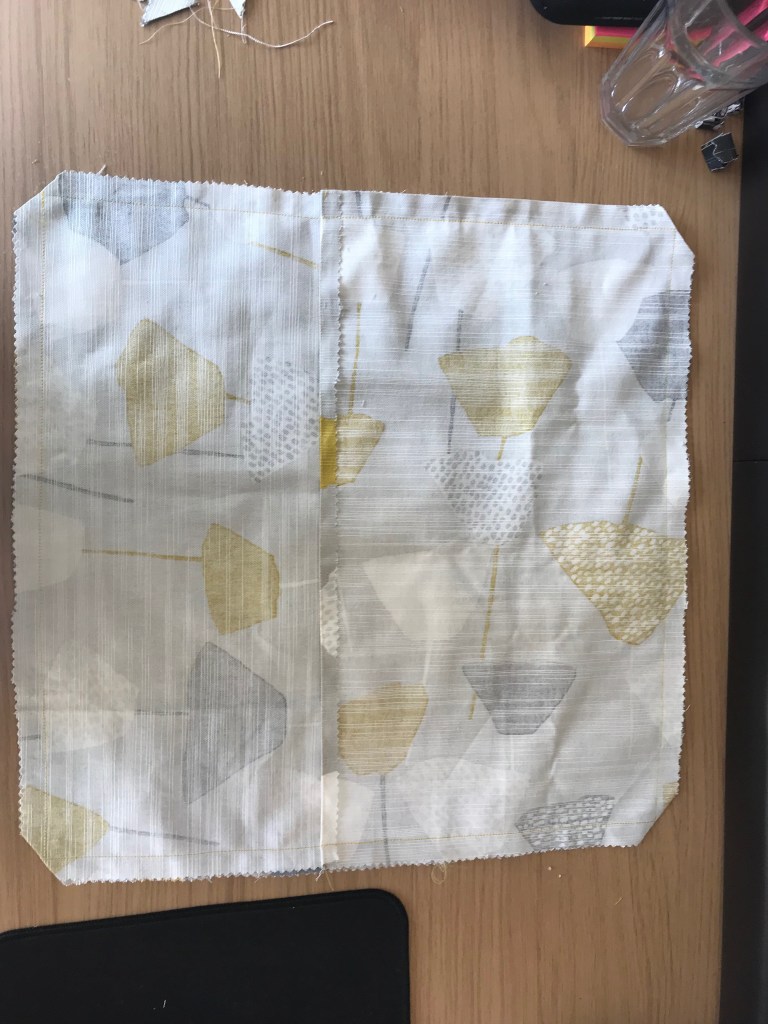
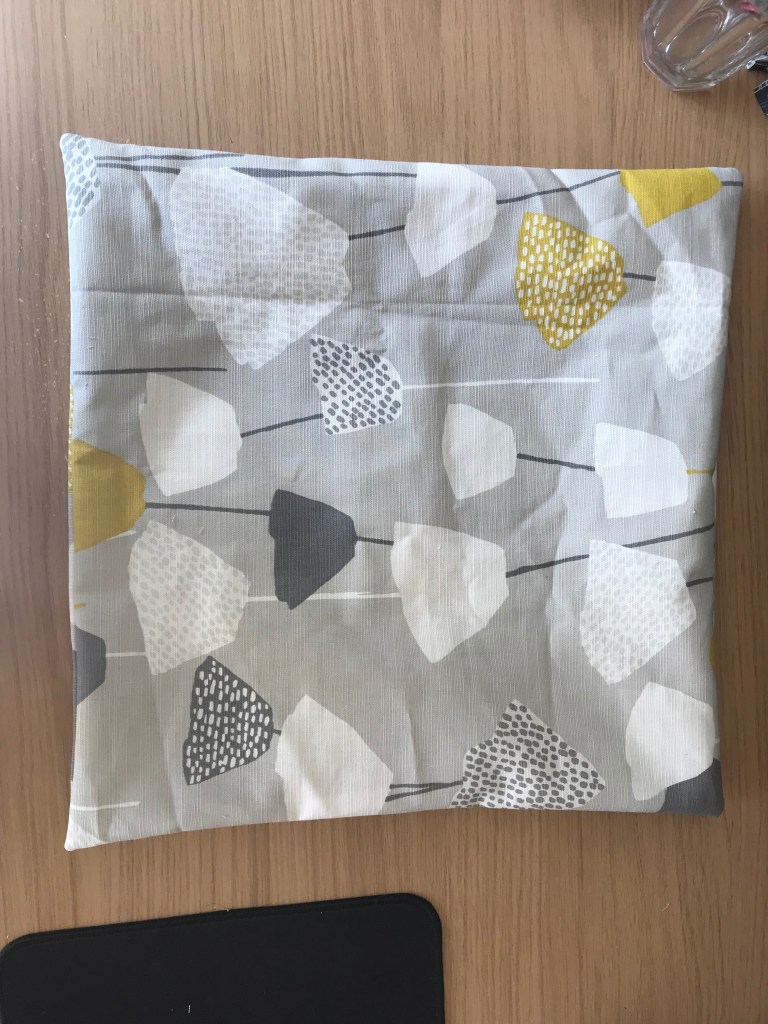
Finally clip the corners and turn right side out. I turned my corners out using a biro with its lid on but a knitting needle, chopstick or anything else with a blunt point will do. Press once more and then voila, you’re done!

Sewing Project: Shirt Dress (Pt. 1)

I think that most sewists and dressmakers have one item of clothing or one design that they’ve always wanted to make. One thing that prompted them to start sewing or to take their sewing more seriously. For me it was the inability to find a shirt/blouse that would fit. I have a larger bust, a narrow back and a narrow waist and as I got older I got embarrassed and frustrated that I just couldn’t get a shirt to fit me. Either I had to buy a shirt three sizes too big or risk an embarrassing button based incident. It was a problem at school and still is a problem at work if I’m honest. I had always thought shirts were outside of the realm of sewing possibility for me until I started sewing more often and realised that, whilst there were more techniques at play than in other patterns, a shirt is still made from a sewing pattern.

As I had never been able to get a shirt to fit there is one garment I have always wanted but never had the confidence to buy and that is a shirtdress. That is I didn’t have the confidence until I received my Christmas present from my boyfriend, a wonderful book called ‘Sew Many Dresses, So Little Time by Tanya Whelan’ which contains a series of bodices, skirts and sleeves and enables the sewist to make over 200 different dresses from those combinations. This book also has a fantastic section at the back on pattern adjustments and it was with the aid of this chapter I began to slowly and very carefully adjust the bodice pattern to my own measurements. I really made myself take my time, working slowly and methodically and stopping every time I remotely lost concentration. I then paired my button-down bodice with a three-quarter length sleeve and a full skirt, also with a button-down front. Every single piece of the pattern was altered or drafted by me. I wasn’t sure if the pattern would work in practice as there were so many skills I’d never tried so, as every good dressmaker should, I made a toile of the bodice complete with collar, button tabs, bust darts and a cap sleeve.

Once I made my toile and realised that my pattern might actually work I went fabric hunting and I finally found the perfect fabric. Its a medium weight cotton with painted fish on a black background and I love it. Its got enough structure to make an excellent shirt and it hangs really well in a full skirt.

Fast forward to yesterday when the fabric arrived in the morning and 6 hours of feverish sewing later and I have the outline of my dress! This dress is the first time I’ve ever inserted sleeves, my first self-drafted bodice and I am actually really proud of myself. I used to be really scared of sleeves but they really aren’t that bad, I don’t know what I was worried about! I understand there are more difficult sleeve patterns out there but its reassuring to know that I can insert basic sleeves.

The next stage is to add the collar and then create the buttonholes, add buttons and then hem the skirt and sleeves. It sounds like a lot and I am definitely going to take my time on those elements to make sure the garment comes out perfectly. For now here I am in the shell!