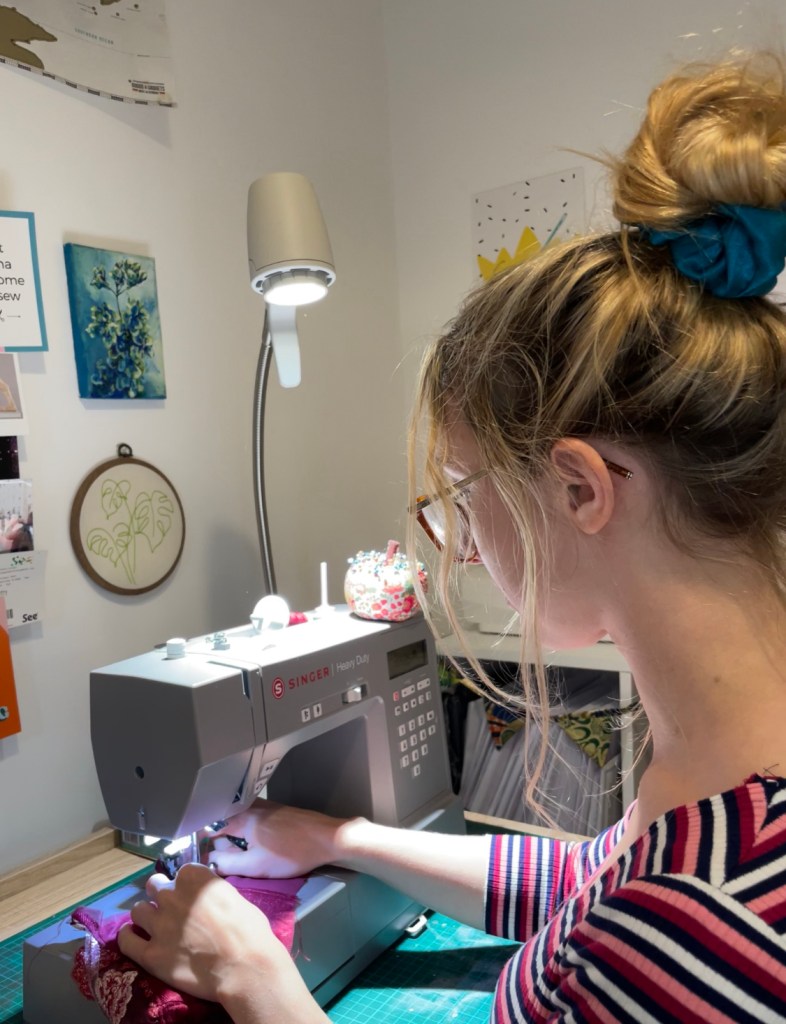
Step By Step Guide To Sewing French Seams

At the moment I am up to my eyes in patterns tests, I have about four to complete in the next three weeks. The upshot of this is that I can’t really share what I’m sewing… HOWEVER! One of these patterns tests is a french seamed garment and it got me thinking that I really should write up and film a french seam tutorial.

Along with threading an overlocker, French seams have a bad reputation for being awkward, difficult, and generally causing issues. French seams confuse a lot of sewists out there and I get it because quite frankly they are counter intuitive and if you get them wrong you can’t really do them again.

Despite that they are actually my favourite seam finishing technique and you can use them on any project with lightweight fabrics. The only stipulation it that you need to be able to iron the fabric or at least press it down with a clapper.

To help other sewists love french seams as much I do I’ve put together a handy guide to take you through the process step by step!

Step By Step Guide To French Seams

Step 1: Workout your Seam Allowance split
Step 2: Sewing First Seam WST

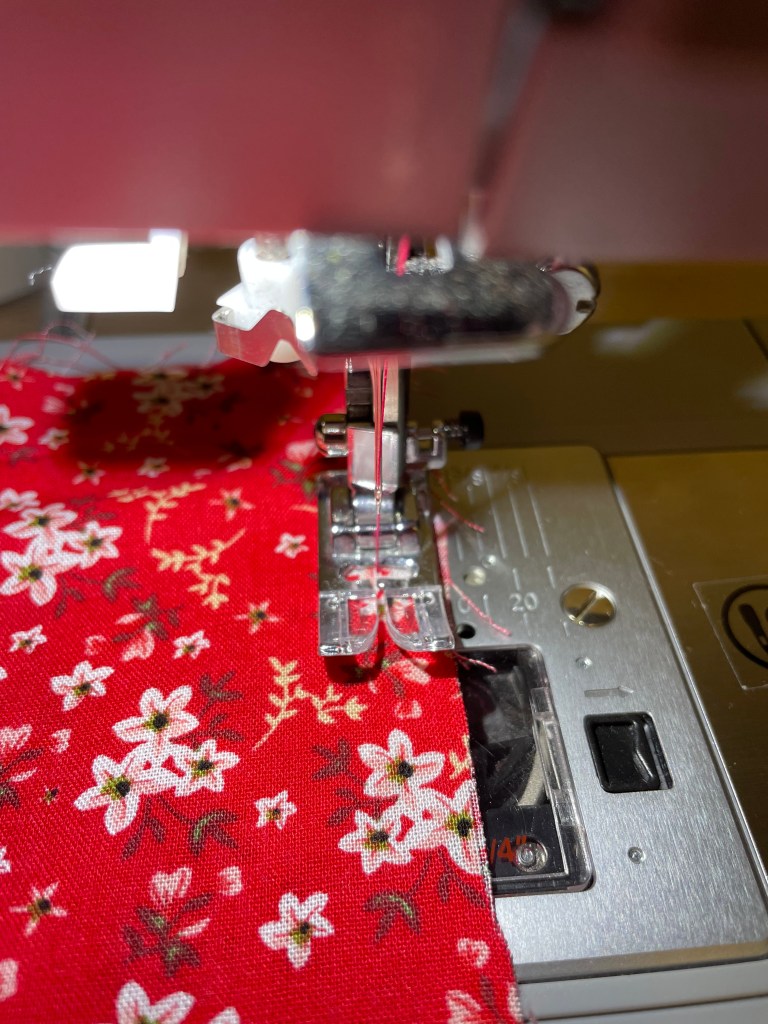
Check your seam allowance and work out how you are going to split it if not indicated in the pattern. For this pattern I am using a 2cm seam so we are sewing both seams at 1cm. However if you are working with a standard 1.5cm seam then I normally split it as 1cm then 0.5cm(in line with the inside line of the presser foot.

Step 2: Sew your first seam

Sew your first seam with the fabric Wrong Sides Together. It feels very strange but you should end up with your seam on the outside of your garment.

For my garment this seam will have a 1cm allowance but remember to check what you should be working to on your project.

Step 3: Trim off the excess

Trim the volume of the seam down as close as you dare to the stitching line. Be very careful when doing this that you don’t actually snip the stitches or catch any of other sections of the garment in your scissors.

Step 4: Flip the seam so that the fabric is now Right Sides Together

When you do this make sure the press the new seam so you get a lovely crisp edge and secure what will now be the inner line of stitching enclosed in the second seam.

Step 5: Sew your second seam enclosing the first one

Sew your second seam as you would usually with the garment Right Sides Together. Again remember to check what seam allowance you should be using for my project its another 1cm seam allowance however yours might be 0.5cm at this stage. Remember that this seam should completely enclose the first seam. If you have fabric from the first seam poking out through the second seam then you need to trim the first seam down even further.

After sewing give your seam a good press. When you turn your garment through to the right side it should look like a perfectly normal seam with nothing poking through.

Secrets of French Seaming

  • You can split the seam allowance however you like! You don’t have to do it in the exact measurements supplied by the pattern as long as the seam allowance amount is correct at the end. I tend to use the 2/3 1/3 method. E.g. When I’m doing a 1.5cm french seam regardless of what the pattern says my first seam is 1cm. Then I trim and flip and my next seam is 0.5cm.
  • Iron at every stage! It helps set the stitches and secures every stage making an overall stronger seam.
  • French seaming sleeves is not nearly as complex as you think it’s going to be. It’s award but I promise it isn’t difficult and the result is brilliant!
  • When working with chiffon or similar very lightweight fraying fabrics I strongly recommend finishing the edges within the seam so there is less chance of them fraying and ripping open. E.g. I stitch together Wrong Sides Together, trim, then I finish what is left with a zigzag stitch, then I flip through and sew the final seam with fabric Right Sides Together.
  • Move all the other fabric out of the way before trimming your first seam – this is the number one way to cut a huge hole in your beautiful new make completely by accident. The worst thing is? You won’t even realised you’ve done it until the end when you turn your new make right side out.

That is my tutorial for beautiful French seams! My biggest piece of advice? Don’t overthink it. Take it slow and follow the steps and you will get there.

French seams are my absolute favourite finishing technique and as I’m doing a lot of them today it felt like a nice to time to write about them. I don’t write up tutorials very often so if you enjoyed this blog and want to see more then please do let me know in the comments and share it with your sewing friends.

Make Do And Mend: Looking After Your Me-Made Wardrobe

When I made the choice to reduce my consumption of fast fashion, I also signed up to another pledge. I committed to looking after my existing ready-to-wear wardrobe.

My focus has shifted from trends to joy. Joy of fashion. Joy of garments. Joy of sewing.

I want to achieve something with my me-made wardrobe that many fast-fashion brands do not, and make my garments last.

Fast fashion brands like Shein, Pretty Little Thing, and Boohoo churn out poorly made clothes designed to be worn, wear out quickly, and throw away after six months so that you can buy into the next big trend.

Each piece of clothing is a stepping stone to the next piece and very little consideration is given to the longevity of our wardrobes.

With me made garments we invest time and energy. We put care into every step and create something that we want to wear and we look after it.

However sewing doesn’t mean throwing out your existing ready-to-wear wardrobe, I have RTW clothes that have lasted over 10 years with careful washing and conscious approach to their care.

Caring For Your Wardrobe

A quick test to see if you look after your wardrobe. Do you know what these symbols mean? Chances are you’ve seen them as you hang your clothes out or briefly as they disappear into the washing machine. I know that I didn’t understand them for years. Sometimes I still get confused!

These symbols describe how you should care for your clothes and yet most of us don’t understand them or just don’t read them. However they are the key to caring for our RTW wardrobes. To tell us what to do and crucially what not to do! What temperature to wash at. Whether or not it can be tumble dried. Even sometimes what temperature your iron should be.

Following these symbols prolongs the life of garments and therefore helps us to consume less. This article is not here to berate you, I’m not trying to tell you off because honestly who has time or energy for complex garment care.

When we do get to the point where mending is required, when a button falls off, a zip breaks, seams fray and split, we are more likely to throw the garment away or take it to charity than we are to fix it. The reality is that that is how we’ve been conditioned to engage with clothing and the fashion industry. But we don’t have to. We can choose to look after our clothes properly, we can even refashion our clothes to make new garments we will love for longer.

The Joy Of Mending

Put your hand up if you honestly like mending things. Whether thats for yourself or for others. No? No takers? Exactly, mending is a sewing chore.

It’s not fun, it’s time consuming, irritating and frankly most of us would rather be doing anything except sewing a button back on. Which makes it even more annoying that mending is a crucial skill and one that will make your clothes last almost forever.

Regardless of how boring mending can be it truly is a superpower held by sewists and dressmakers and one we must use. We can do mending easily ourselves if we put our minds to it. We have the knowledge to insert a new zip or fix a fraying hem. If you’re lucky you’ve got a sewing machine like mine that will attach buttons for you with no hand sewing involved!

My Top 5 Garment Mending Tips

  1. Don’t leave it. If you notice a seam starting to fray, a button becoming loose, fix it then and there.
  2. For patching tiny holes in garments or reinforcing newly sewn-up rips try adding a bit of iron-on interfacing
  3. Don’t be scared to refashion. If you’ve got a garment that has a huge rip or hole, why not considering making it into something else so it can return to your wardrobe.
  4. Consider visible mending with embroidery. It’s a fun way to customise a garment and add a bit of personality.
  5. Set aside one day a month to tackle the mending and refashion bag. Grab a cup of tea, stick something on the radio or the TV, and get sewing!

10 Ultimate Truths of Sewing

Whether it’s the white knuckle ride of bobbin chicken when you know you have none of the matching thread left in the house, the infuriating second side of your zip, or the soul crushing realisation that you’ve just cut a huge whole in the middle of your garment when trimming a french seam, we’ve all been there.

One of the wonderful things about the sewing community is that we all have these experiences. Whether you’ve been sewing for 5 days or 25 years you will have to unpick something, you will attached a sleeve the wrong way around, and you break a sewing needle so badly it’s left looking like a paperclip (just me?). These things happen.

As an experienced sewist I’ve learnt that there are certain fundamental rules of sewing and it is wise to prepare. For example, never buy only one spool of a very specific thread colour, get a couple; check your bobbin level BEFORE starting a very long seam; and never ever put your seam ripper away. In the same way that when you call someone from IT when your computer breaks only to find it works when they are stood there. While your seam ripper lies next to you everything is fine. The minute you put your seam ripper away, you send a cosmic signal to the universe asking to unpick half of your garment and put a sleeve in wrong side out. It’s pure hubris and I have to stop doing it.

To get back into blogging I thought I would pull together my list of ultimate sewing truths, the rules at the heart of the thread-iverse. I should say, there will be someone who takes this too seriously so for the sake of a small minority(who always make their toiles), this post is based on my experiences of sewing and is also just a bit of fun.

10 Ultimate Rules of Sewing

  1. Even the most accomplished dressmaker has to unpick things
  2. The one time you don’t follow the fabric allowance on the pattern is the time you will actually need it.
  3. One side of your zip will be perfect first time, the other side will take 17 tries
  4. It is easier to get a degree in Nuclear Physics than it is to work out the correct overlocker tension first time
  5. No one actually changes their sewing machine needle every 8 hours
  6. If your thread is going to run out, it will do it in the middle of topstitching
  7. No matter what is in your wardrobe, you will find yourself sewing a new dress hours before you have to leave
  8. Toiles are both incredibly important and stunningly dull, as all the most useful things are.
  9. Whenever you think you’ve sewn something perfectly first time, you will find your bobbin ran out at the beginning and you have to do it all over again
  10. Always get two more buttons than you need. An extra for when you inevitably miscount the number you needed in the first place and one to go in the buttonhole foot after you’ve attached the rest without thinking.

This very silly and fun post signals that I am indeed back to blogging regularly. I will write a proper life update so you lot can know what I’m up to, where I’ve been, and where I’m going. But! In the meantime, let me know what you would add to this list in the comments below! I’m considering having it put on a tea towel.