Sewing Project: Shell Top / My First Forays Into Viscose

Hello lovely people, I hope you have had a wonderful weekend so far. Yesterday I hit 300 followers on my Instagram in just under four weeks! If you follow me on Instagram then, thank you! If you don’t then look me up @sowhatifisew . Anyway, on to this weekend’s challenge. As I had hit a little milestone and it was a miserable rainy day, we put a new series on Netflix and I decided to do a one-day sew. After my six month long dress project I needed a little palette cleanser so this project was ideal.

Last week I received a fabric haul from one of my favourite suppliers. They had a massive sale on so I went on a small fabric buying binge and I bought some beautiful fabrics. Not only that but I bought fabrics I was either nervous about using or had never used before. One of those was Viscose. As per usual when I work with a new fabric I spoke to my mum to check if there was a thing special I needed to do and she said that I didn’t need to use anything special but to mind out as the fabric can be slippery. I definitely found this to be the case. Once I got it into the sewing machine it sewed absolutely beautiful but oh my goodness I think I used about a million pins when I was attached the facing as it slips and stretches so easily. I will explain more as we go along but viscose definitely isn’t as scary as I thought it would be.

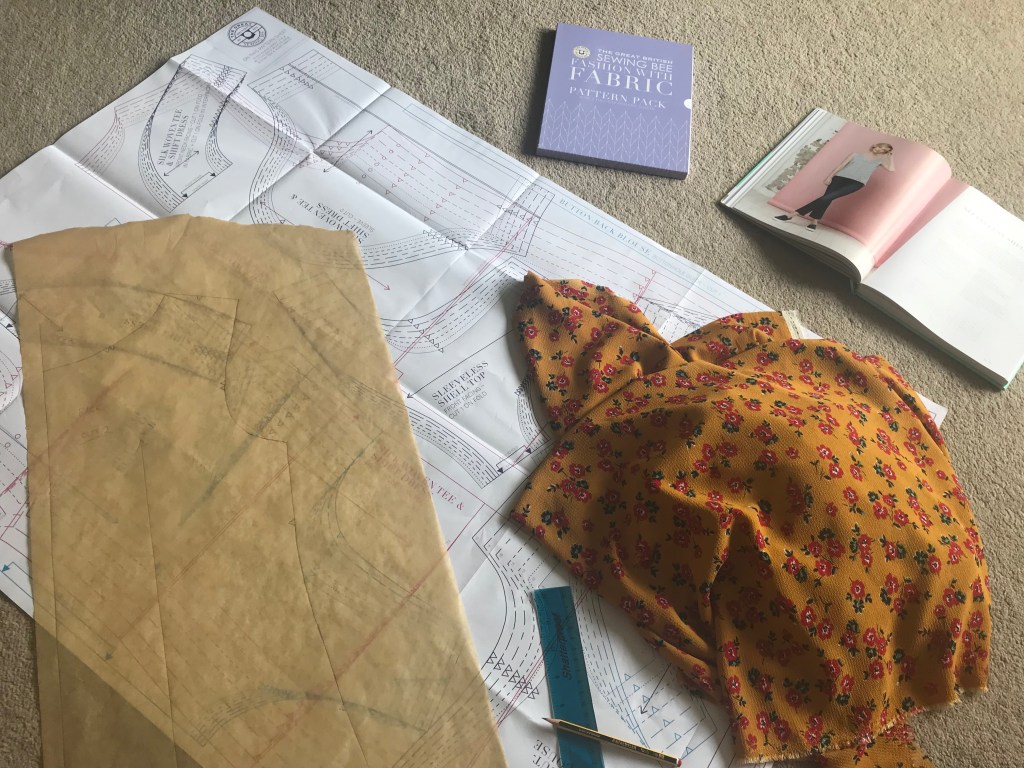
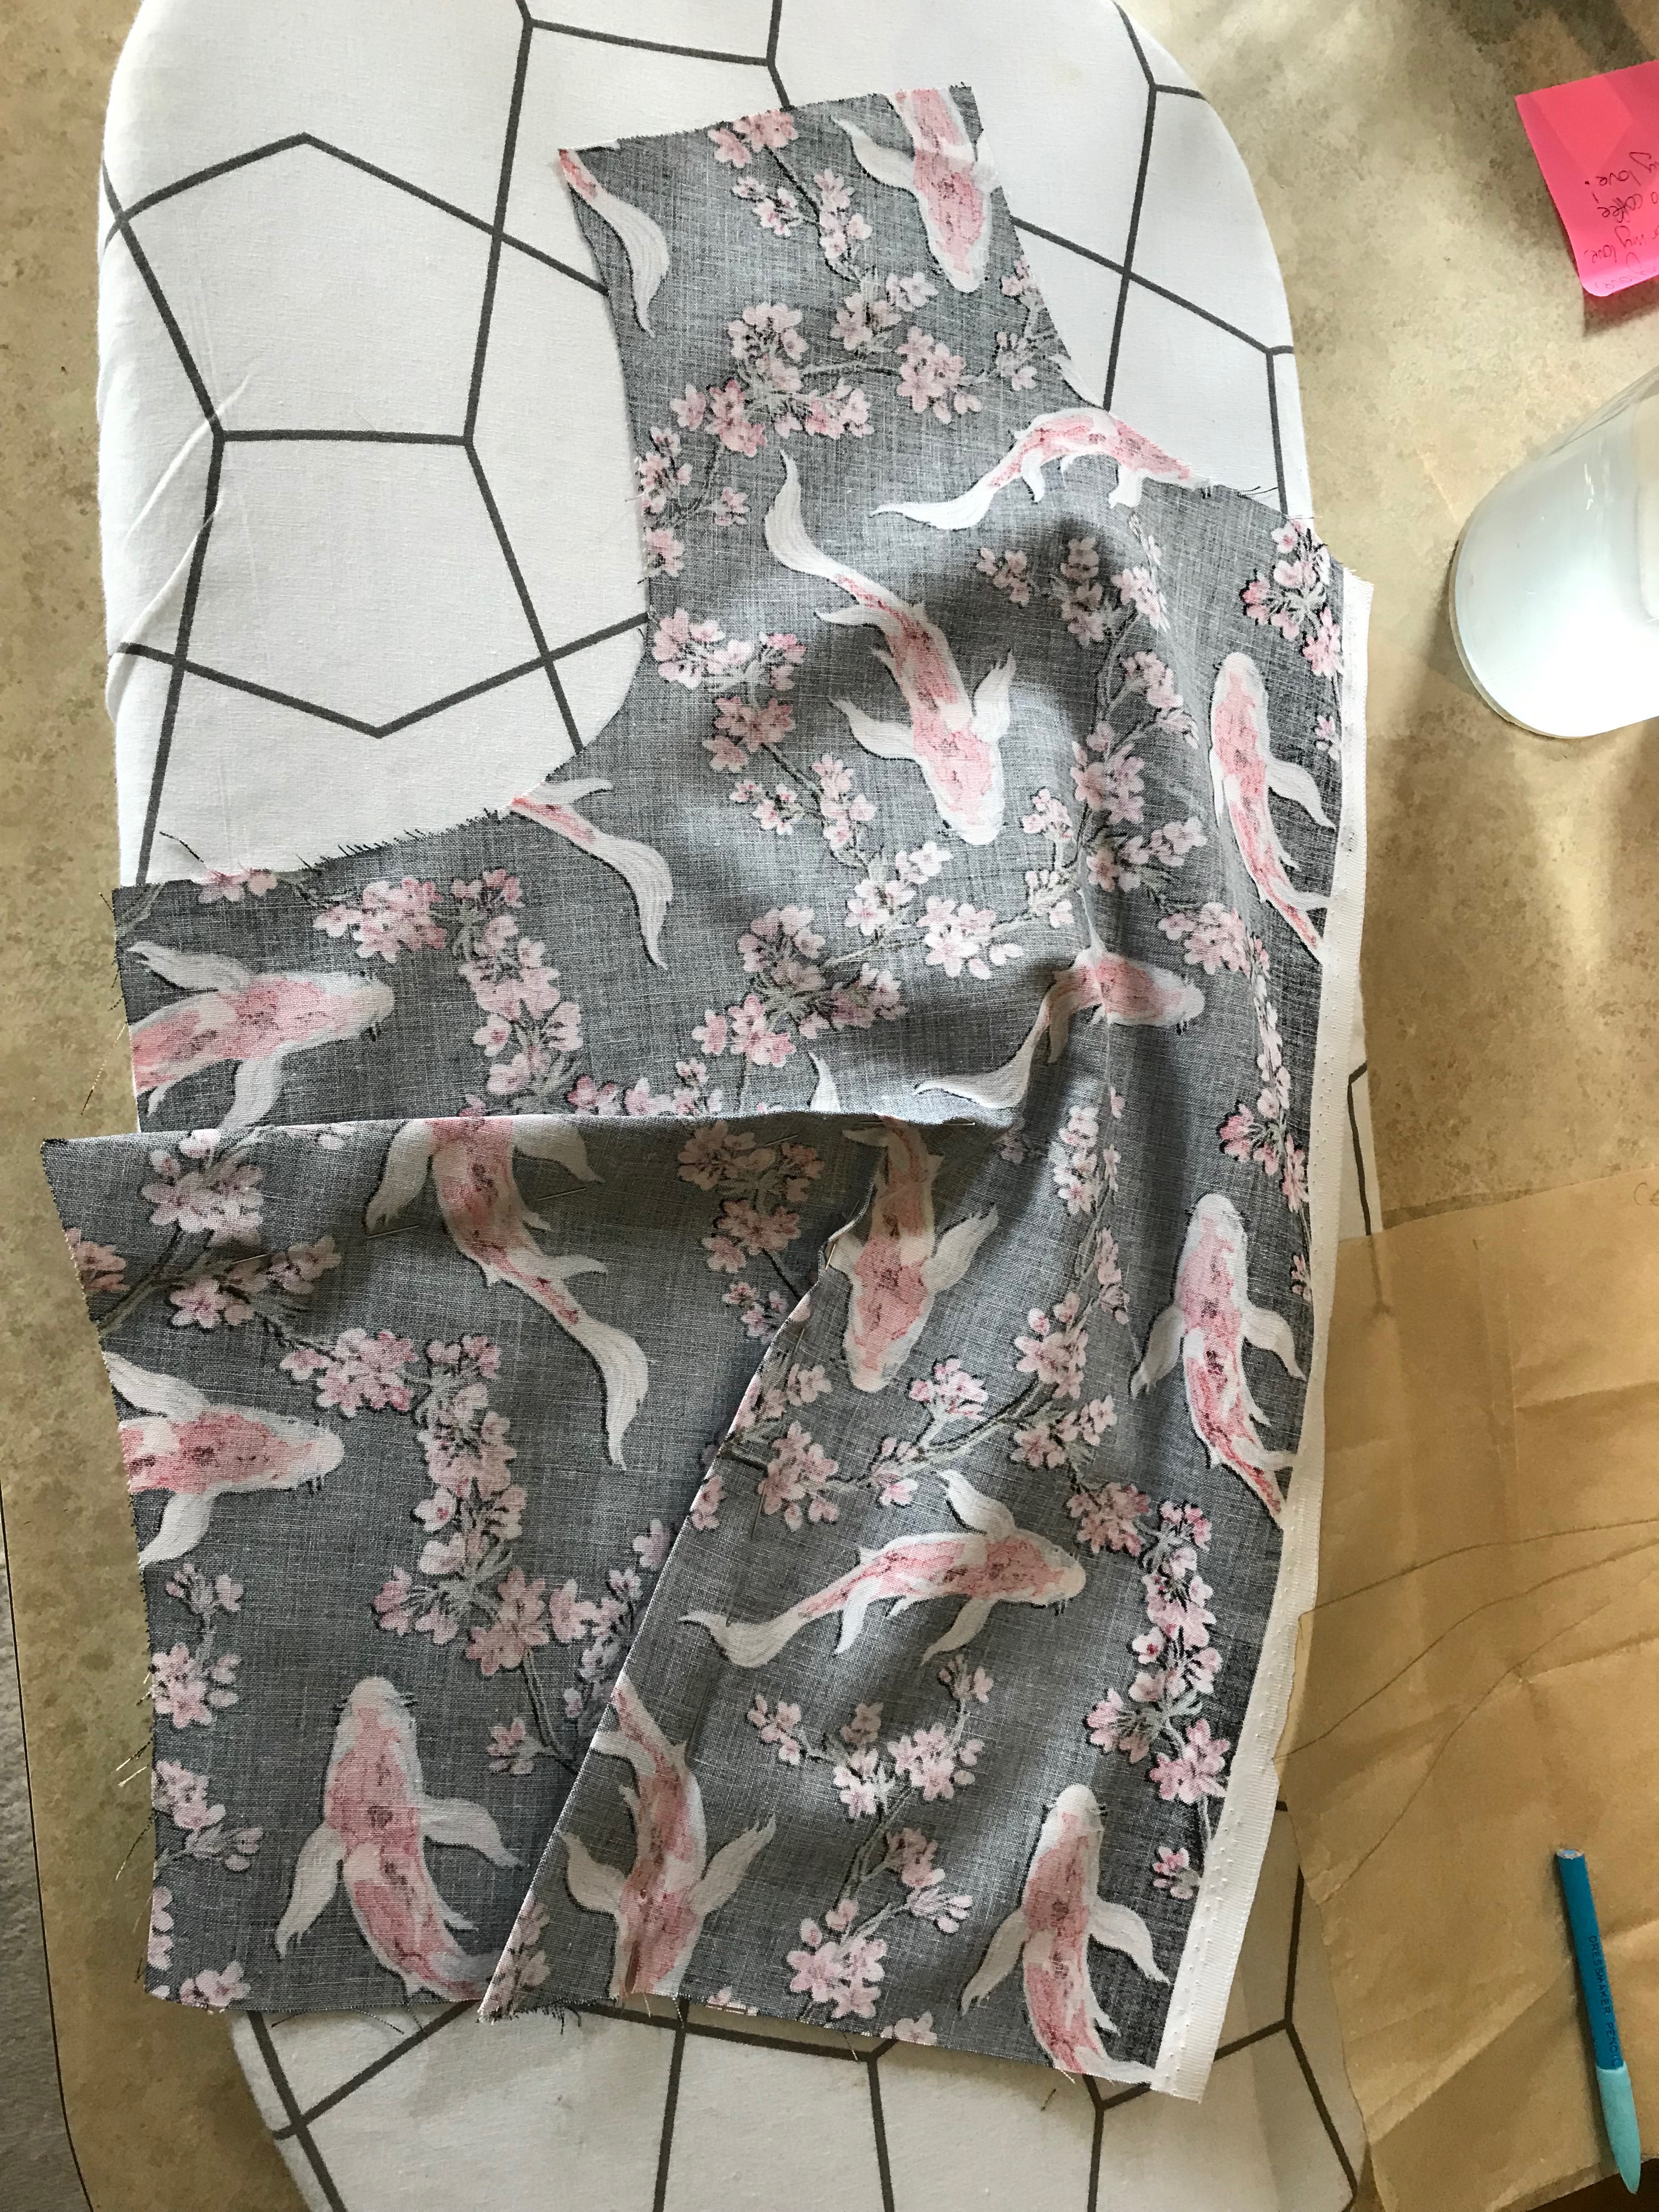
For this challenge I chose a simple shell top from the British Sewing Bee and used my gorgeous yellow floral viscose from Rainbow Fabrics Kilburn. This fabric has the most stunning drape and although it wasn’t a recommended fabric for this pattern I found that it worked very well. I’m glad that I chose a simple-ish pattern because as I have mentioned above, viscose is tricky to work with and I needed the simplicity to allow me to truly get to grips with the fabric. Also I realised recently that my wardrobe is pretty woeful in terms of tops and this pattern fits me really well so you may see a few more of these creeping into my DIY wardrobe.

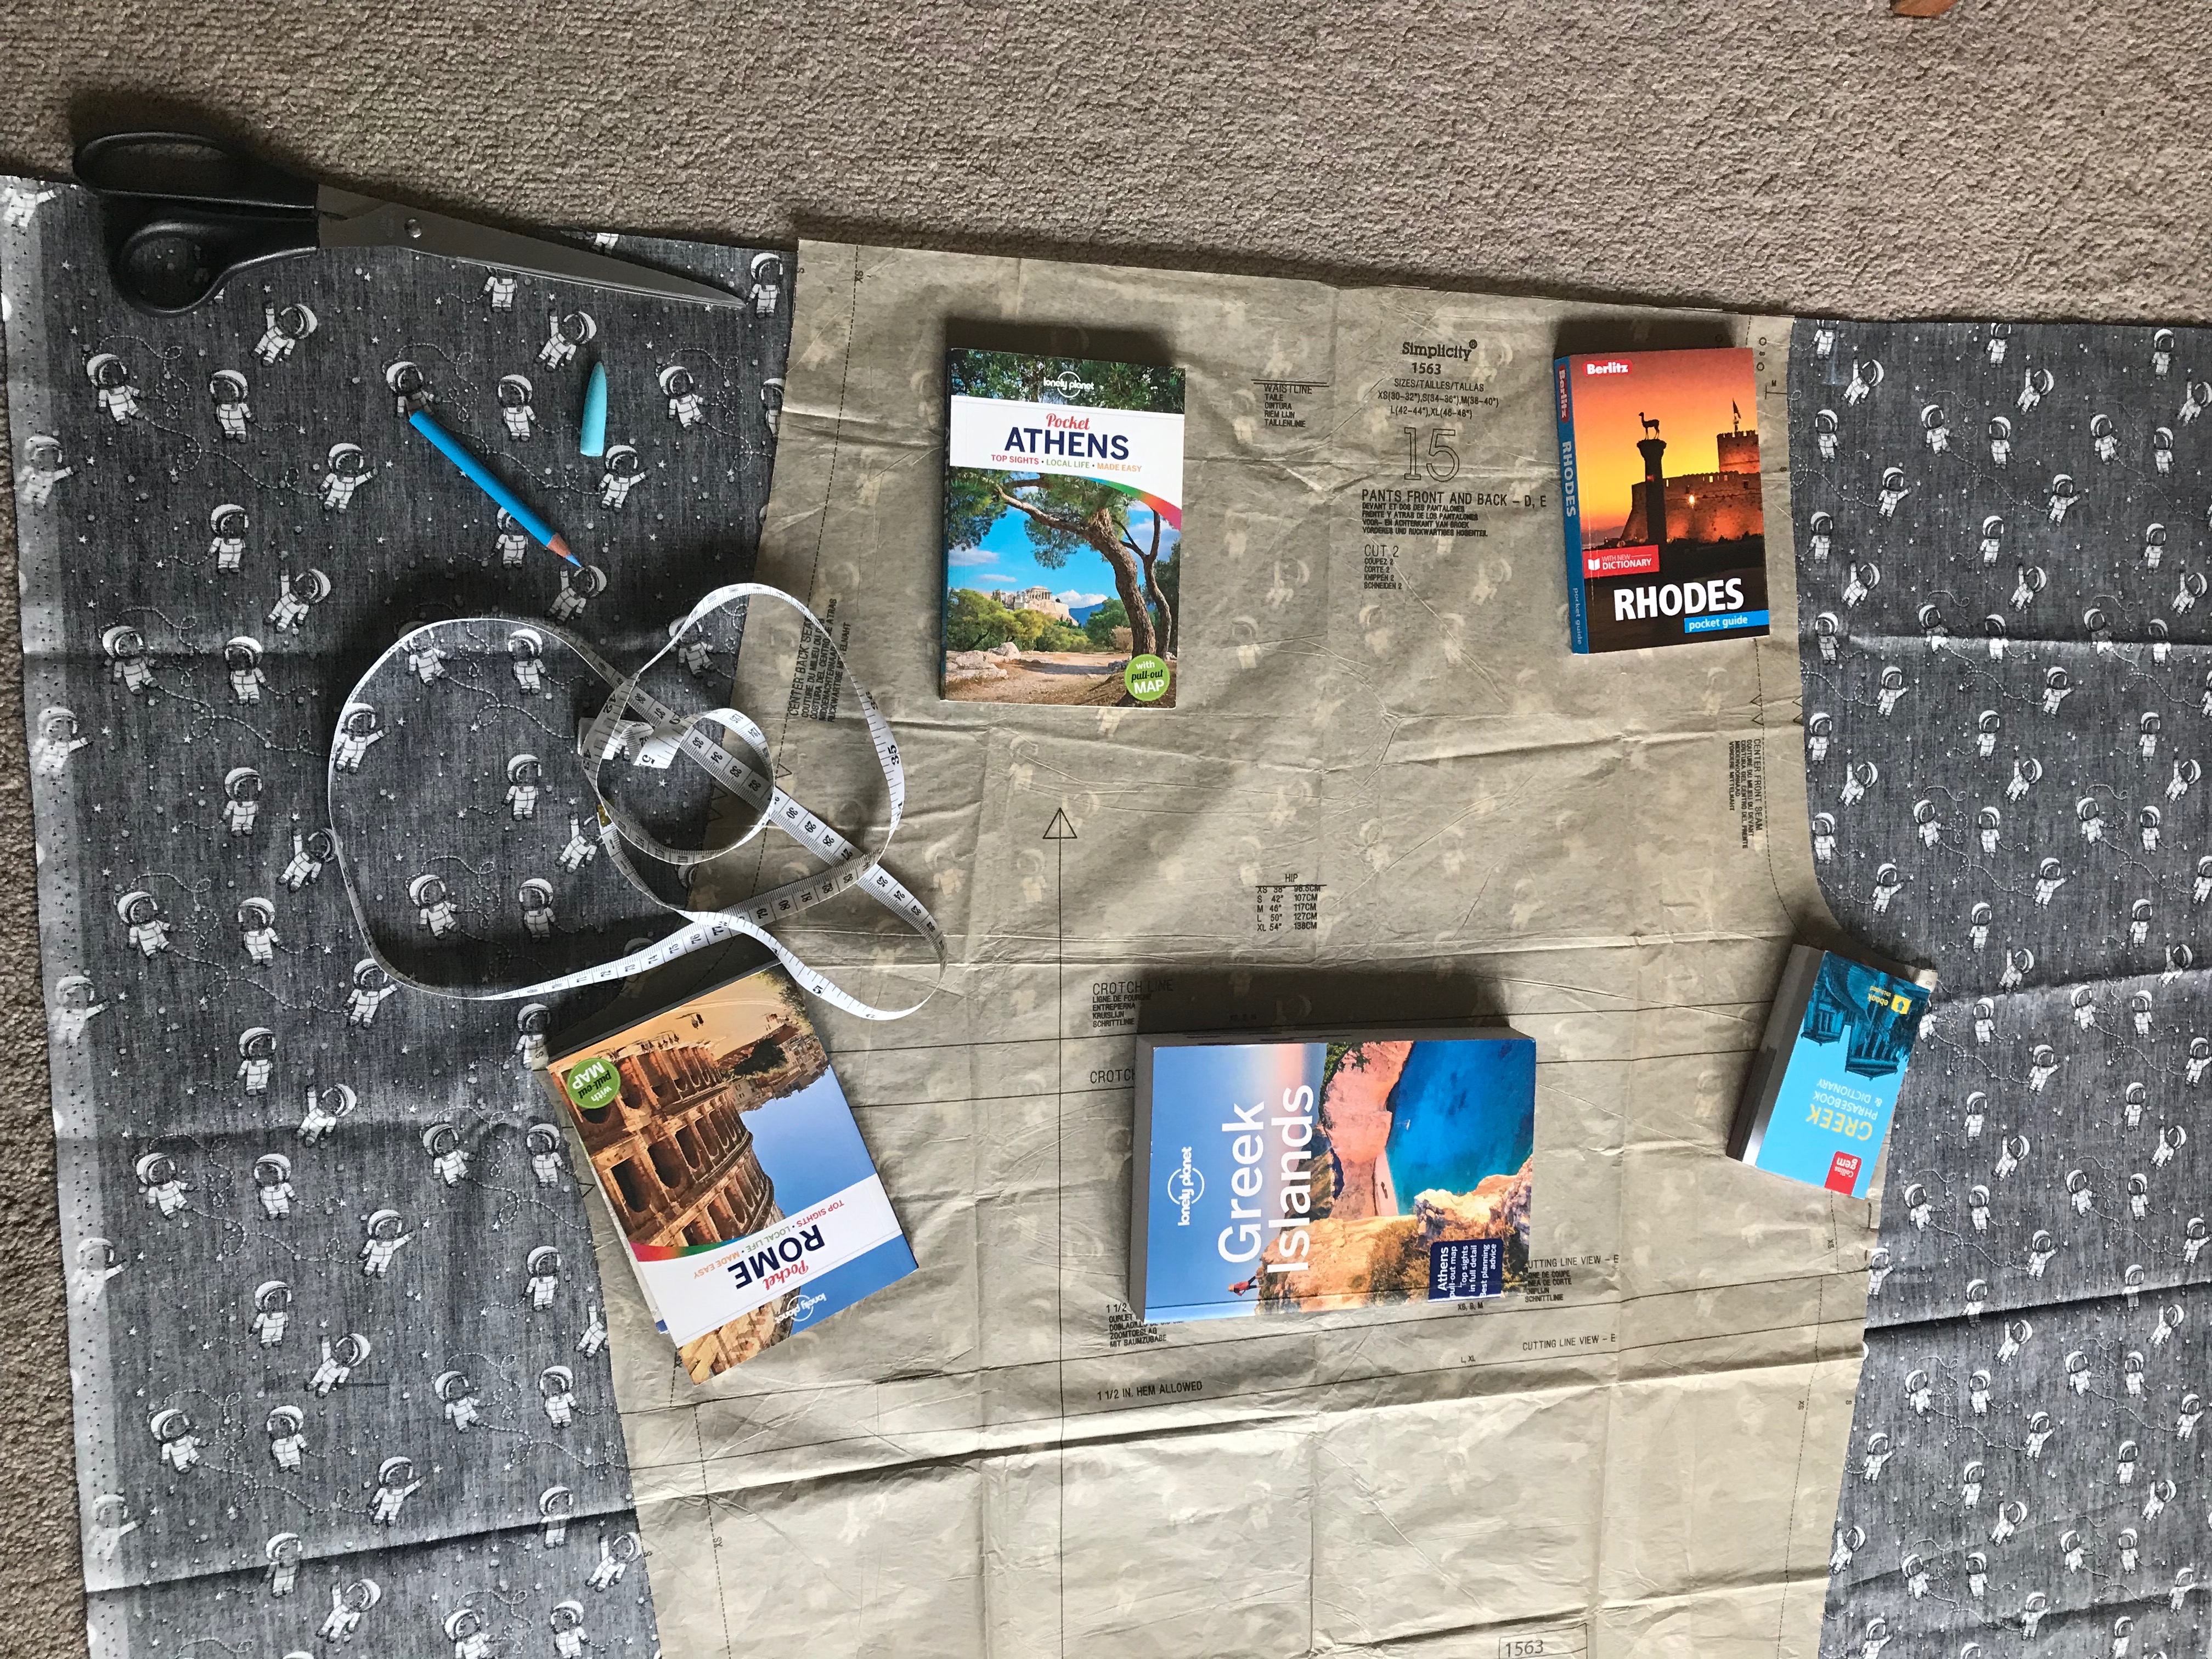
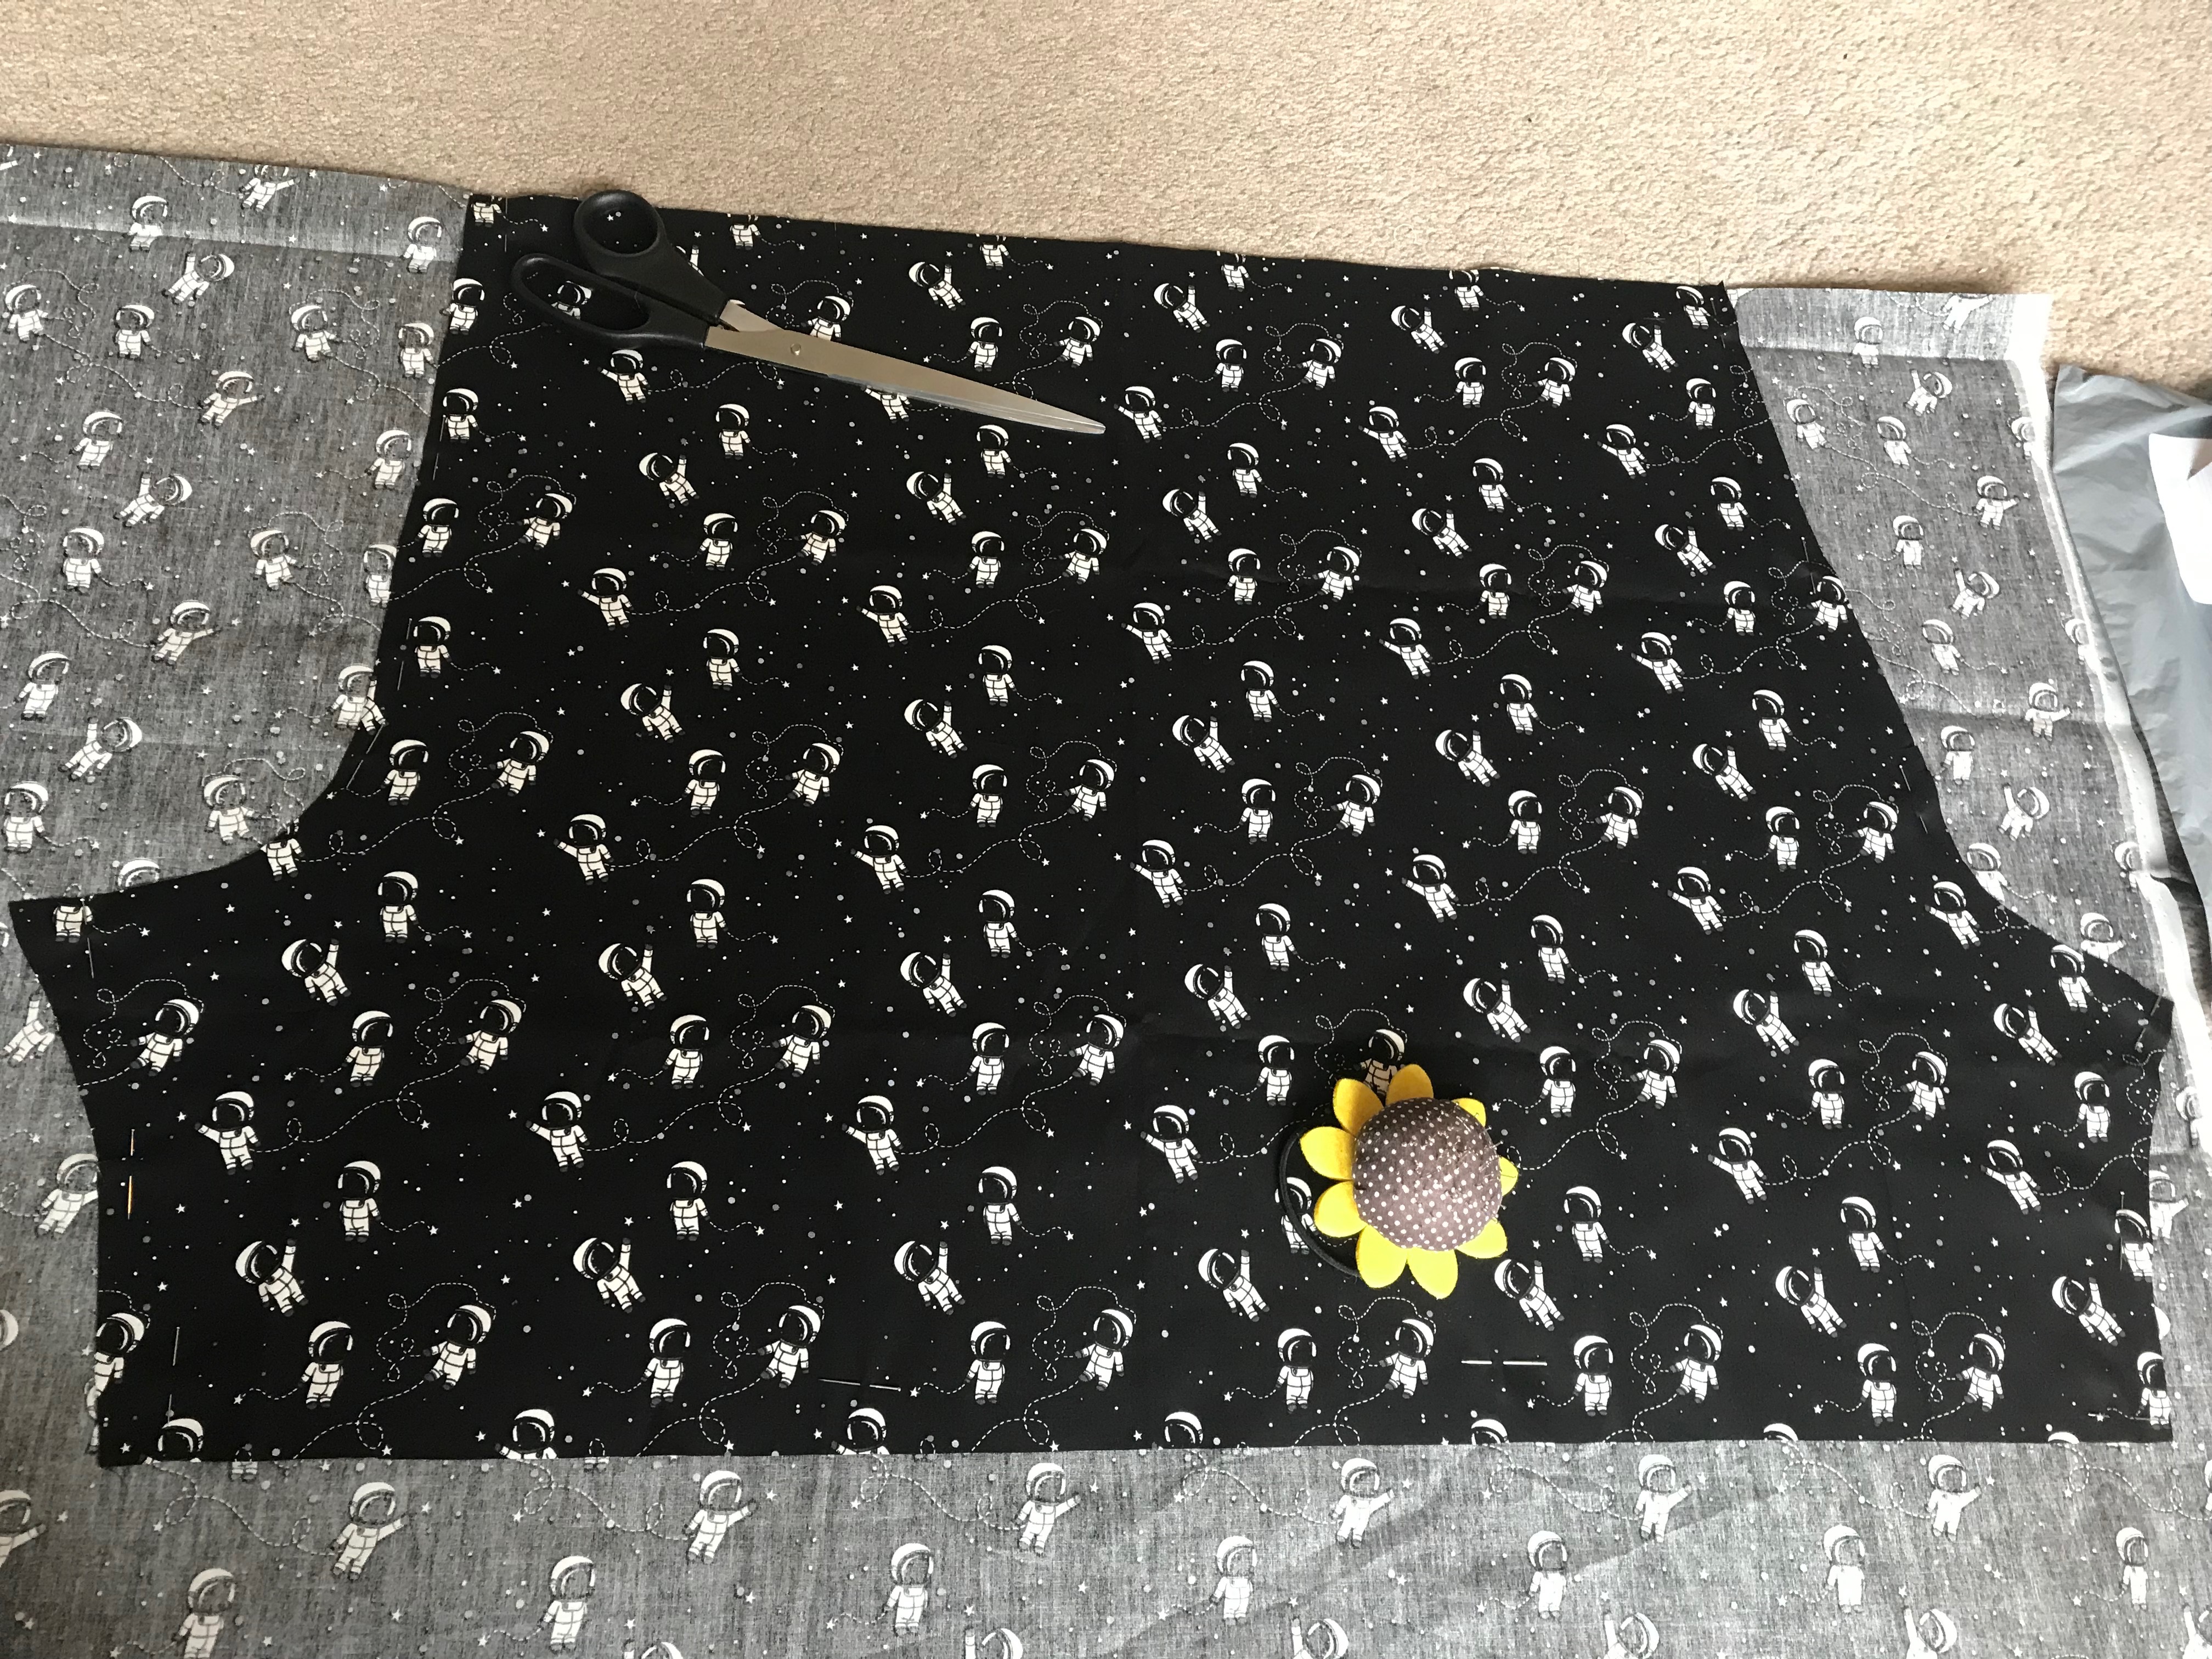
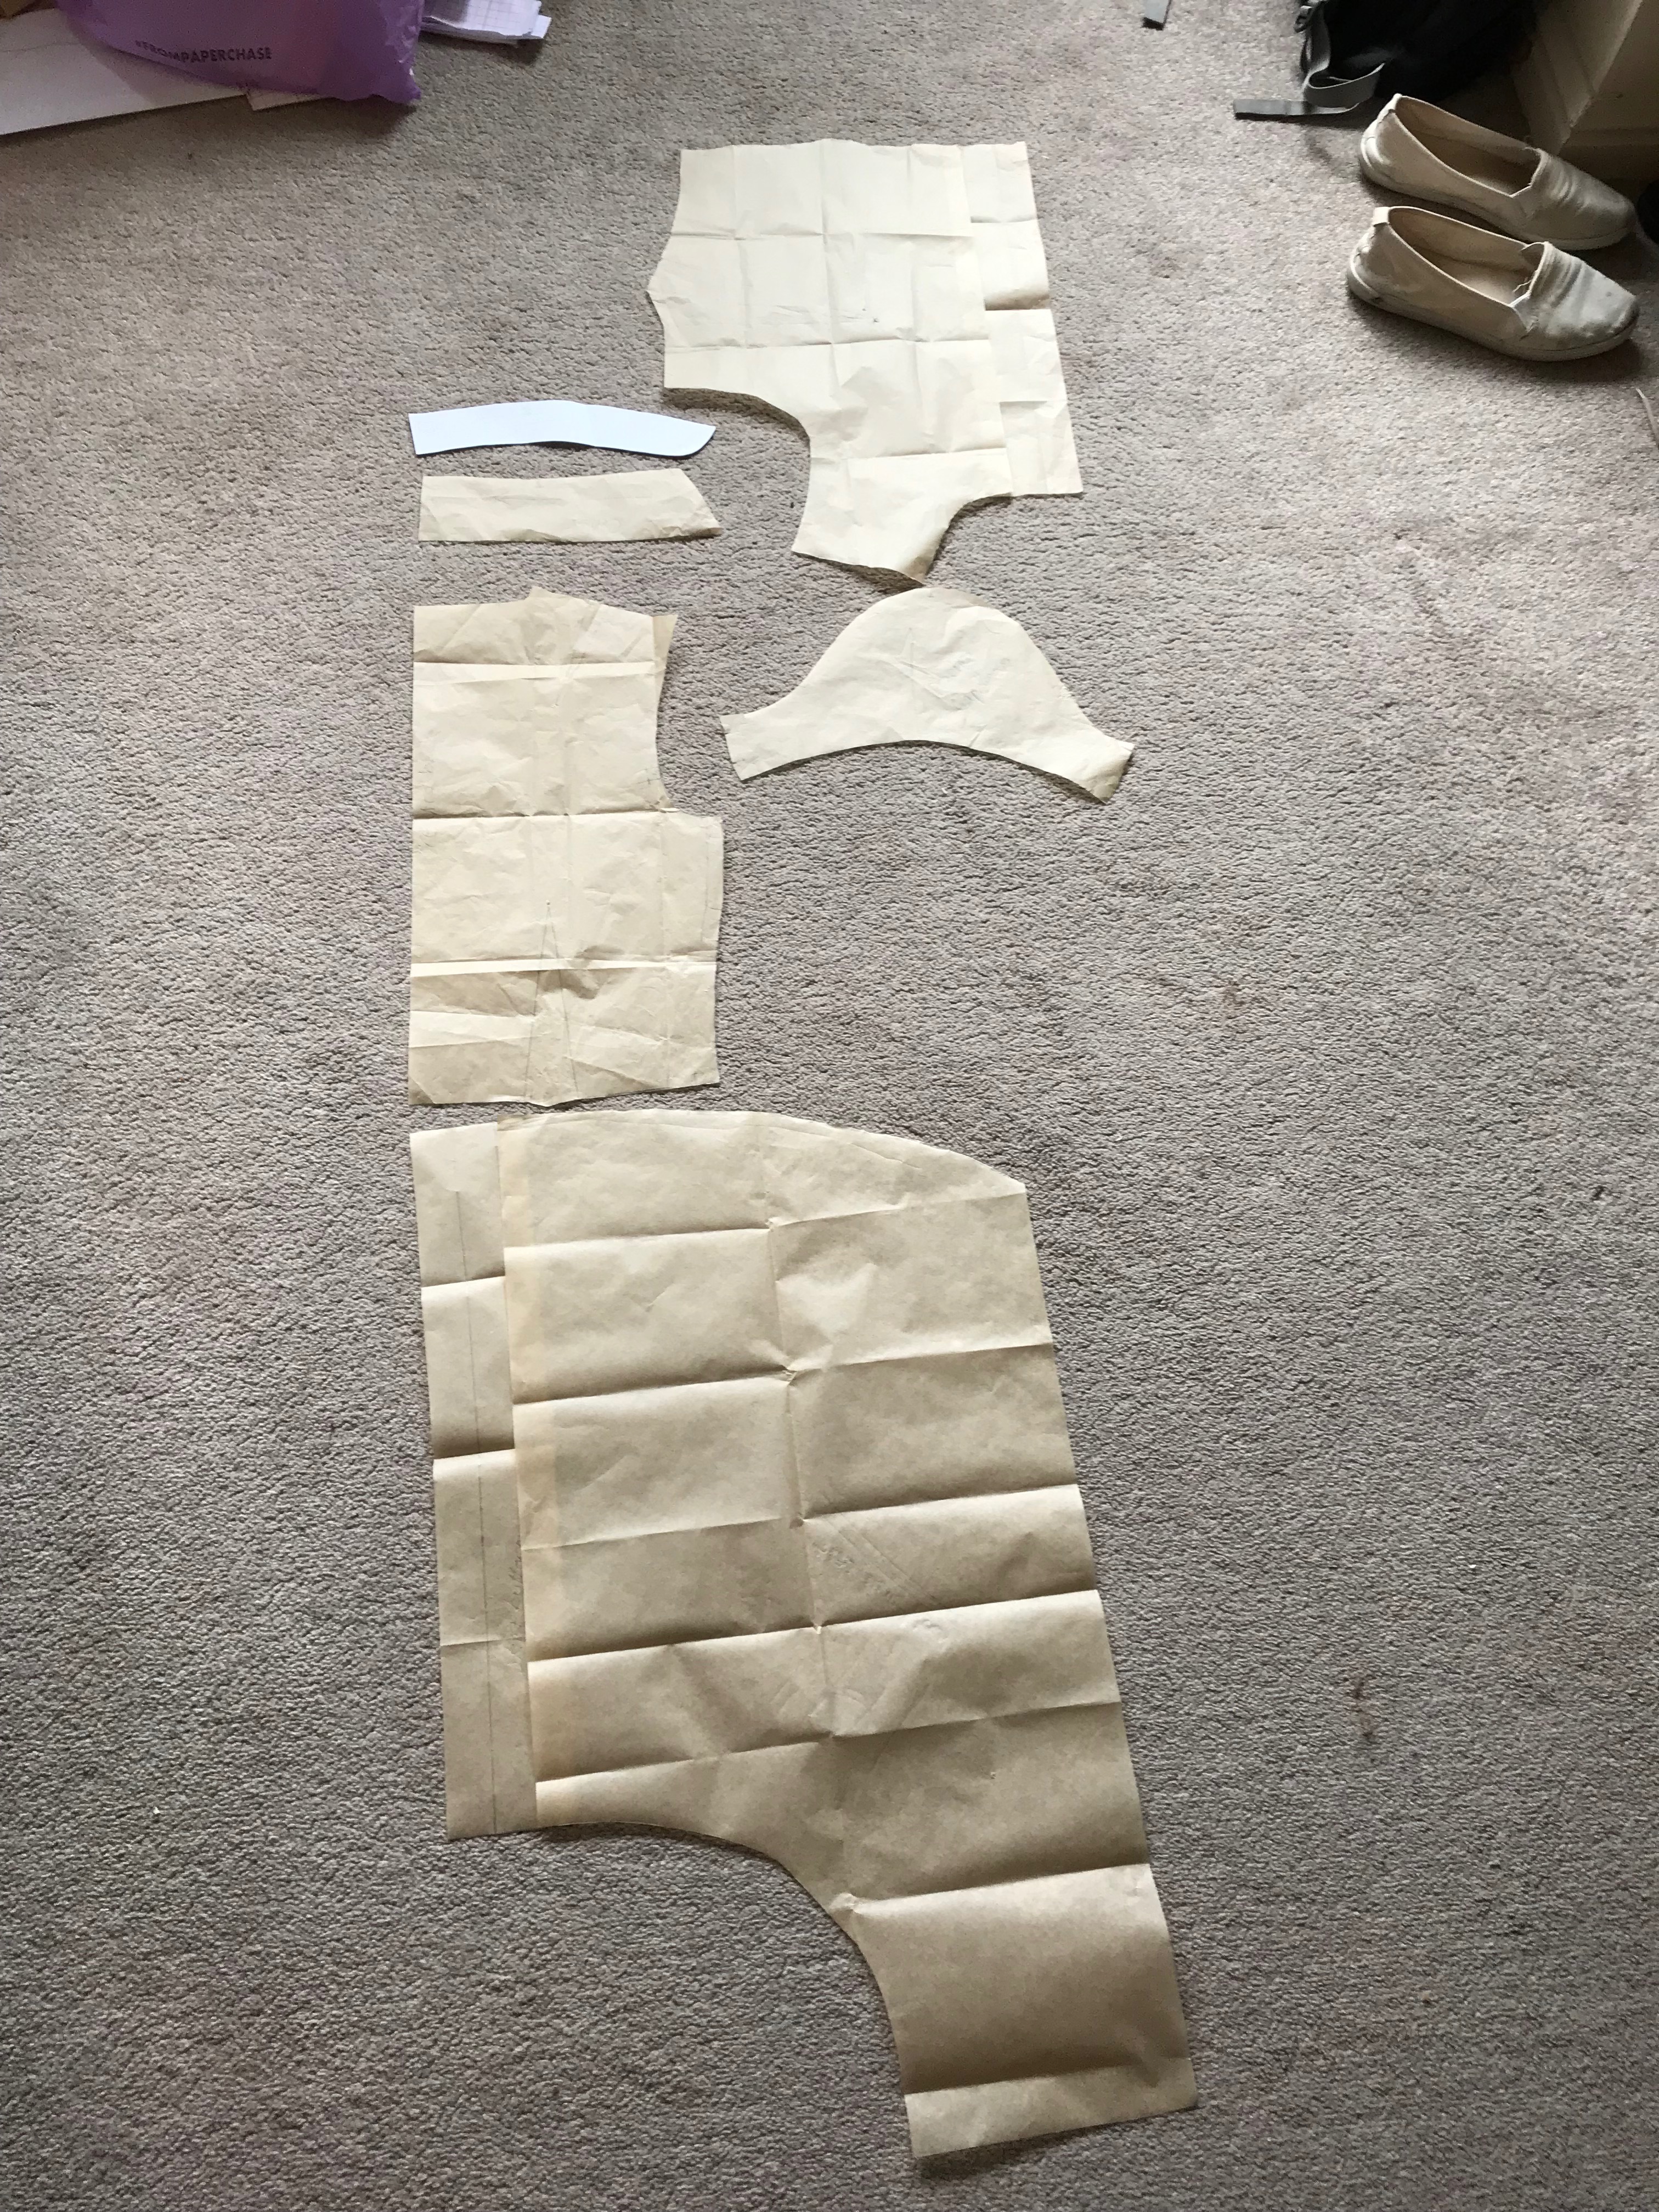
Working with viscose is different from step one. Viscose is a little easier to work with if you iron it first so that’s what I did. Easier in comparison to what I shudder to think. When laying it out to be cut I had to enlist my partner, we took an end each, arched them up and laid the fabric down incredibly carefully. It was so slippery that I couldn’t actually manage to do it on my own and I wanted an even cut. Next time I use viscose I will cut with a rotary cutter because you get too much stretch in the fabric with scissors.

First Steps

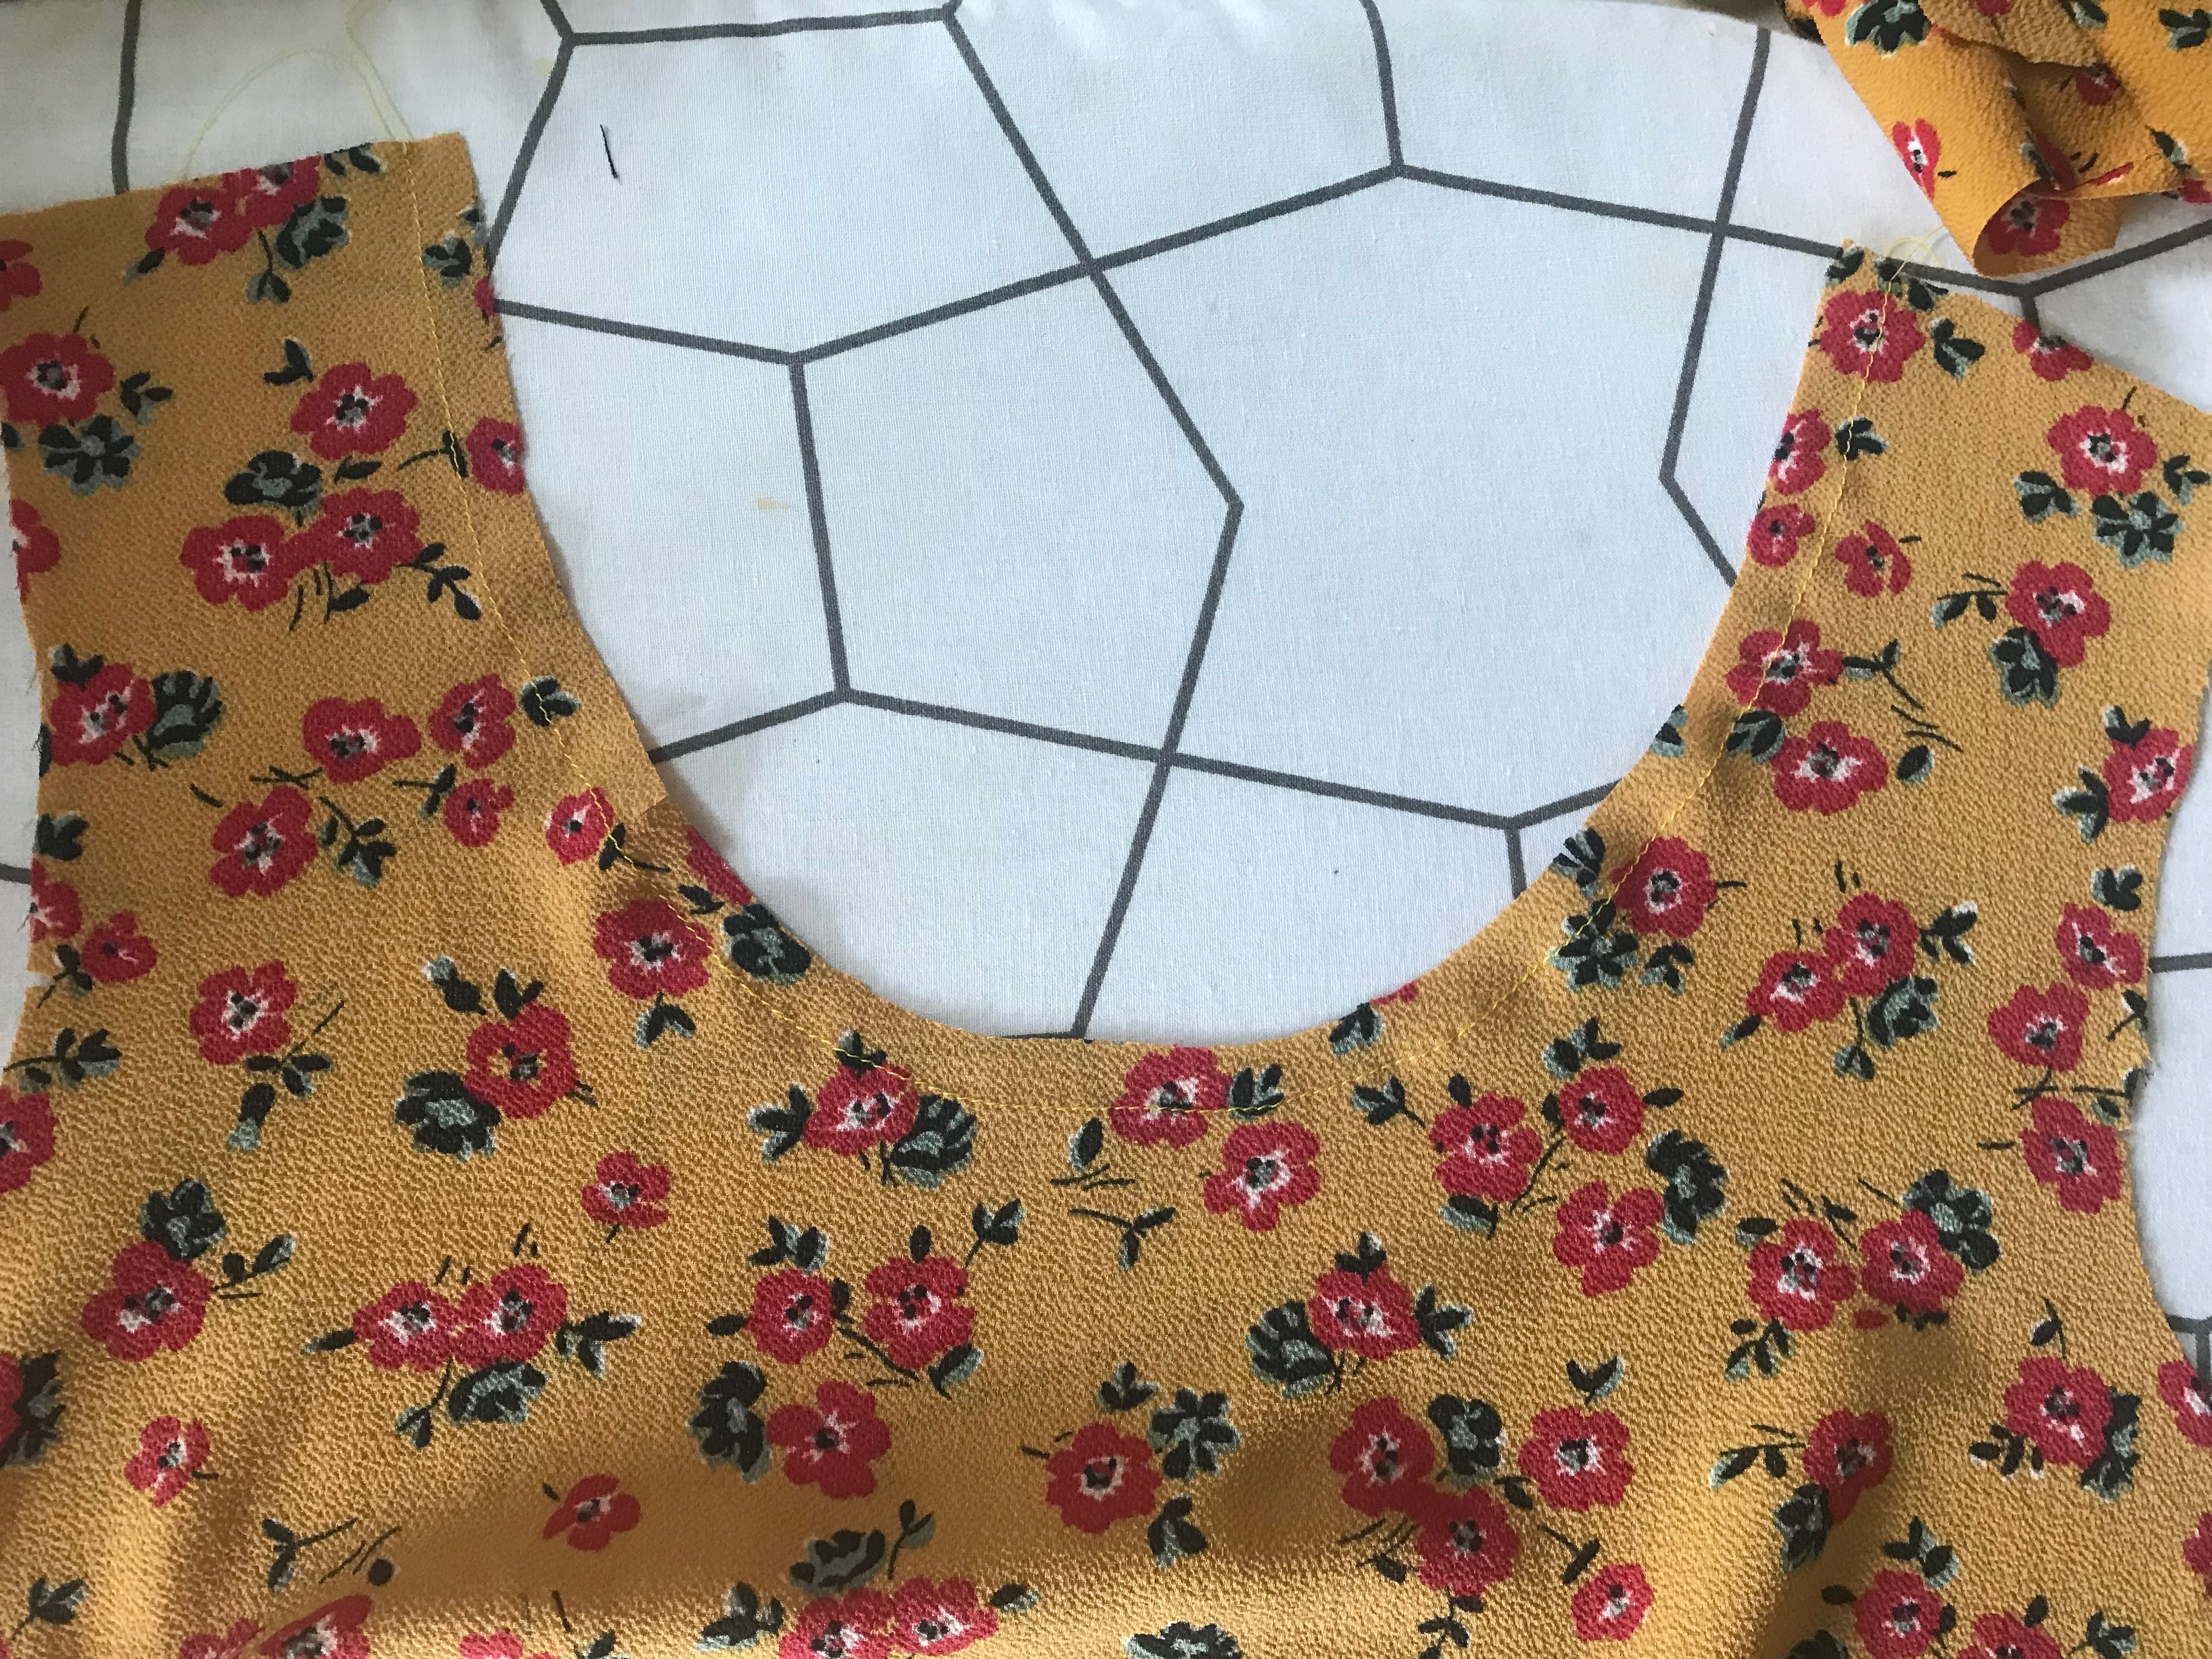
The first step of this pattern was stay stitching the necklines. Now generally I’m not great at remembering to staystitch but I always do necklines and I’m extremely glad I did in this case. There was a fair amount of stretch in the fabric so I was very careful working with it and used a lot of pins. On that note, I was so impressed with my darts on this top. They are the best darts I’ve ever done and sit really well on my bust when I wear the top. Then it’s a simple stitch together at the shoulder seams.

Facings & Interfacing

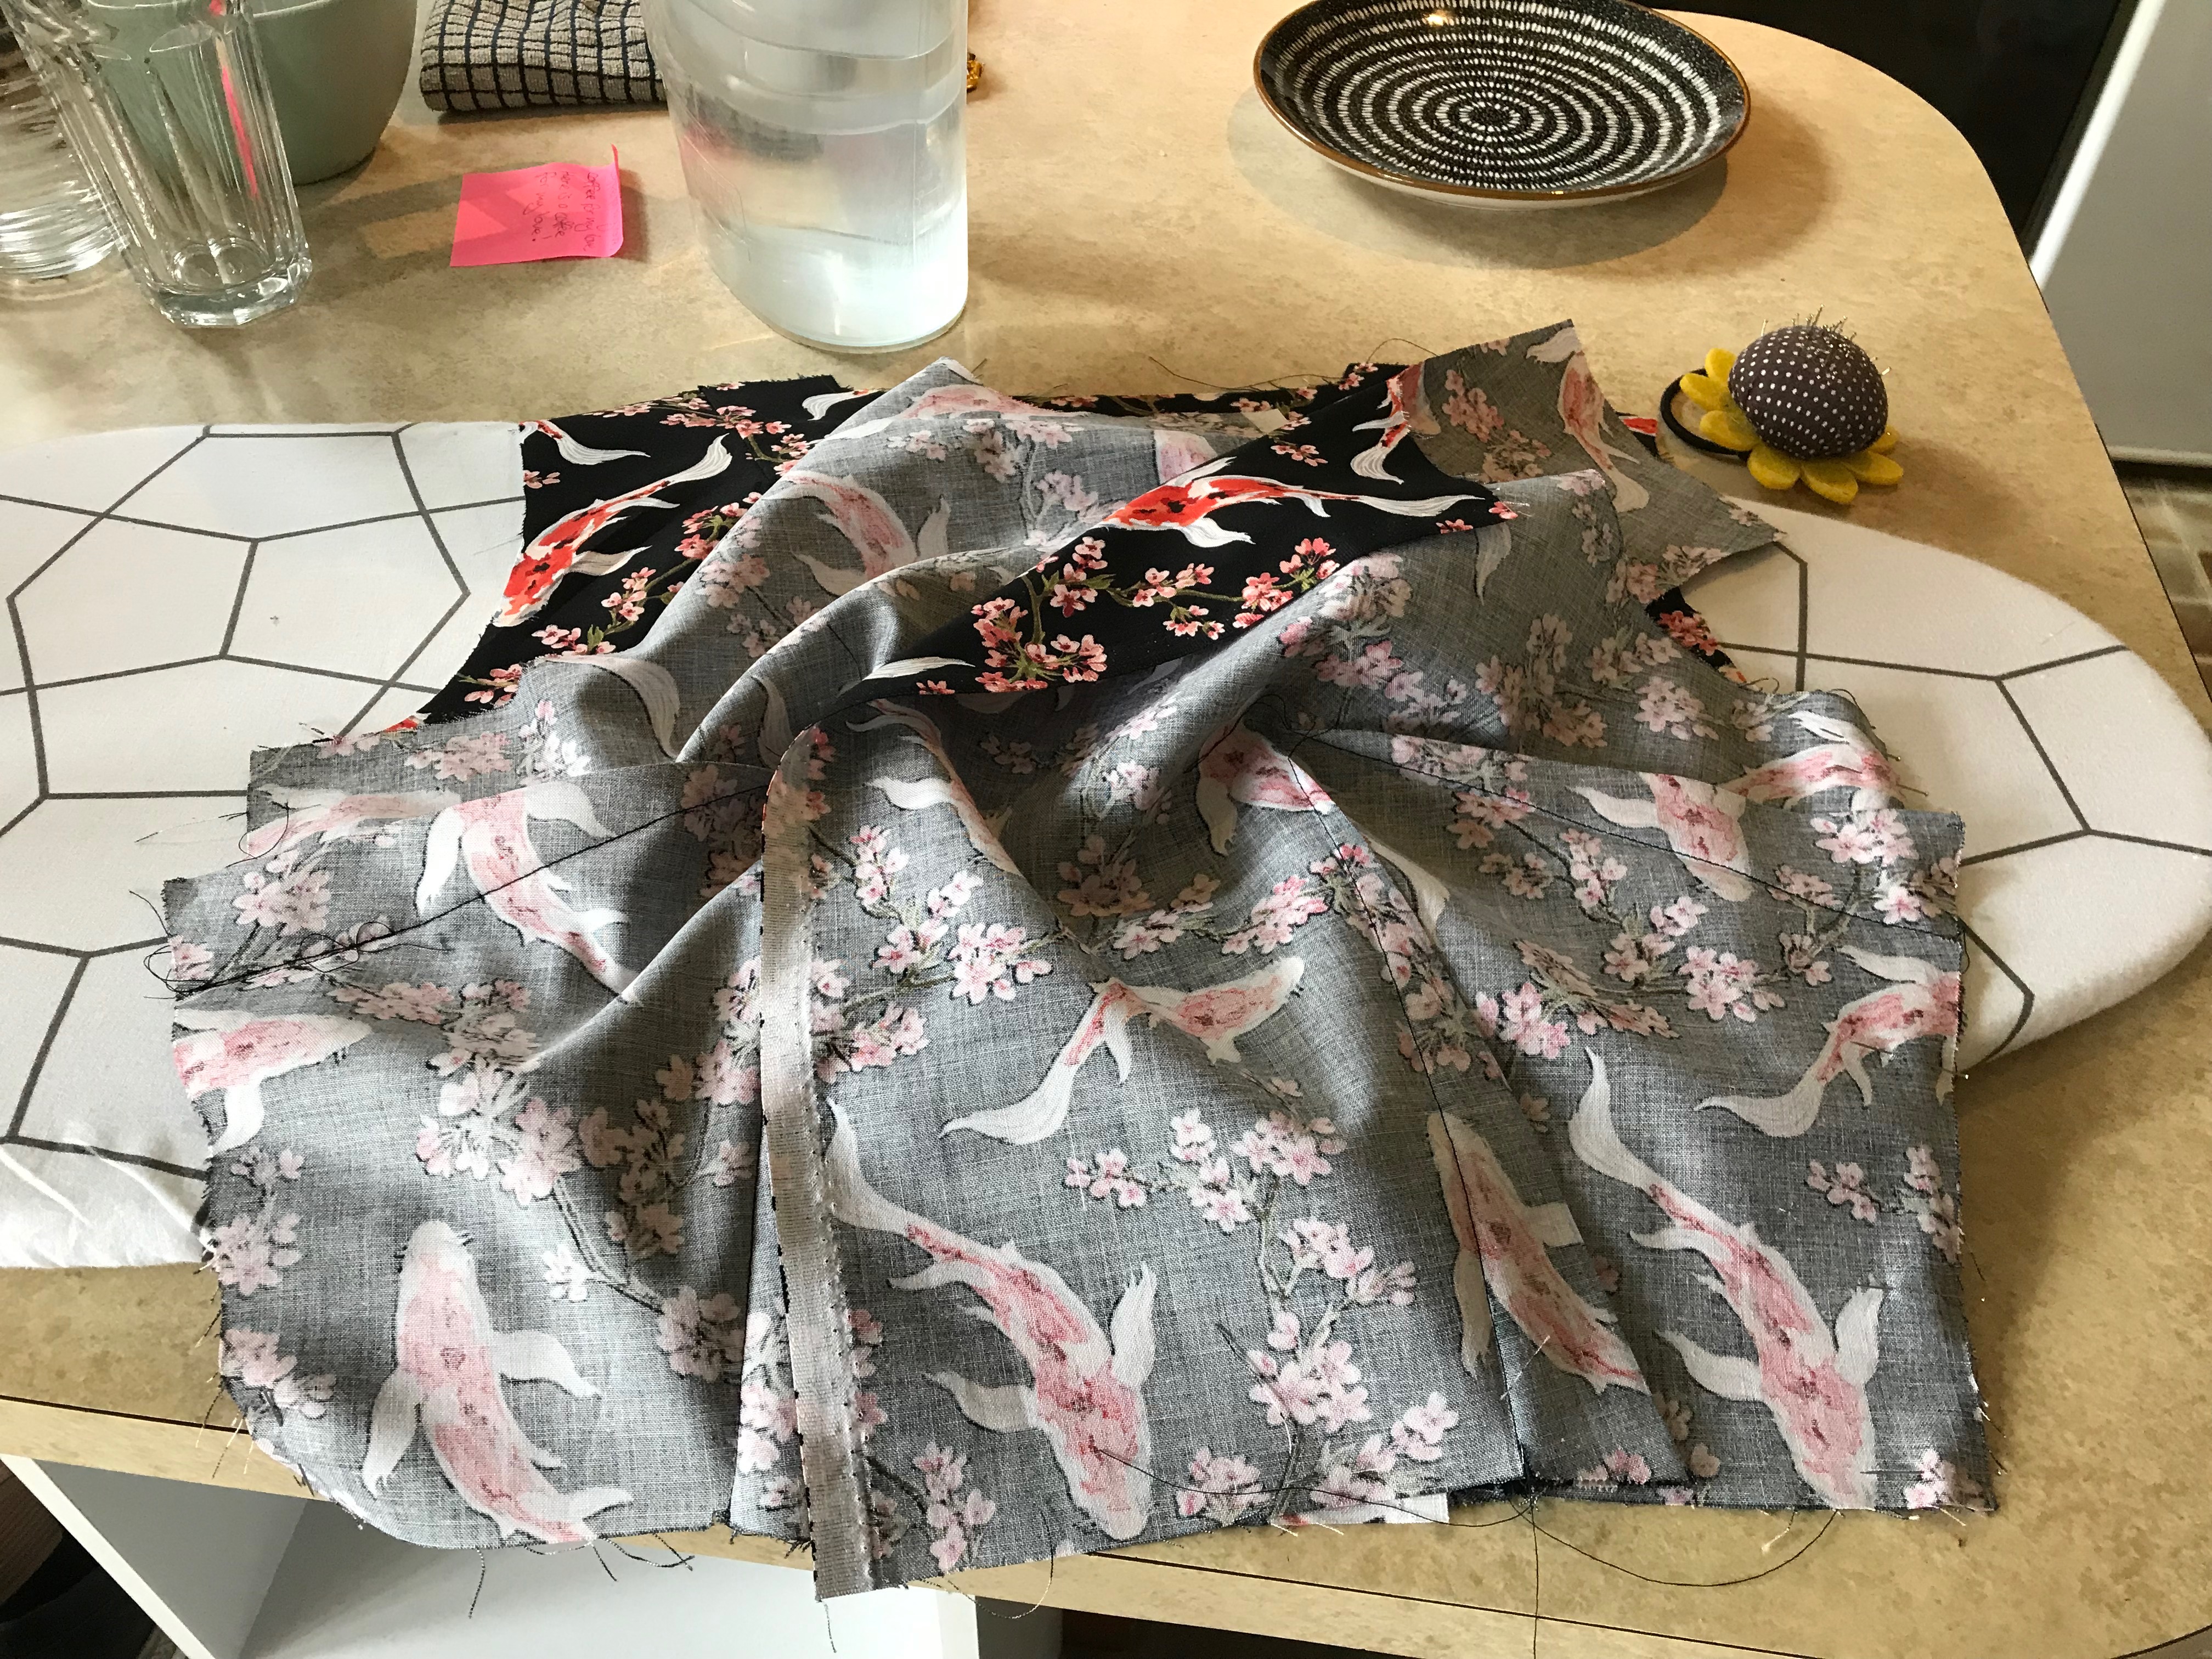
I had a problem here as I thought I had lightweight interfacing but I only had medium weight so instead I cut double of the facings from the fabric and stitched them together to stiffen the structure without having to use interfacing. This has worked very well in terms of structure but is a touch bulky. If I was doing it again, I would snip the seams down a little bit more.

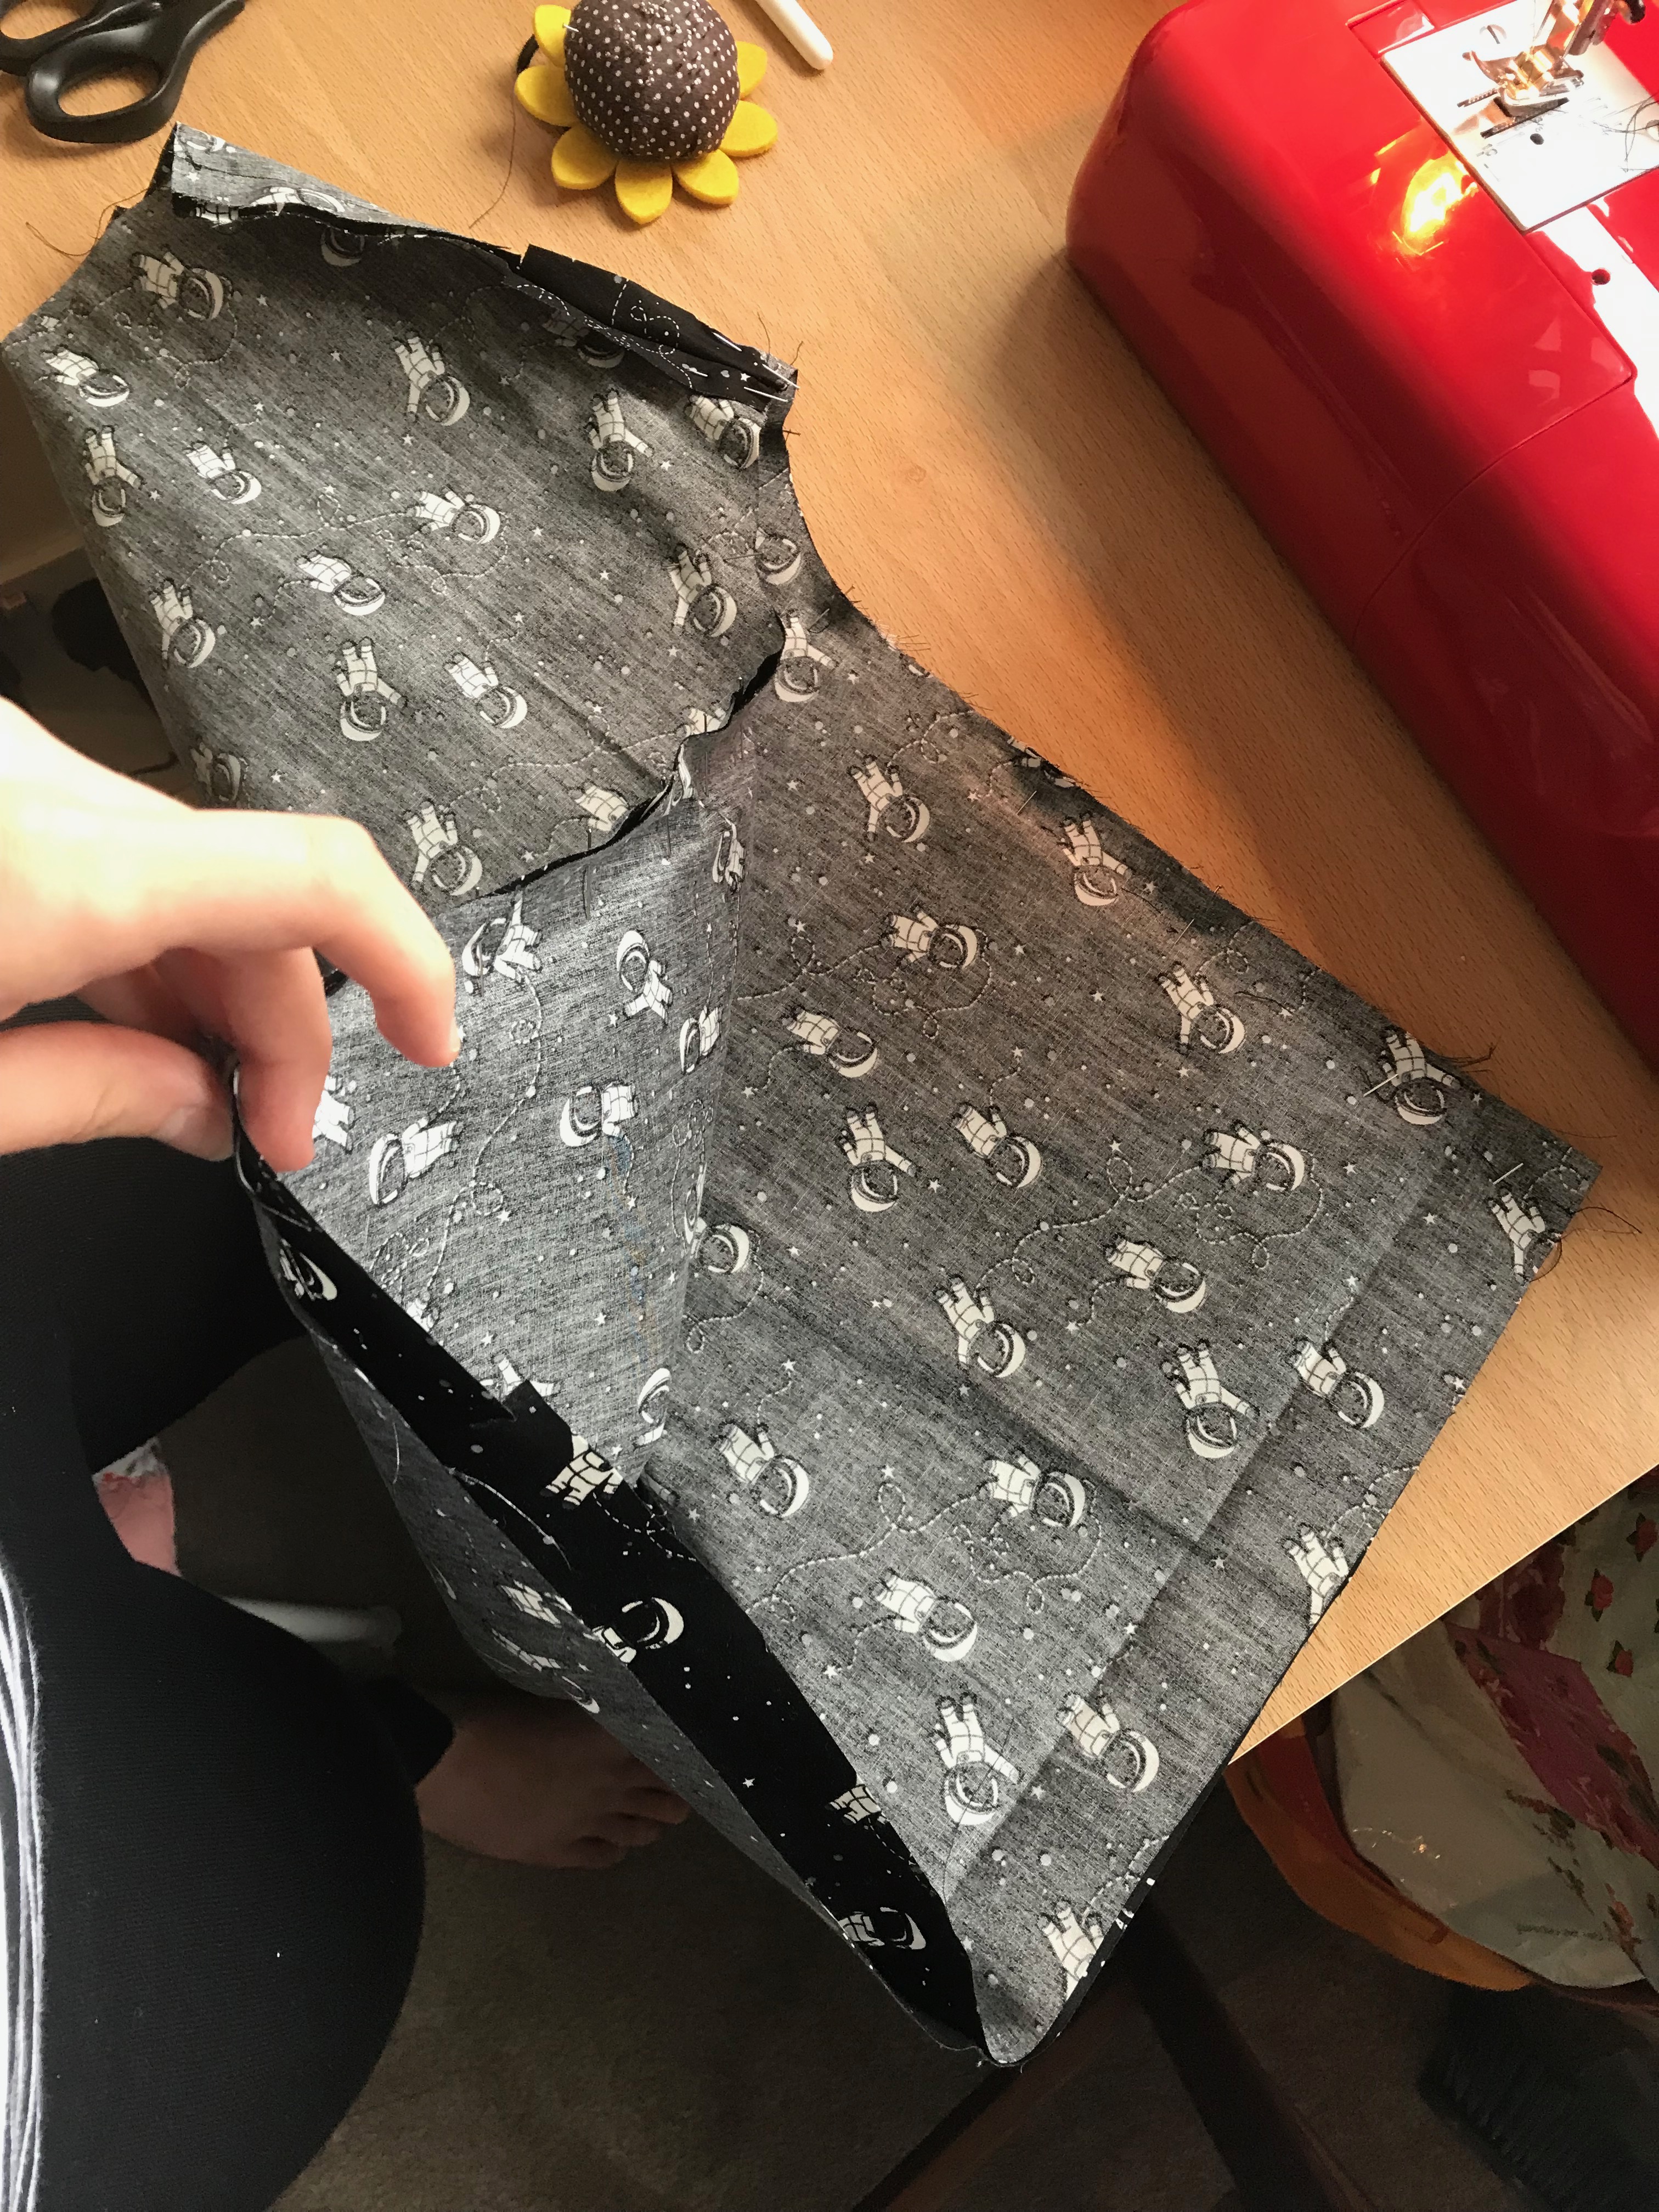
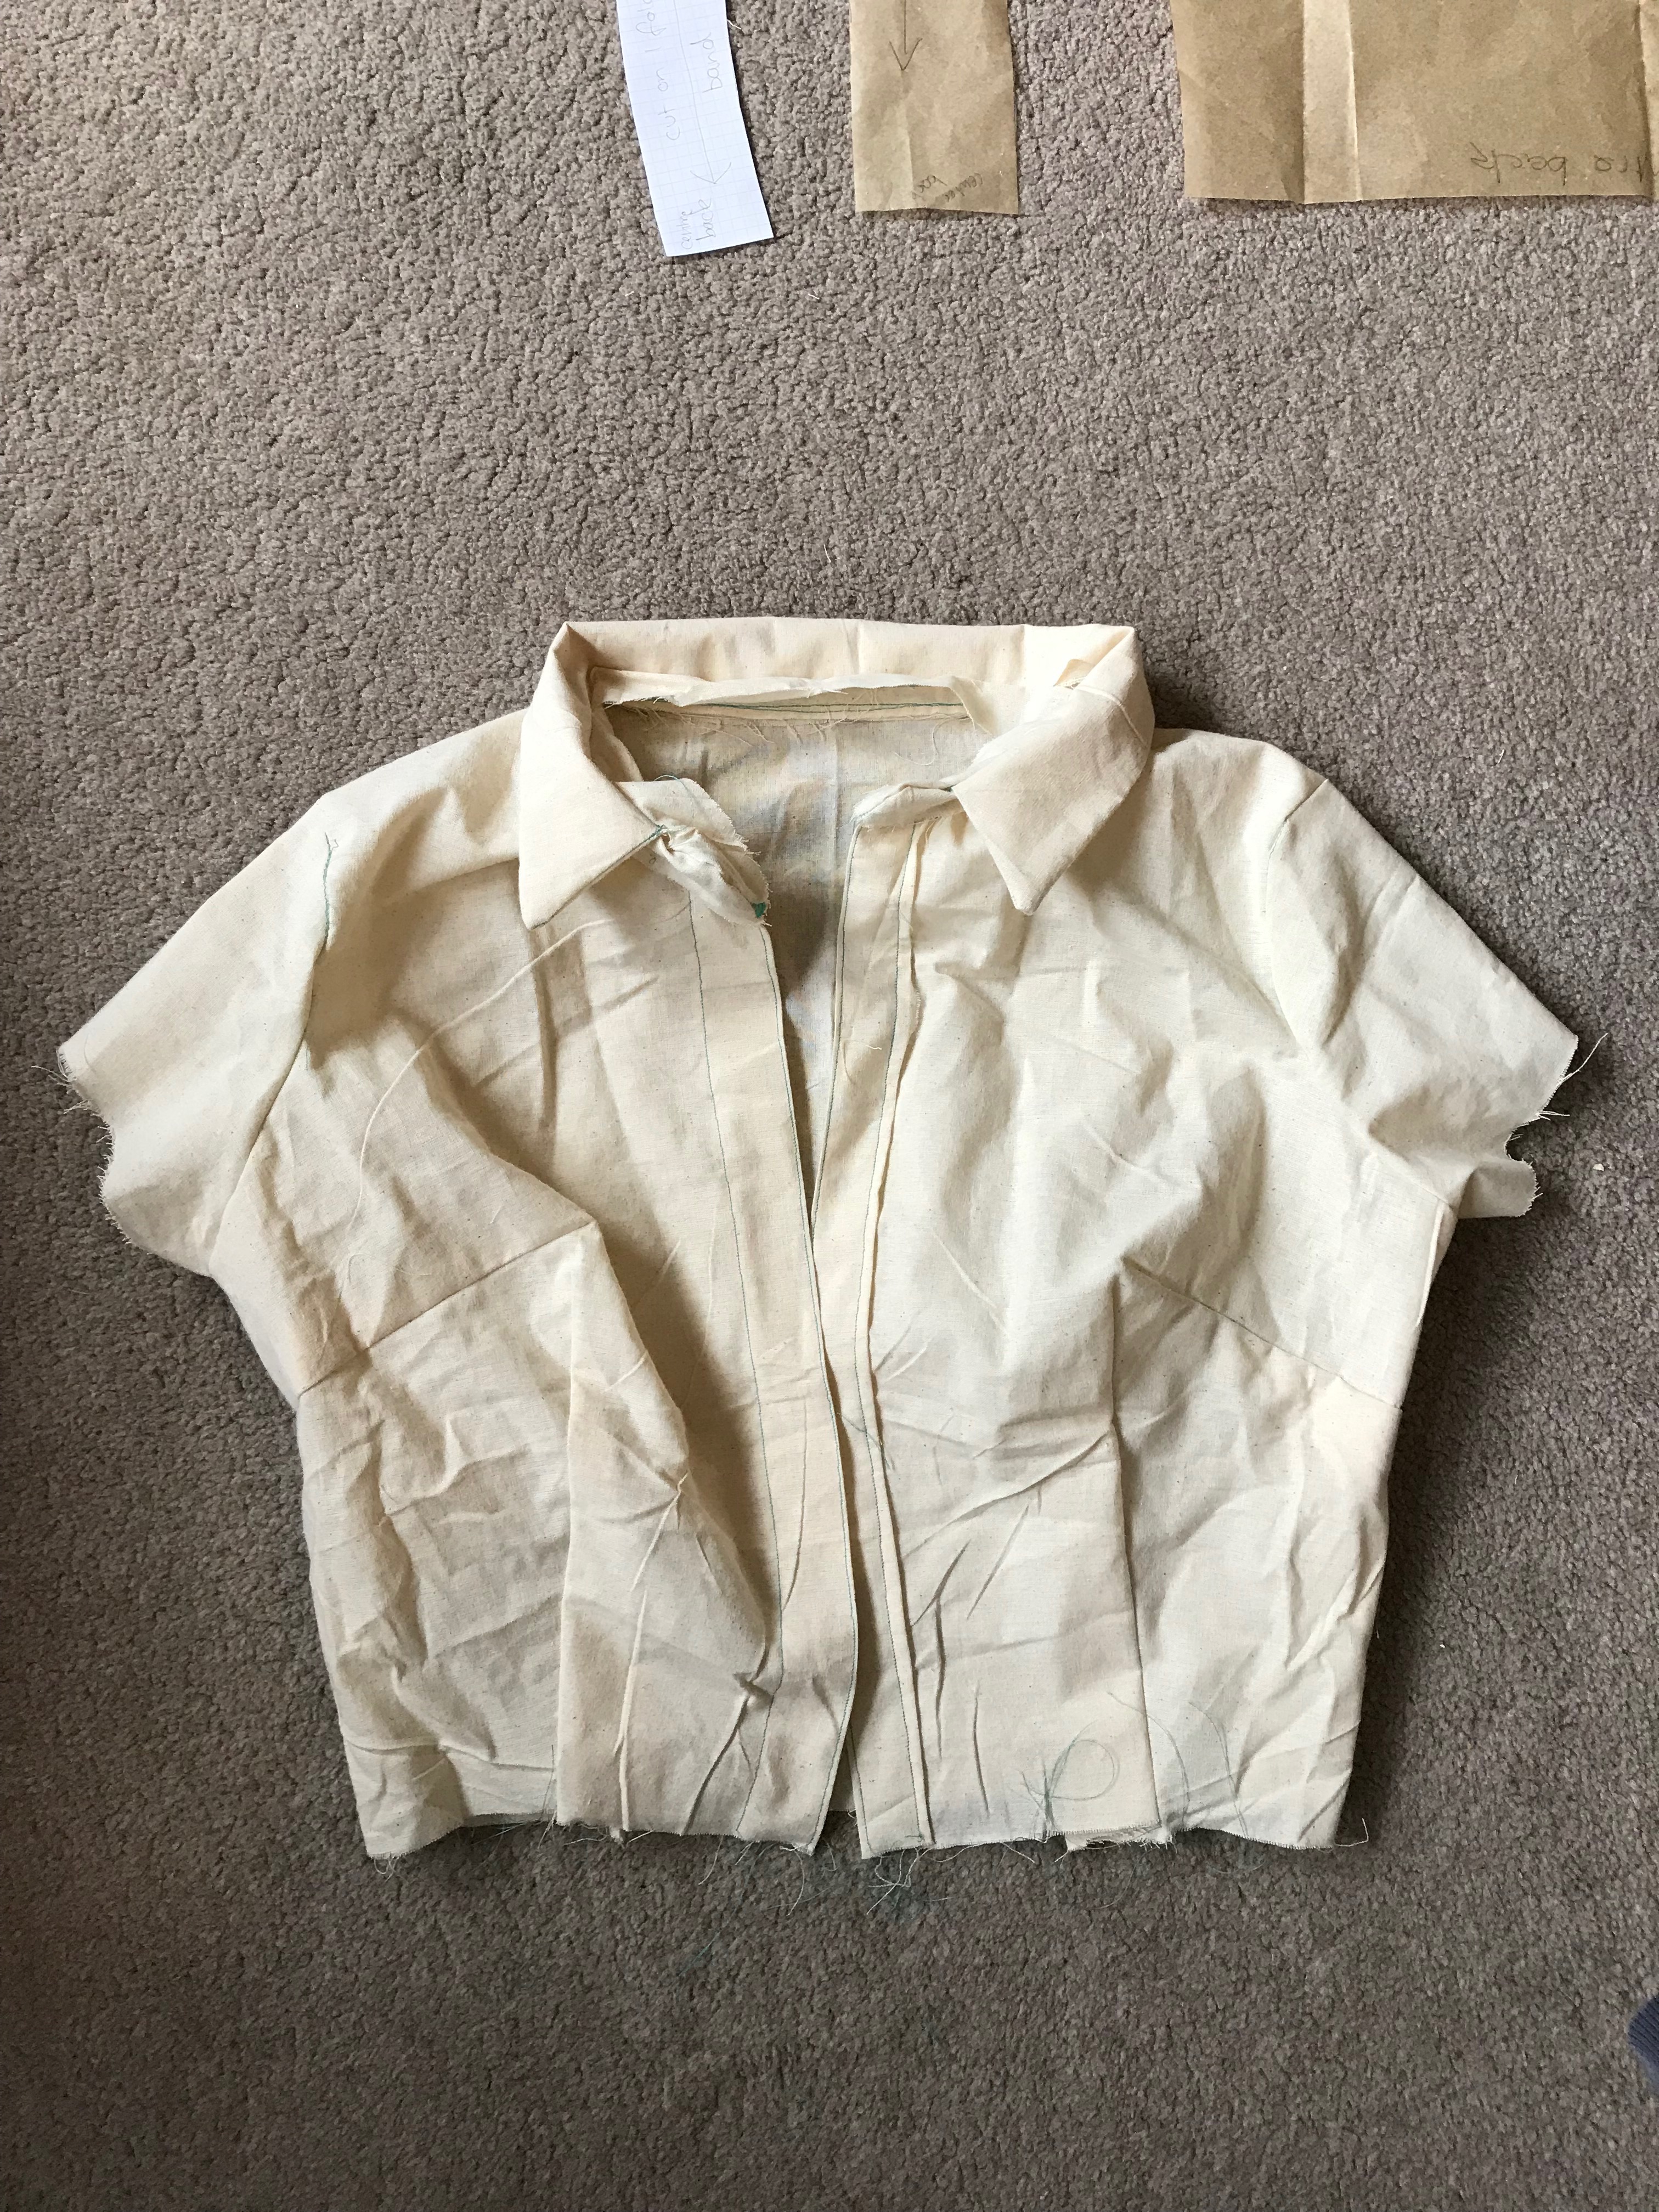
The step that confused me the most was pulling the top through the facings once they were stitched. It was incredibly simple in actual fact but it looked impossible. The trick is to feed the back pieces through to the front and then voila! Remember to give it a good press.

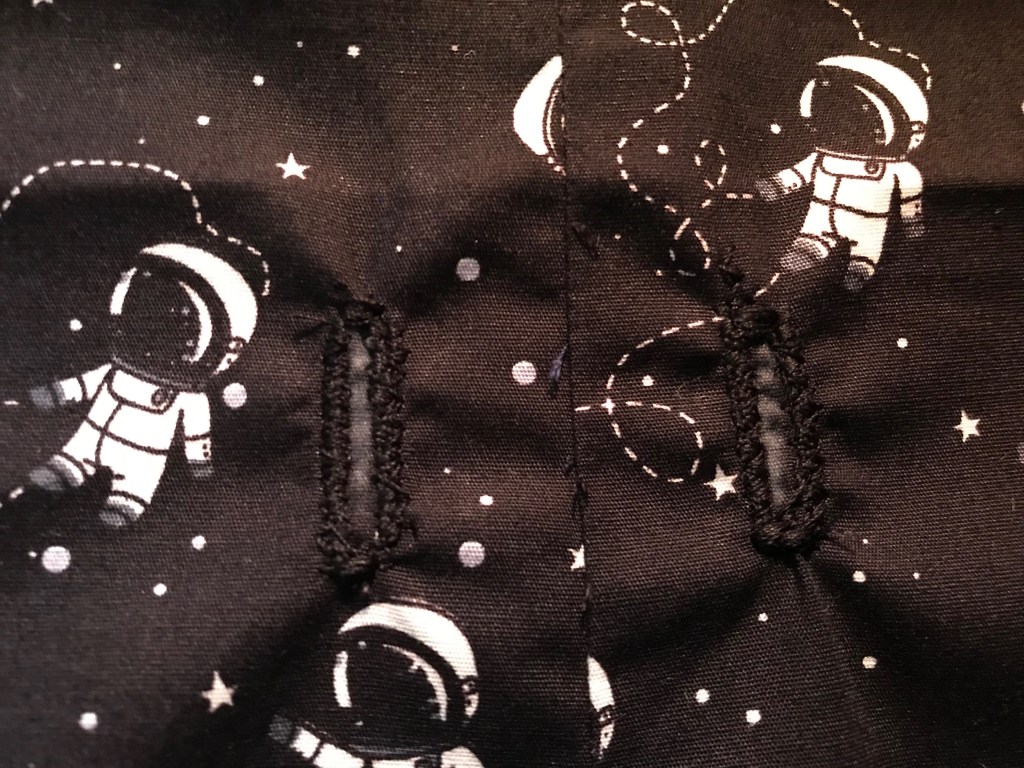
Then it’s a case of side and back seams and a hem! I used a hook and eye for the back fastening rather than a rouleau loop and button because I find them easier to use and I couldn’t find a button in the house that felt right for the garment. Then you’re done! It was a full day sew, 10am – 5pm, because viscose takes care and patience and the way I did the facings takes a little more time.

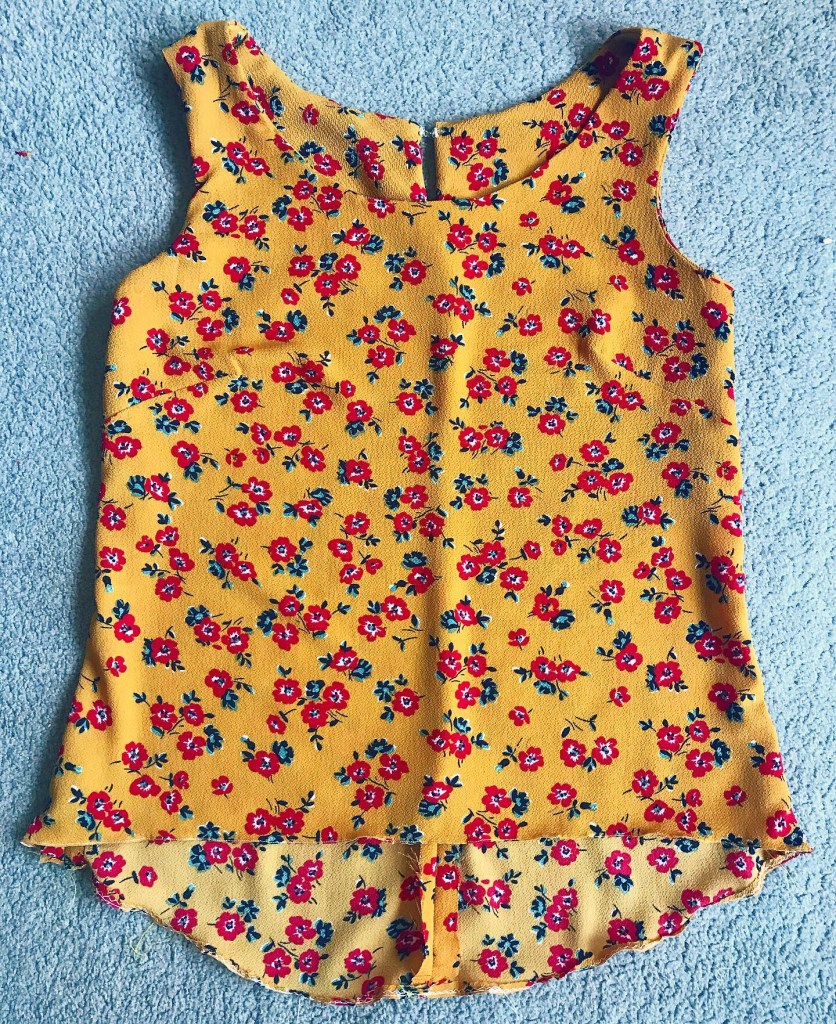
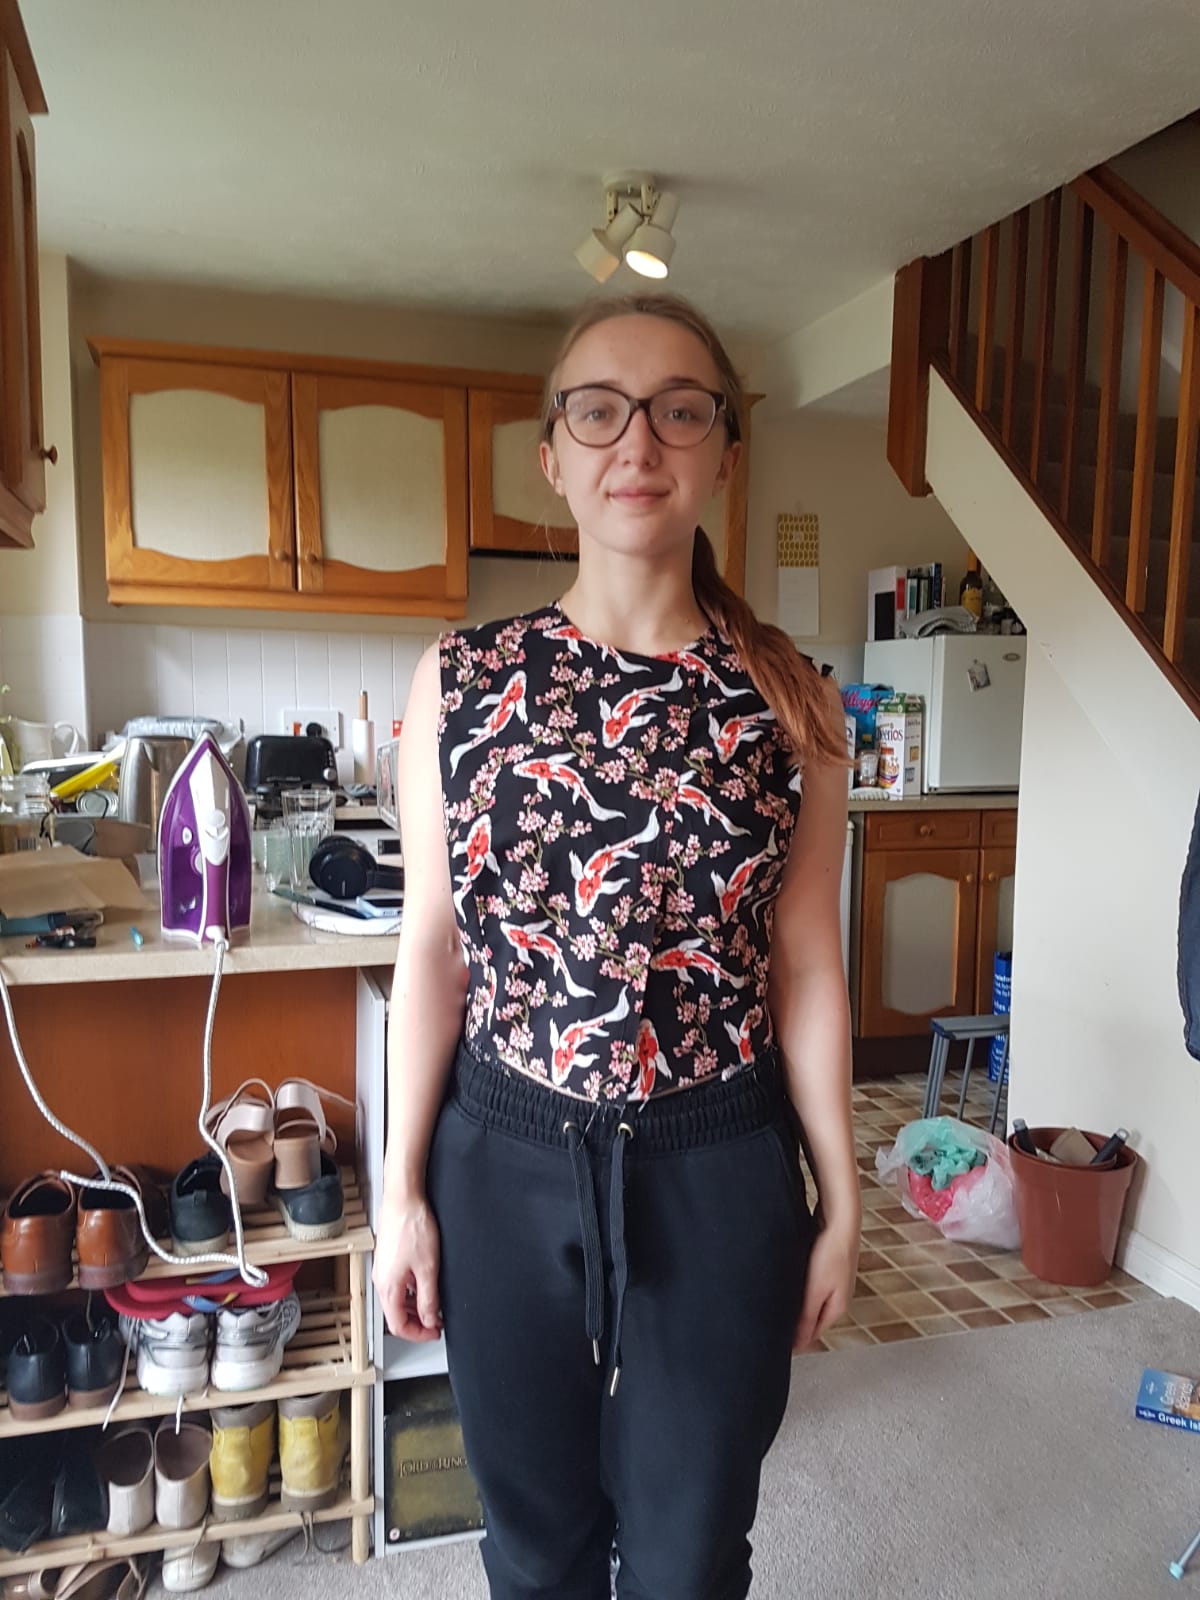
Here is the finished garment! This is a firm favourite and I’m going to make a few of them I think as they are perfect for work and home. I love the pattern so I will definitely make a few more and as they don’t take much fabric I might even be able to get a few more out of my fabric remnants box. Today we are having a friend over for a socially distanced lunch and then Adam and I will watch TV and I’ll do some more mask sewing for my grandparents.

Sewing Project: Pyjama Shorts

This time last year I asked my sisters what they wanted for Christmas and they both asked for pyjamas. My middle sister jokingly asked for ‘Crab Pyjamas’ so I went fabric hunting! I made one pair of brushed cotton monster patterned pyjamas for my eldest sister who lives in the UK but I decided to go with pyjamas shorts for my middle sister as she lives in a Australia. Above is the result! I found the most incredible fabric from Liberty, its so soft and cool to the touch and I love the little crabs so I used this and then bought a t-shirt and applied an appliqué crab patch to the top so they made a matching set. Today I am revisiting this pattern as my eldest sister also wants a pair for her birthday (which was in April but lockdown prevented me from getting elastic!). Here is my lovely cotton from Fabrics Galore, for pyjamas I like a fun and interesting pattern and my sister wanted something space themed.

I’m going to have to do the pattern in two stages not because of time but because I have really struggled to get hold of wide waist elastic during lockdown as all the sewing shops shut and I couldn’t get hold of quite the right size elsewhere online. As these shorts are a present, and lets face it I can’t go and give the shorts to her, I decided to wait for the perfect elastic. This cotton is wonderful to work with and so soft so fingers crossed she likes them!

  • Pattern: Simplicity 1563A
  • Fabric: Black Spaceman Cotton, Fabrics Galore
  • Time to sew: 4-5 hours
  • Pattern Cutting Out & Adjustments

This is a lovely easy pattern to use. I would say that the waist/torso element of the pattern is very very long so I cut that down. Also stupidly the first time I used this pattern I cut it to my size rather than leaving it so I have measured the difference between the current pattern size and the size I want and I have added that measurement at the edge. As I’ve used this pattern quite a few times I didn’t want to pin it so I used some travel books, little city guides actually make really good pattern weights as they are small and flat and slide easily on fabric. I then measured out the difference and used my blue pencil to mark out the new pattern line.

  • Assembly

These shorts are a lovely easy sew, I really took my time and they still only took about two hours to assemble. Straight seams to start with for the leg section and then you turn one leg inside out, slot one leg inside the other right sides together and sew around the u-shape. Then, voila! You have a basic pair of shorts.

  • Buttonholes

I did my first ever machine button holes on this project and it was so much fun. I normally do my button holes by hand but I thought it was about time for me to learn how to use the function on my machine and I’m pleased with the result. They are a bit messy due to the size but they have to be big enough for a large ribbon drawstring. Although I do not recommend using black thread on black fabric for your first button hole as it definitely complicates things and makes it much harder to see what you are doing! I marked my buttonhole length with white tailors pencil which did help a lot.

  • Hemming

I always do the hems on this pattern before I start with the elastic so I can work with the fabric flat rather than distorted. I do a reinforced double hem on the edge of the shorts because pyjamas are worn heavily and need to be able to withstand all the weird stuff we do in our sleep. For the same reason, I do a zigzag stitch up the middle of the centre seam from front to back which reinforces the seam as well as making it sit flat. I then measure the waistband and press the edge down firmly as a guide.

  • Elastic Waist & Drawstring

The most important part of the elastic waist for me is the width of the elastic. For pyjamas you really want a lovely wide elastic for maximum comfort. If its too narrow, the elastic can dig in and make the shorts uncomfortable. In terms of length, I always make the elastic waistband a couple of inches shorter than the waist size so that it fits comfortably with a bit of stretch. When sewing the waistband I take the front off my sewing machine and use the sleeve set-up so I can pull the elastic taught and sew the waistband straight. Then I thread the waist ribbon through normally using a chopstick or similar. I used quite thick grossgrain ribbon which moves well inside the waistband and I leave the ribbon on the spool until it comes out of the otherside of the shorts and I can assess how long I want the ties to be. Honestly I do this bit by eye and then I double fold the end of the ribbon in on itself and stitch a square to secure.

  • Finished!

Then give them a good press with an iron and you’re done! Here they are in all of their glory. I’m pretty proud of these to be honest and I hope my sister loves them.

Sewing Project: Shirt Dress (Pt. 1)

I think that most sewists and dressmakers have one item of clothing or one design that they’ve always wanted to make. One thing that prompted them to start sewing or to take their sewing more seriously. For me it was the inability to find a shirt/blouse that would fit. I have a larger bust, a narrow back and a narrow waist and as I got older I got embarrassed and frustrated that I just couldn’t get a shirt to fit me. Either I had to buy a shirt three sizes too big or risk an embarrassing button based incident. It was a problem at school and still is a problem at work if I’m honest. I had always thought shirts were outside of the realm of sewing possibility for me until I started sewing more often and realised that, whilst there were more techniques at play than in other patterns, a shirt is still made from a sewing pattern.

As I had never been able to get a shirt to fit there is one garment I have always wanted but never had the confidence to buy and that is a shirtdress. That is I didn’t have the confidence until I received my Christmas present from my boyfriend, a wonderful book called ‘Sew Many Dresses, So Little Time by Tanya Whelan’ which contains a series of bodices, skirts and sleeves and enables the sewist to make over 200 different dresses from those combinations. This book also has a fantastic section at the back on pattern adjustments and it was with the aid of this chapter I began to slowly and very carefully adjust the bodice pattern to my own measurements. I really made myself take my time, working slowly and methodically and stopping every time I remotely lost concentration. I then paired my button-down bodice with a three-quarter length sleeve and a full skirt, also with a button-down front. Every single piece of the pattern was altered or drafted by me. I wasn’t sure if the pattern would work in practice as there were so many skills I’d never tried so, as every good dressmaker should, I made a toile of the bodice complete with collar, button tabs, bust darts and a cap sleeve.

Once I made my toile and realised that my pattern might actually work I went fabric hunting and I finally found the perfect fabric. Its a medium weight cotton with painted fish on a black background and I love it. Its got enough structure to make an excellent shirt and it hangs really well in a full skirt.

Fast forward to yesterday when the fabric arrived in the morning and 6 hours of feverish sewing later and I have the outline of my dress! This dress is the first time I’ve ever inserted sleeves, my first self-drafted bodice and I am actually really proud of myself. I used to be really scared of sleeves but they really aren’t that bad, I don’t know what I was worried about! I understand there are more difficult sleeve patterns out there but its reassuring to know that I can insert basic sleeves.

The next stage is to add the collar and then create the buttonholes, add buttons and then hem the skirt and sleeves. It sounds like a lot and I am definitely going to take my time on those elements to make sure the garment comes out perfectly. For now here I am in the shell!

Sewing Essentials For Beginners

Sewing can be a mystifying world, the language, the equipment and even the space required can feel like a barrier. Today I want to talk you through my essential sewing equipment and talk about starting.

Sewing is an interesting hobby as while most of us start with the same basic ingredients it is possible to create wildly different garments or create the same effect using entirely different techniques. The world of sewing is awash with hacks, tricks and tips for all levels of sewers. On top of that everyone’s sewing space looks different. Some people have a room to themselves some people make do with the Kitchen table. Even the language of sewing can be mystifying to a beginner so below I have unnumerated my basic essentials and what I work with on a daily basis. What is important is there is no one single formula for sewing.

If you are still look at me going, “yes but where do I start?”, I have listed what I consider to be my sewing box essentials that I can’t do anything without. Over the years I have built up my own equipment store purely based on things I actually like using and make me better rather than panic buying fancy equipment that I wont ever feel confident using.

  • Sewing Machine (Obviously)

This is my little red sewing machine, a John Lewis JL110SE, bought in 2015. Until then I used my mum’s Janome machine. I am currently saving up for a new one next year as this one won’t really do denim or thick fabrics such as wool. However this machine is an ideal starting place as it will do about 90% of the things you need it to do as an experienced sewer and 100% of the things you need to do as a beginner. Honestly I wouldn’t be thinking about getting a new machine but I used one of the Pfaff Quilting Machines on a sewing course and I fell in love and would now like a machine with some of the automatic features.

  • Quick Unpick

The dressmaker’s best friend! Apart from a needle and a sewing machine the quick unpick allows you to fix all of your mistake and re-do a technique again and again until you get it right. A quick unpick costs almost nothing but I don’t think I have gone a single day without using one since I started sewing, which may be an indictment of my sewing more than anything. Its one of the more wonderful things about sewing that you can fix your mistakes pretty easily in most cases.

  • Dressmaking Pins & Pin Cushion

Here is my gorgeous little pin cushion that my mum got me when i first started sewing. One of my favourite things about it is that has a band underneath so I can wear it on my wrist while I’m pinning. Especially good when working on something big or on mannequins. In terms of pins everyone is different. Some people use pins when cutting out patterns, some pattern people just use pattern weights but pins are nearly always used for seams, hems and fabric to fabric work. The only time I’ve not used pins was when making a bra because the fabrics are so fine, fiddly and sheer that you don’t want to make any holes.

  • Tailors Chalk / Pencils

Everyone transfers marks from patterns differently. Personally I favour dressmaking pencils, can you tell which one I use more? I transfer marks through with these on the wrong side of the fabric and then they wash off afterwards which is great. For fabrics that you don’t want to draw on you can use a pattern wheel which is a little spikey wheel, that looks a bit like a cowboy’s book spur, but allows you to imprint lines such as darts on to the fabric without drawing or marking it in any other way. The usefulness of this will depend on the fabric you are using but I found it helpful on lighter fabrics. The pencils have been with me for a lot longer and are definitely my favourite method.

  • Fabric Scissors

In the context of sewing, I really don’t think its possible to have too many pairs of scissors. I have a weird love for sewing scissors because they are just so sharp and effective and there are so many different types. Below is my current collection of scissors including pinking shears, fabric scissors, regular scissors and embroidery scissors and a small Stanley knife for button holes and very fiddly cutting out.

  • Steam Iron

I wont insult you with a picture of an iron because hopefully you all know what a steam iron looks like. I hate that this has to be on the list as I’m an extremely lazy ironer but ironing is absolutely central to sewing. Ironing at every single stage of the process is vital so you have to make sure you have a good iron to hand. My iron is slightly terrible so I will be purchasing a new one as soon as I can! (Any recommendations please put in the comments below)

These are the most basic but essential items that are central to sewing if you’re looking for a beginners list of equipment. What’s in your sewing essentials toolkit?