Sewing Project: Shirt Dress (Pt 2)

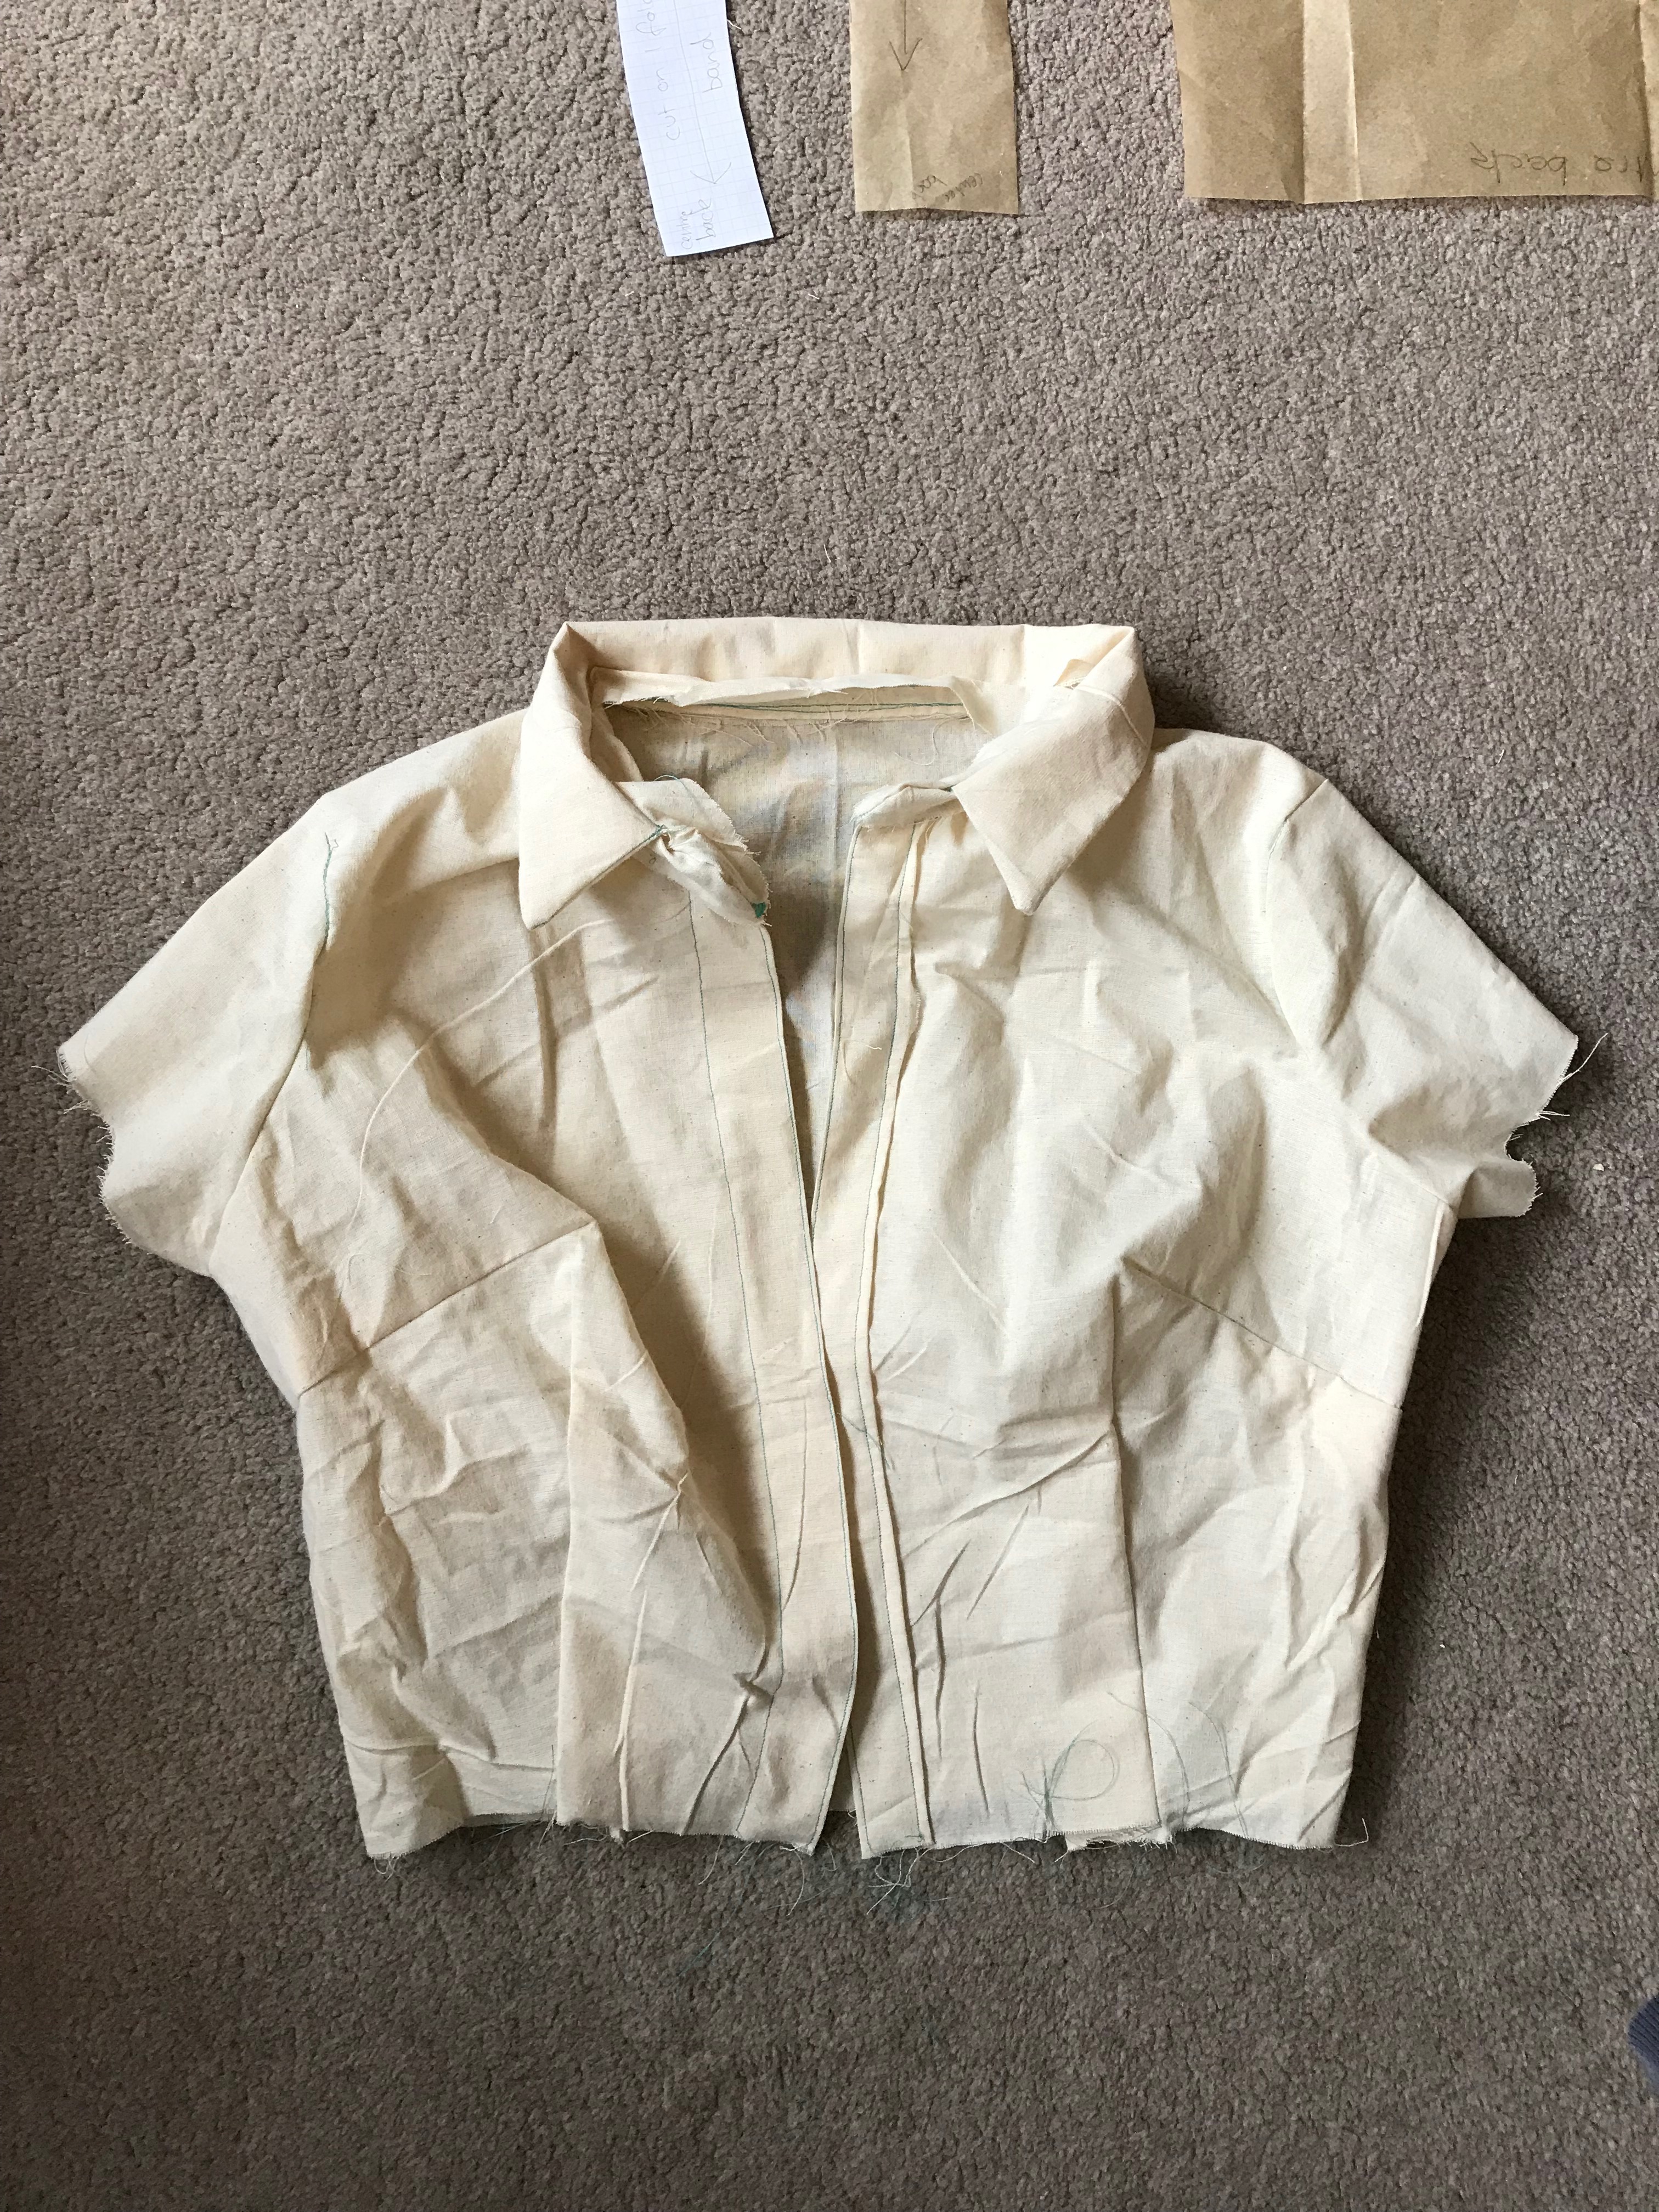
Hello everyone! I know its been a few days since I last posted but I’ve been holding off on writing in the vain hope that my buttons would arrive and I could finish the dress completely. Sadly they are not here yet and I’m so happy about inserting my first ever collar! I don’t know about you but I had a marvellously productive sewing weekend. Work has been very stressful recently and I didn’t feel like sewing but I decided to sit down just do the hem of the dress and then before you know it I had hemmed the skirt, stitched the button placets and inserted my very first collar. This post is going to be all about my first collar because I actually learnt loads! Button placets are extremely easy but just for reference the collar in this case goes on after the button placets have been stitched.

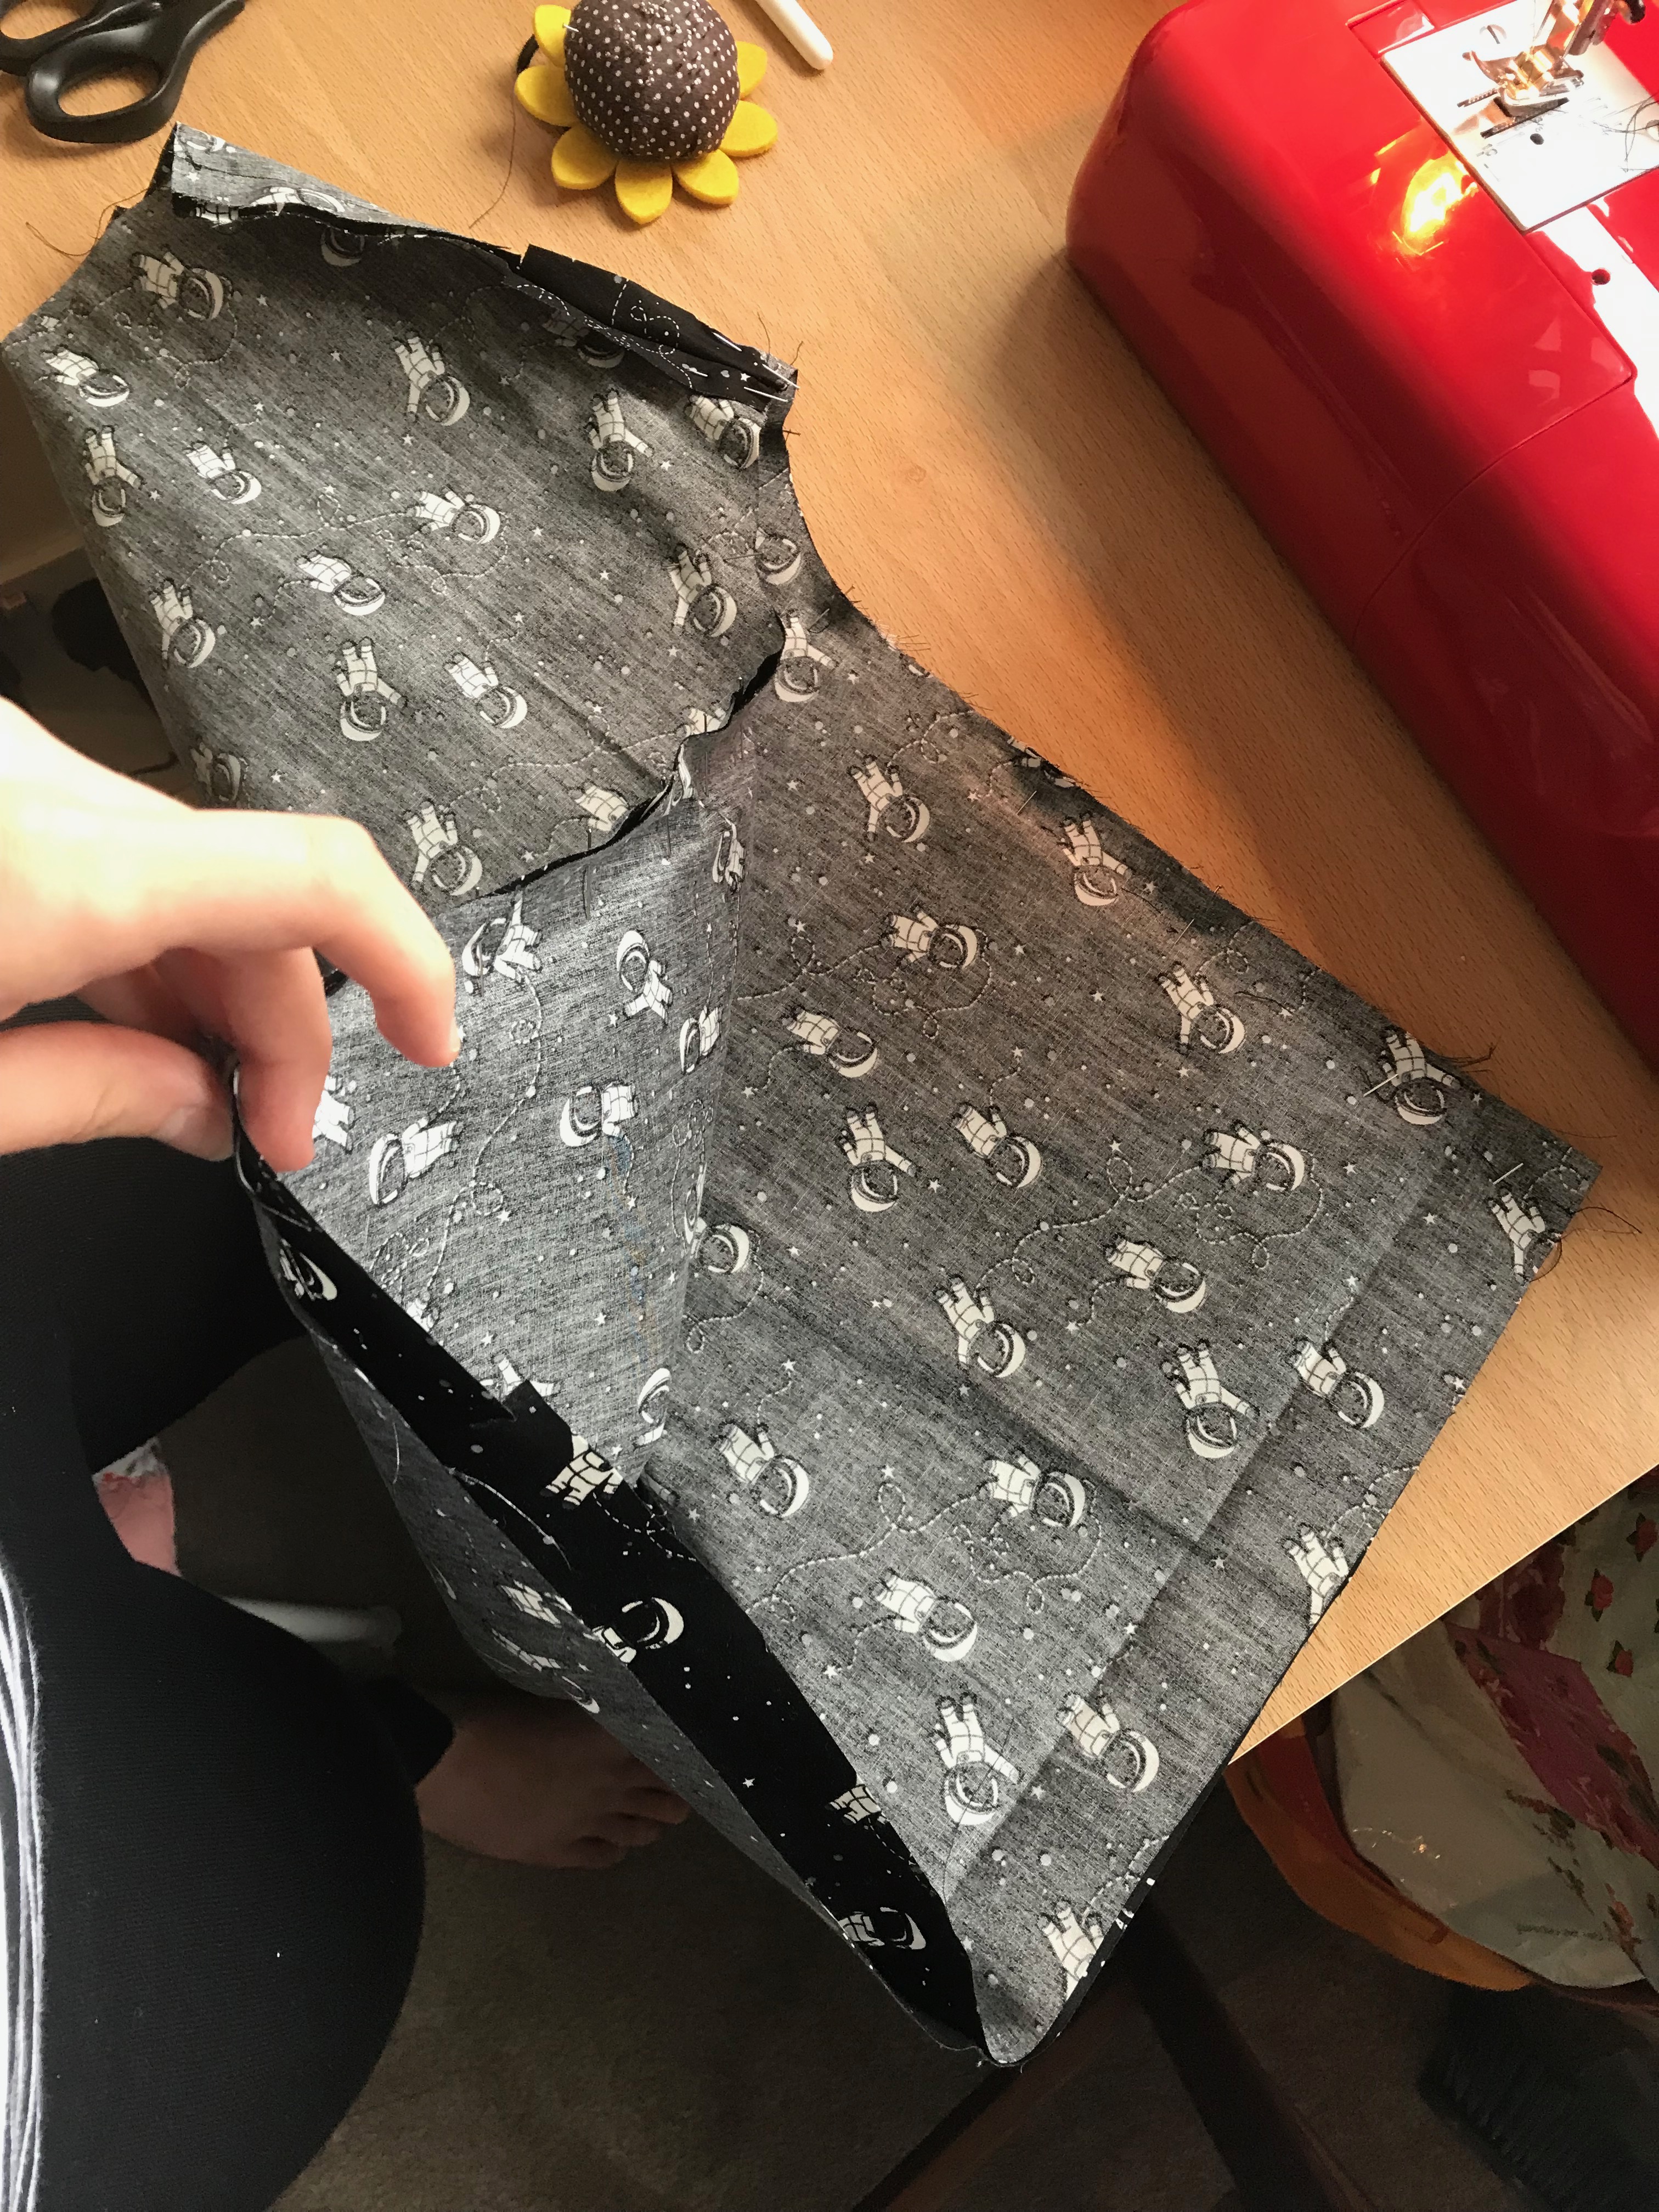
The first step for a collar is to stay stitch the neckline just in from the fabric edge. This makes sure that the neckline doesn’t stretch while you insert the collar. Next you need to cut two pieces for the collar and two pieces for the link piece. Place the collar pieces right side to right side and stitch together. Then clip the corners and turn right side out.

This stage is very simple but I’m so glad I didn’t skip the staystiching on the neckline. The pattern I am working from didn’t tell me to do it but after watching a few youtube videos on collars it definitely seemed like a good idea and actually with the stiff cotton I have used its really helped the neckline to sit flat. the next stage I found quite confusing and almost did wrong! You have to sandwich the collar, right side out, between the two layers of the joining piece which are right sides facing in towards the collar. You then pin the four layers of fabric together and stitch all the way around the bottom. I had to go very slowly here as my machine lacks the punch to get through thick layers of fabric so I actually had to have the foot lifted at some points to guide it through by hand and ensure it didn’t stick.

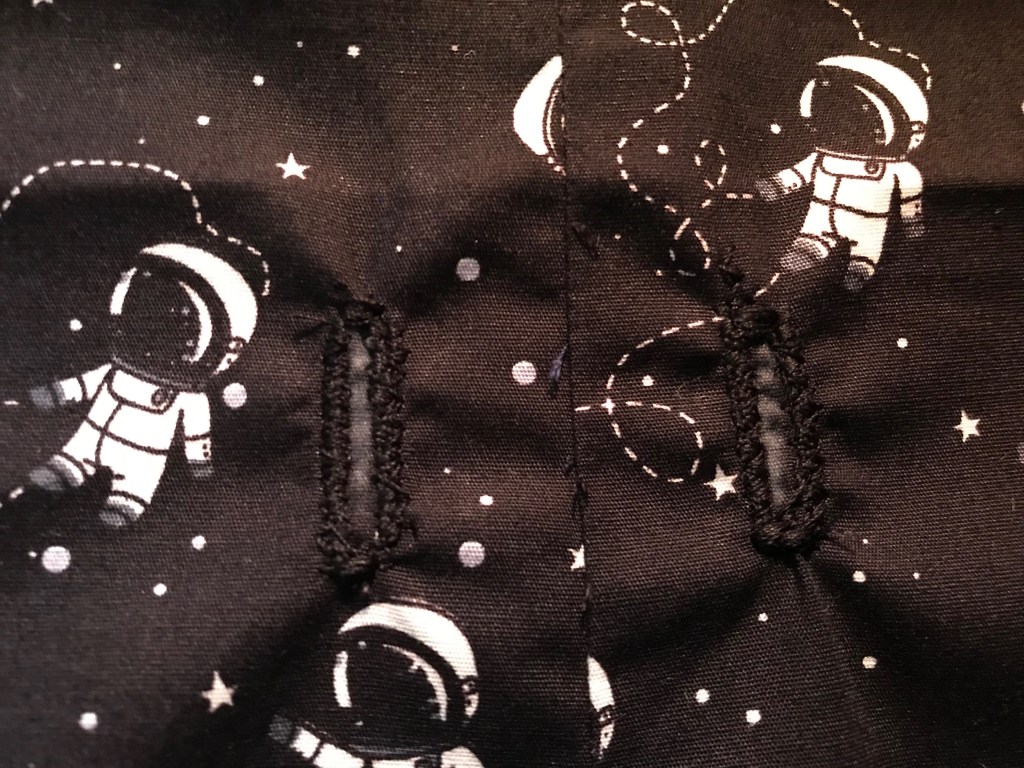
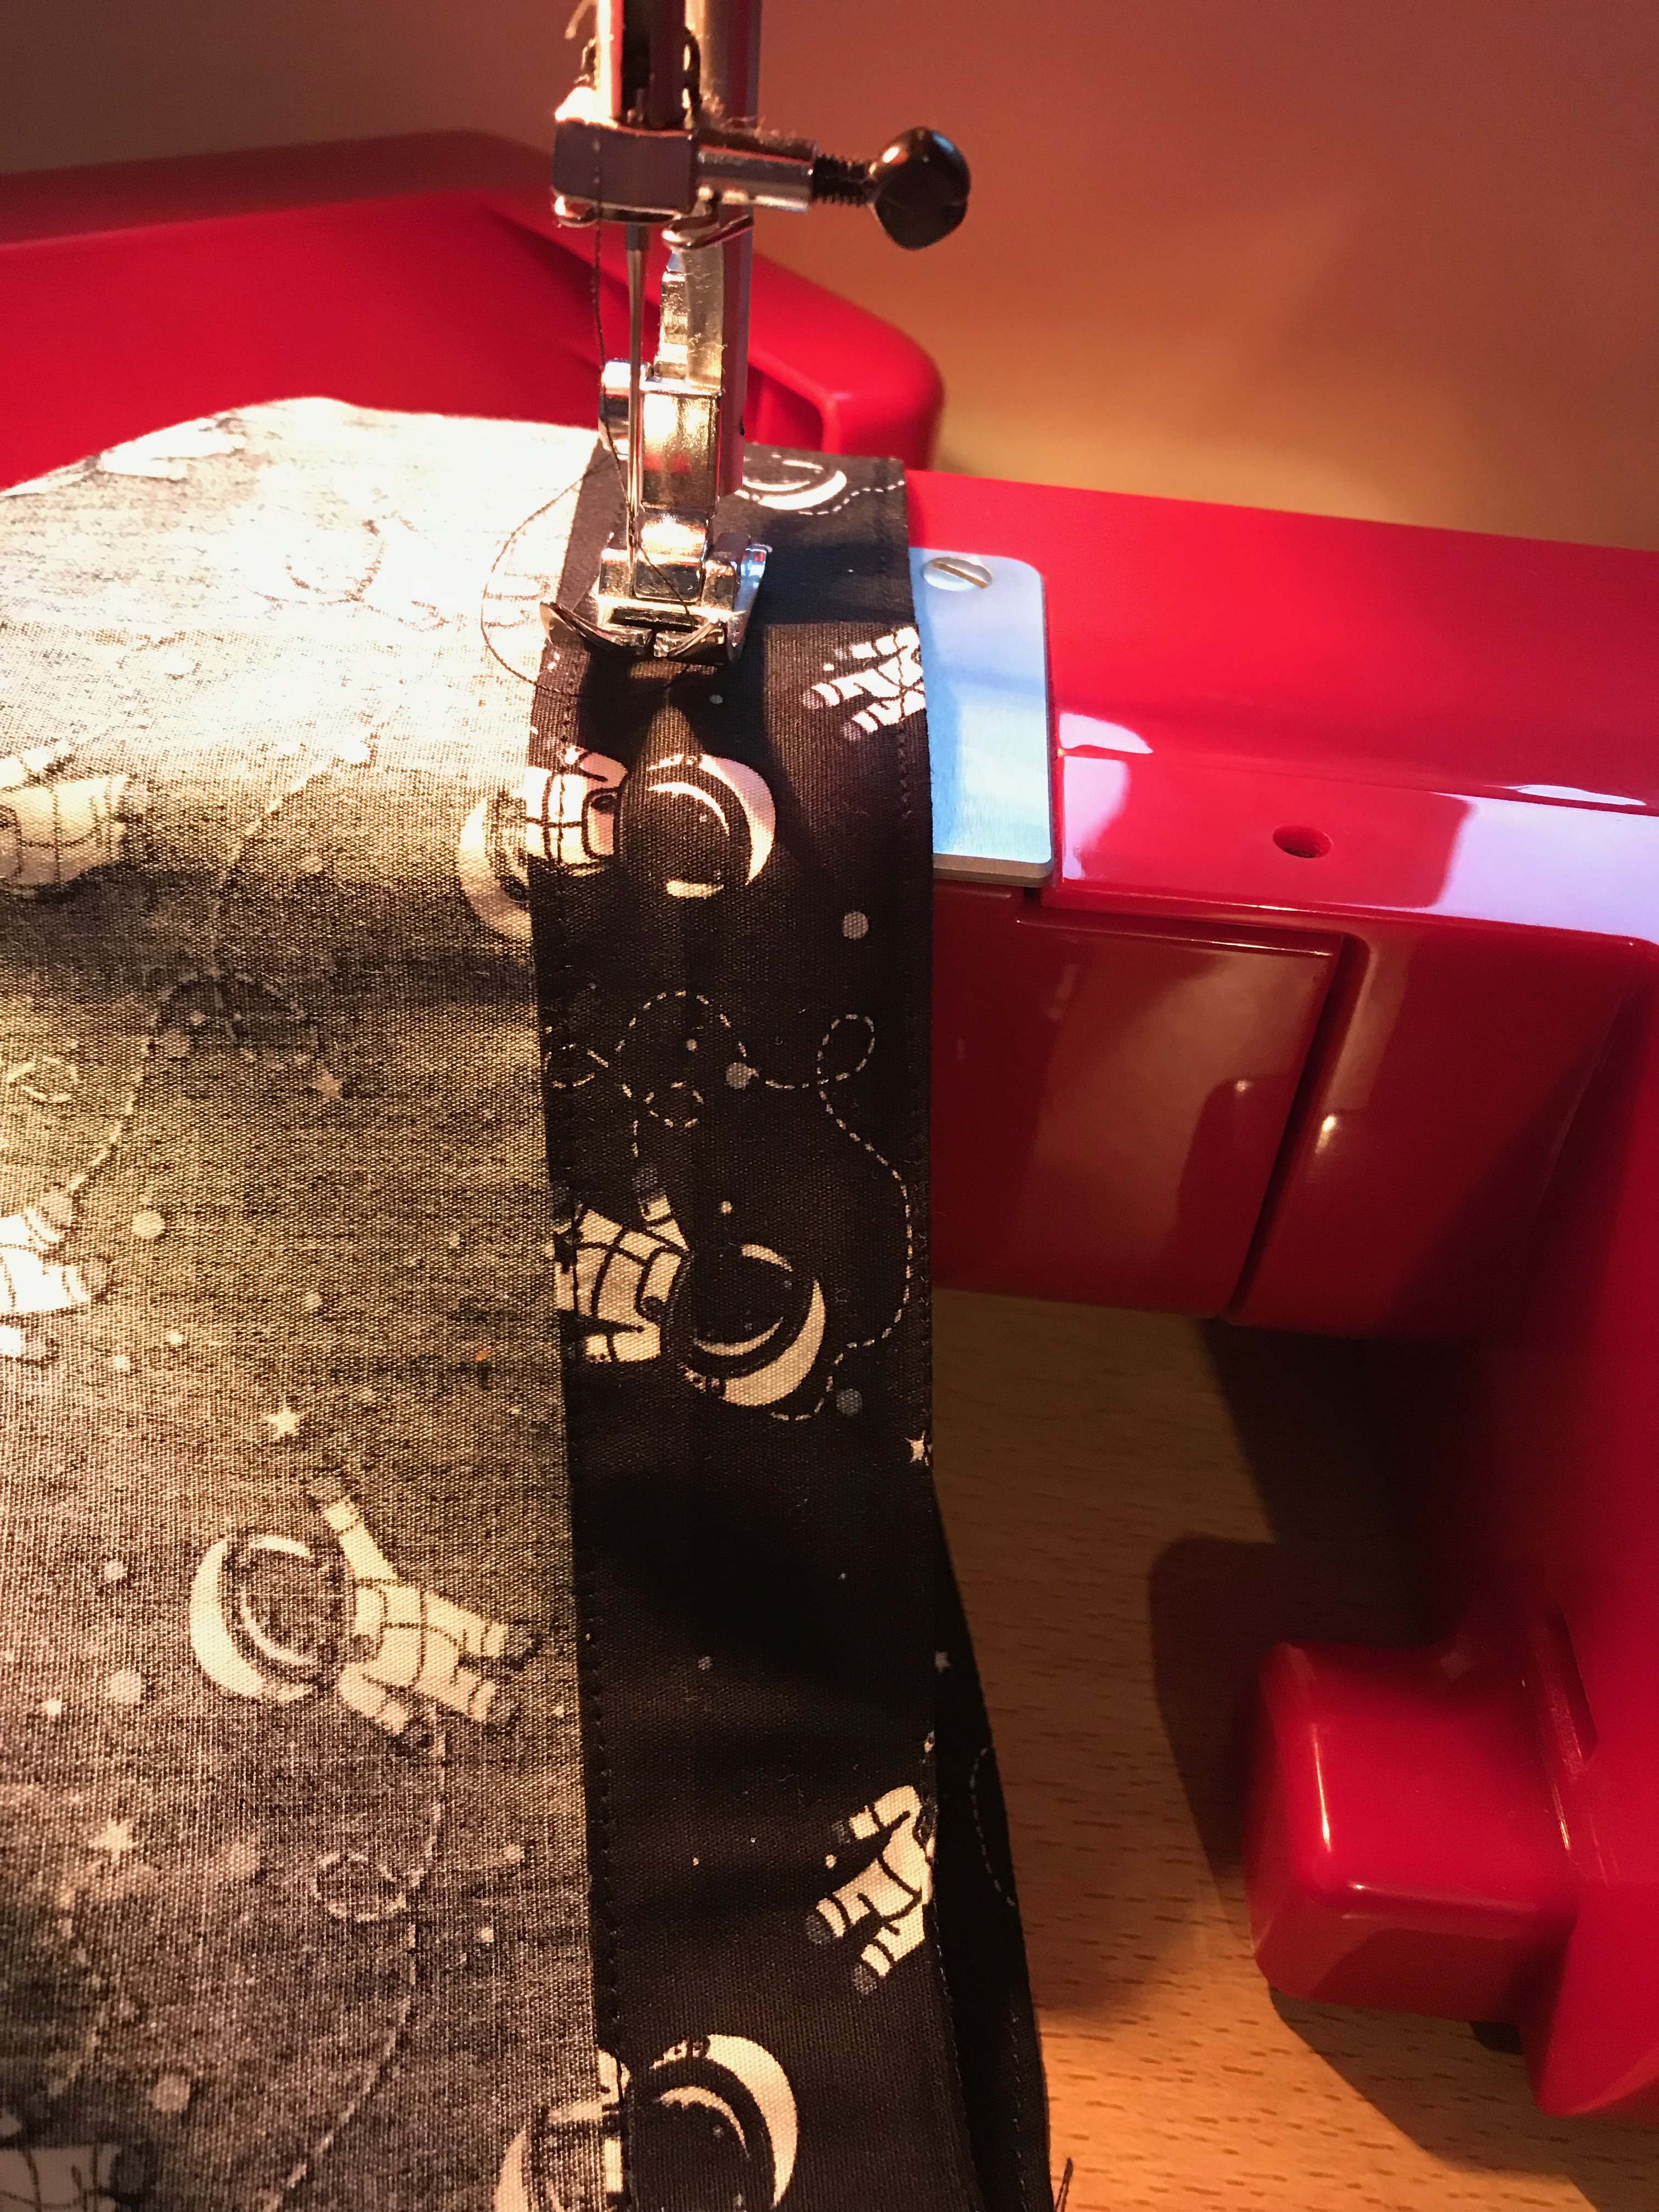
Then you pin the outside edge of the collar along the outside edge of the neckline, right sides together allowing the collar to open out towards you, and stitch along the neckline. I found this step really confusing and had to attempt it multiple times on the toile before I felt comfortable. Then you press that seam and the whole collar. Then. Turn the neckline towards you and carefully tuck the inside edge of the collar under itself so it meets and includes the outside collar seam and then carefully stiched along the edge to close the collar. And there you go! Its super simple on the face of it however it definitely takes practice. For me it was a confidence thing, I kept second guessing myself but I did it!

Most Difficult Thing?

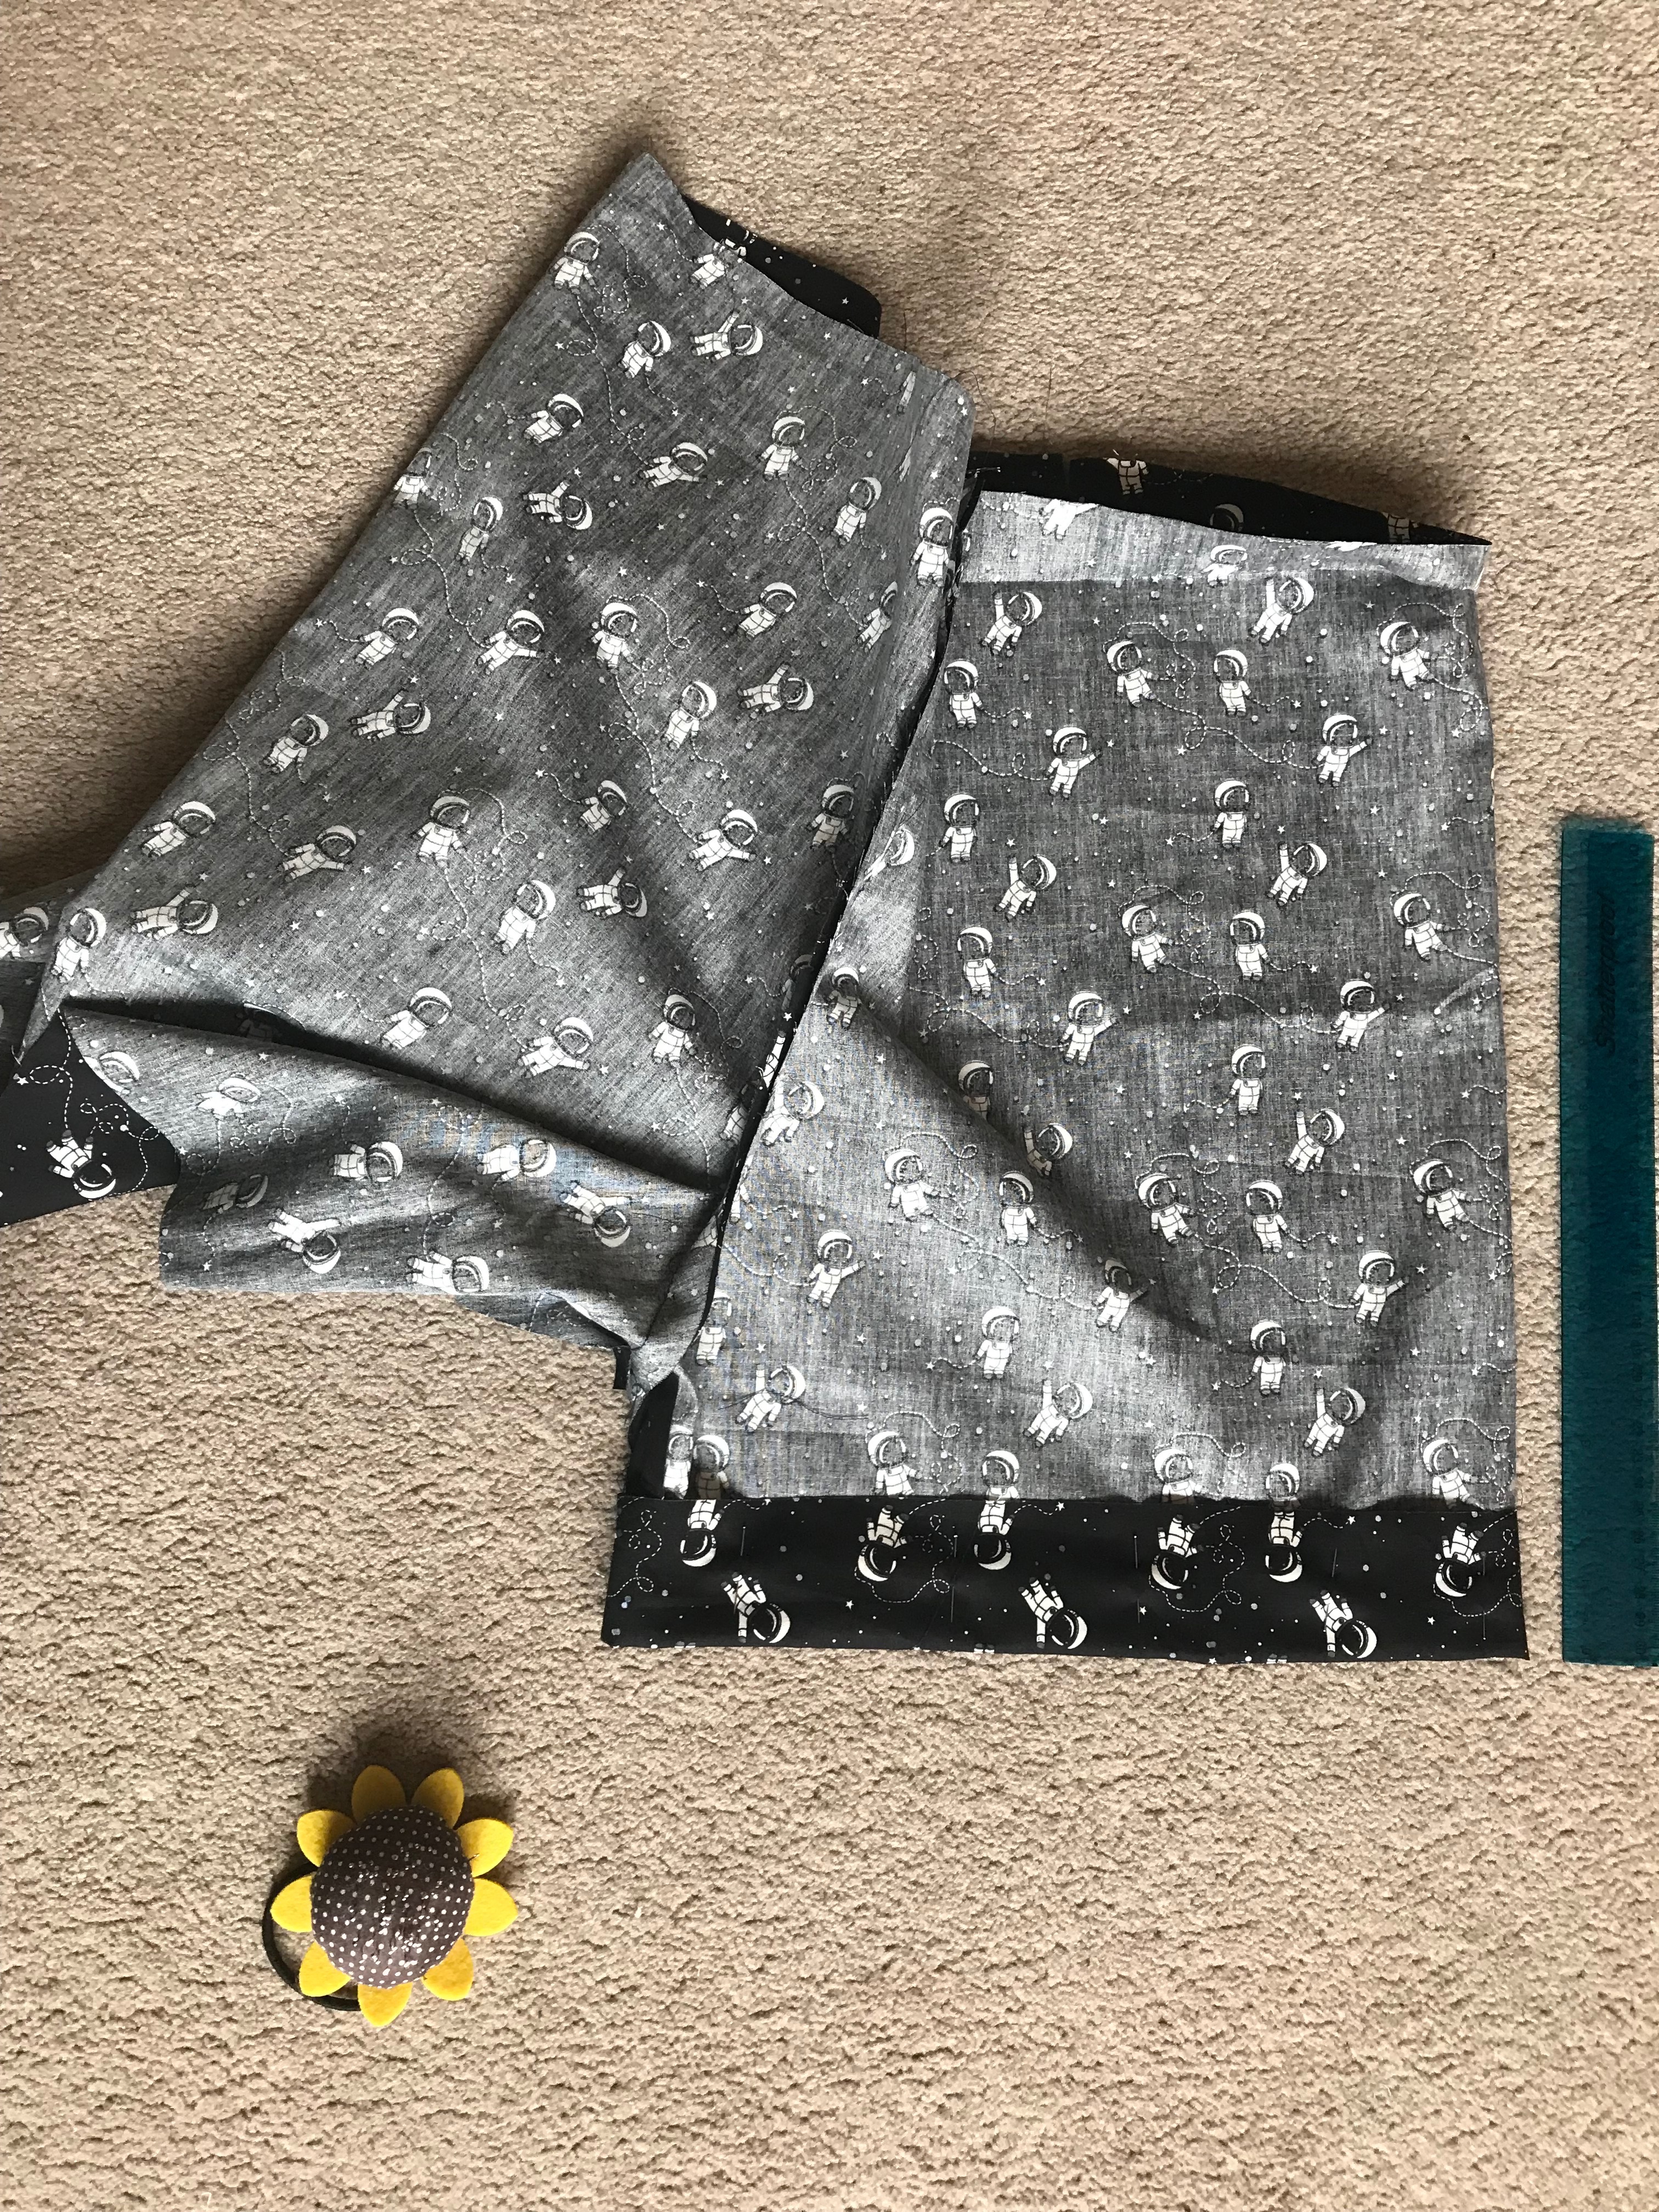
Getting the collar to fit the neckline!! This is a real struggle and feels like fitting a square peg to a round hole but I got there in the end. A trick for anyone attempting their first collar is to pin the ends in place, then find the centre and pin that and attempt to fit each side. Its much easier if you do it this way as you won’t run out of collar or end up with too much and it will come out evenly on the garment.

Best Thing?

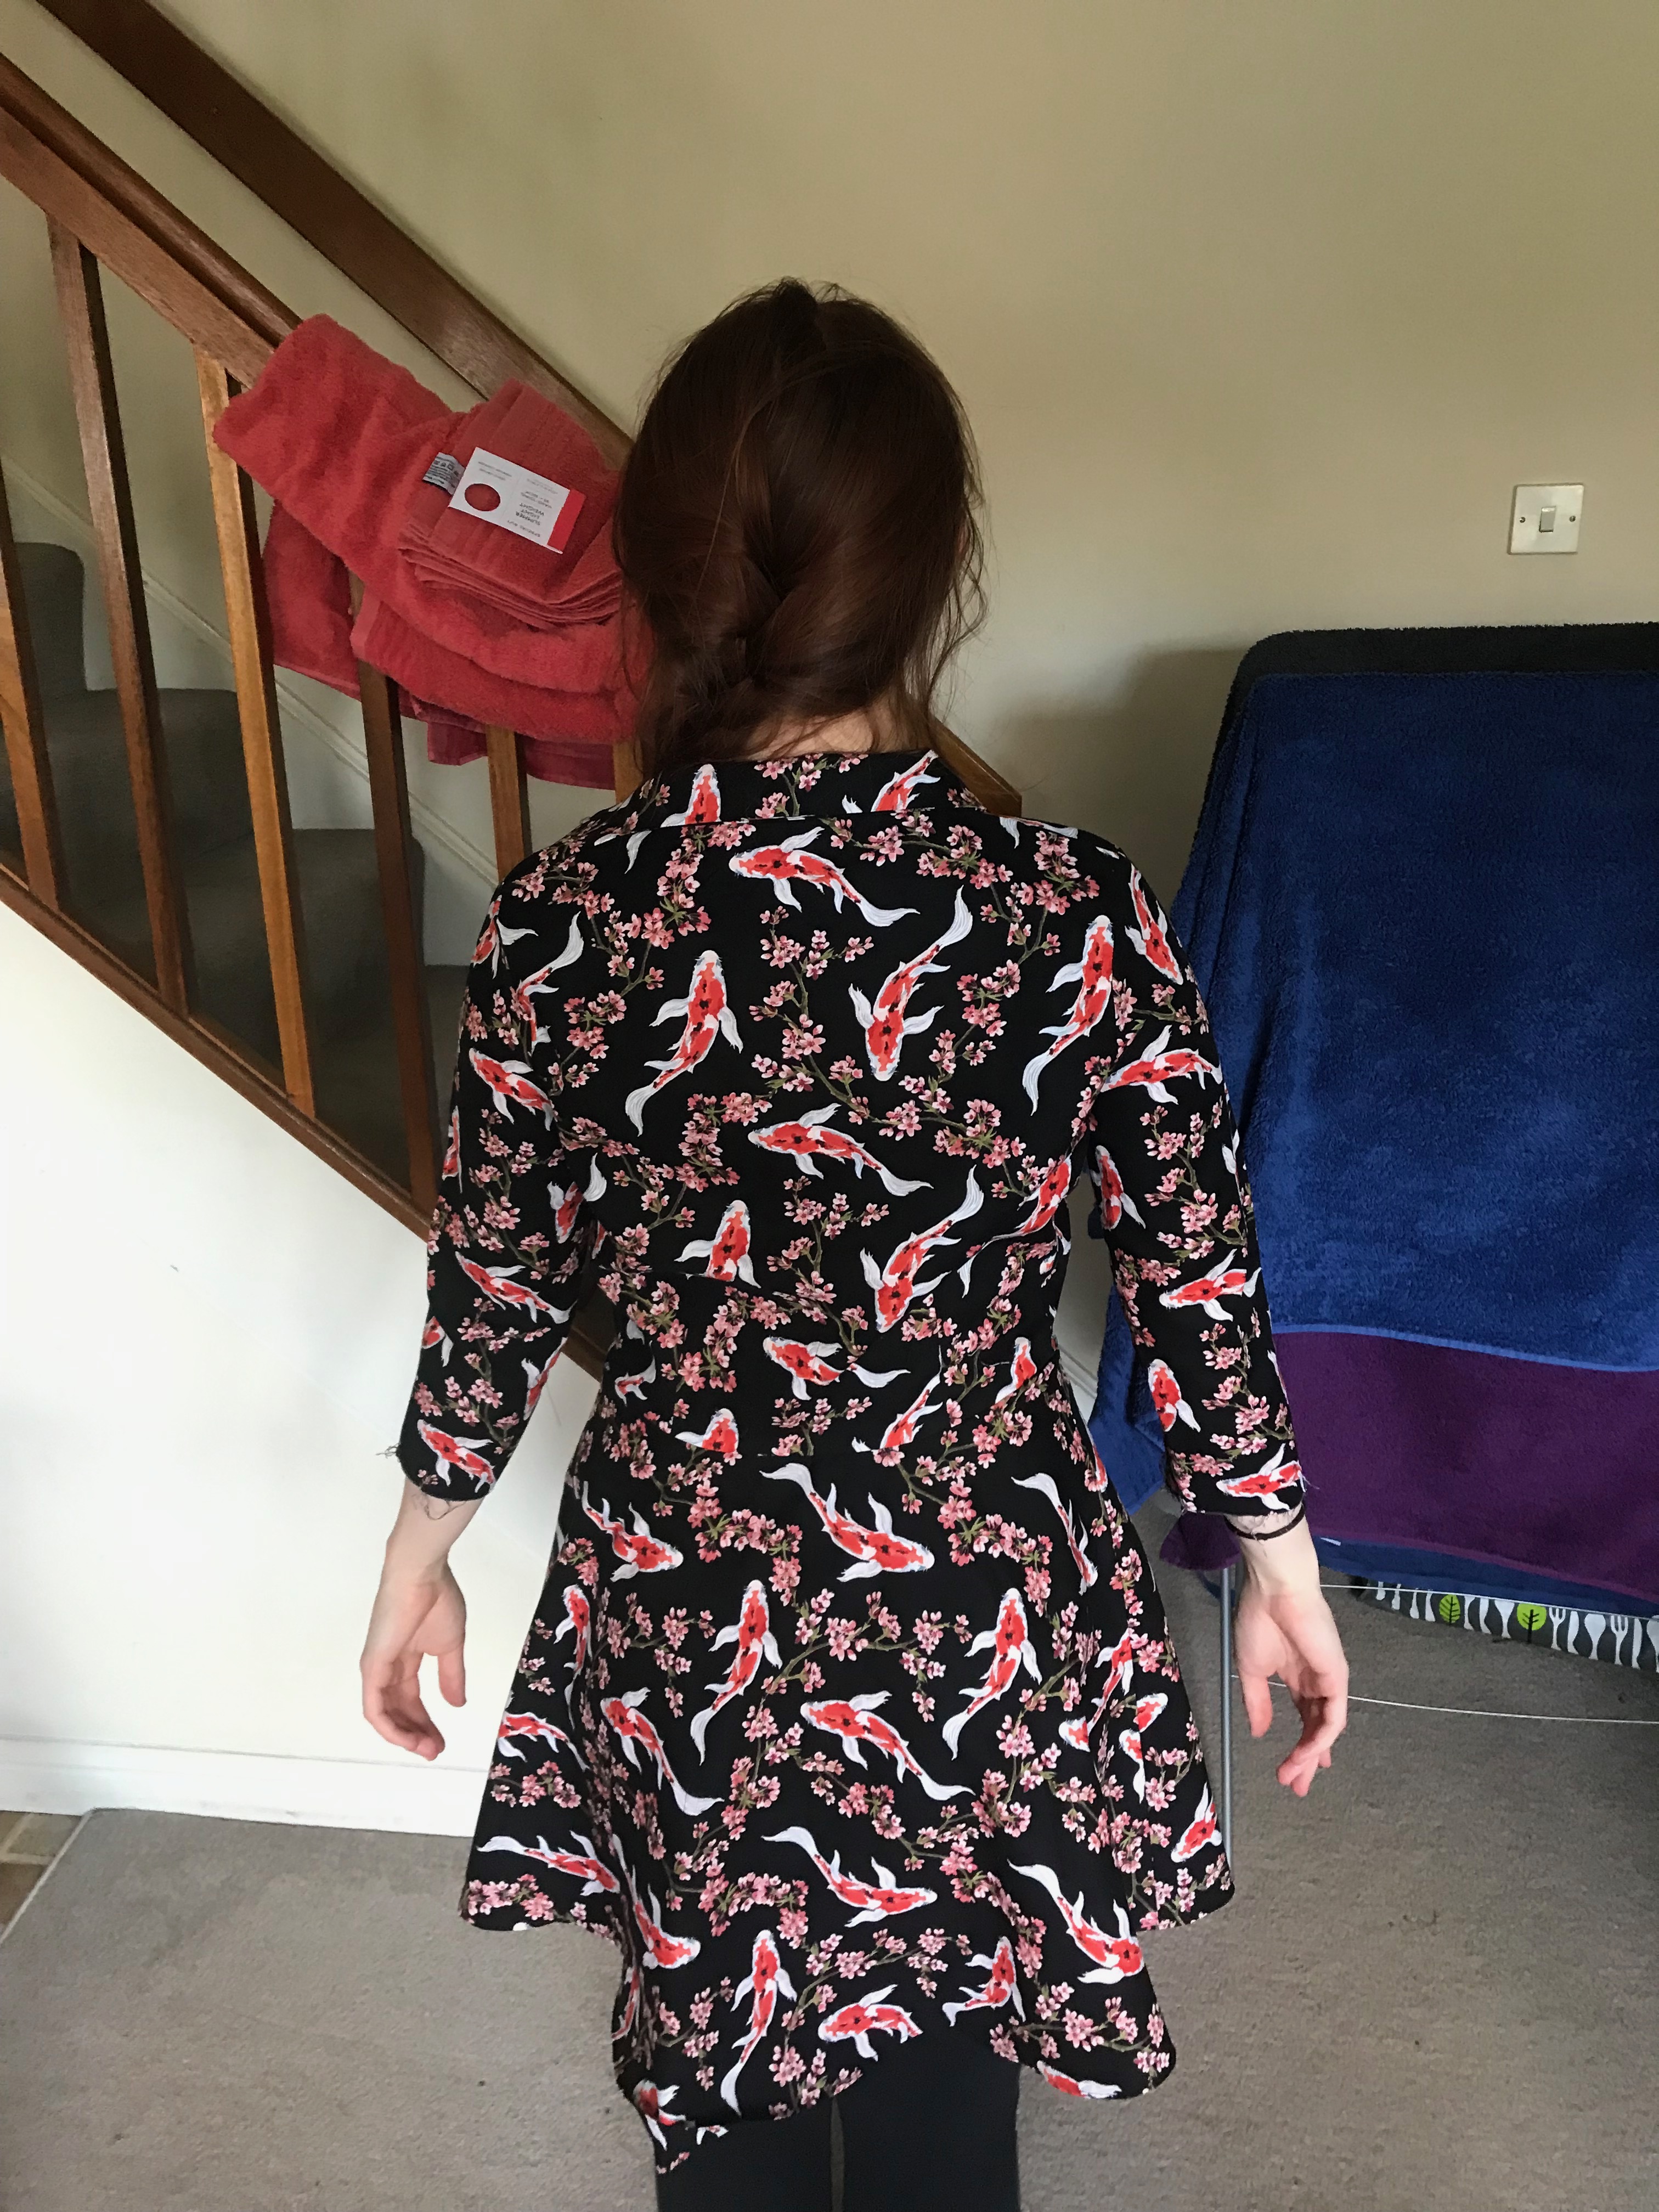
I think seeing a collar that actually looks like a collar? I know that sounds strange but I honestly didn’t think it was going to work and its so pleasing to see it not only work but actually look like a collar on an item I would buy in a shop.

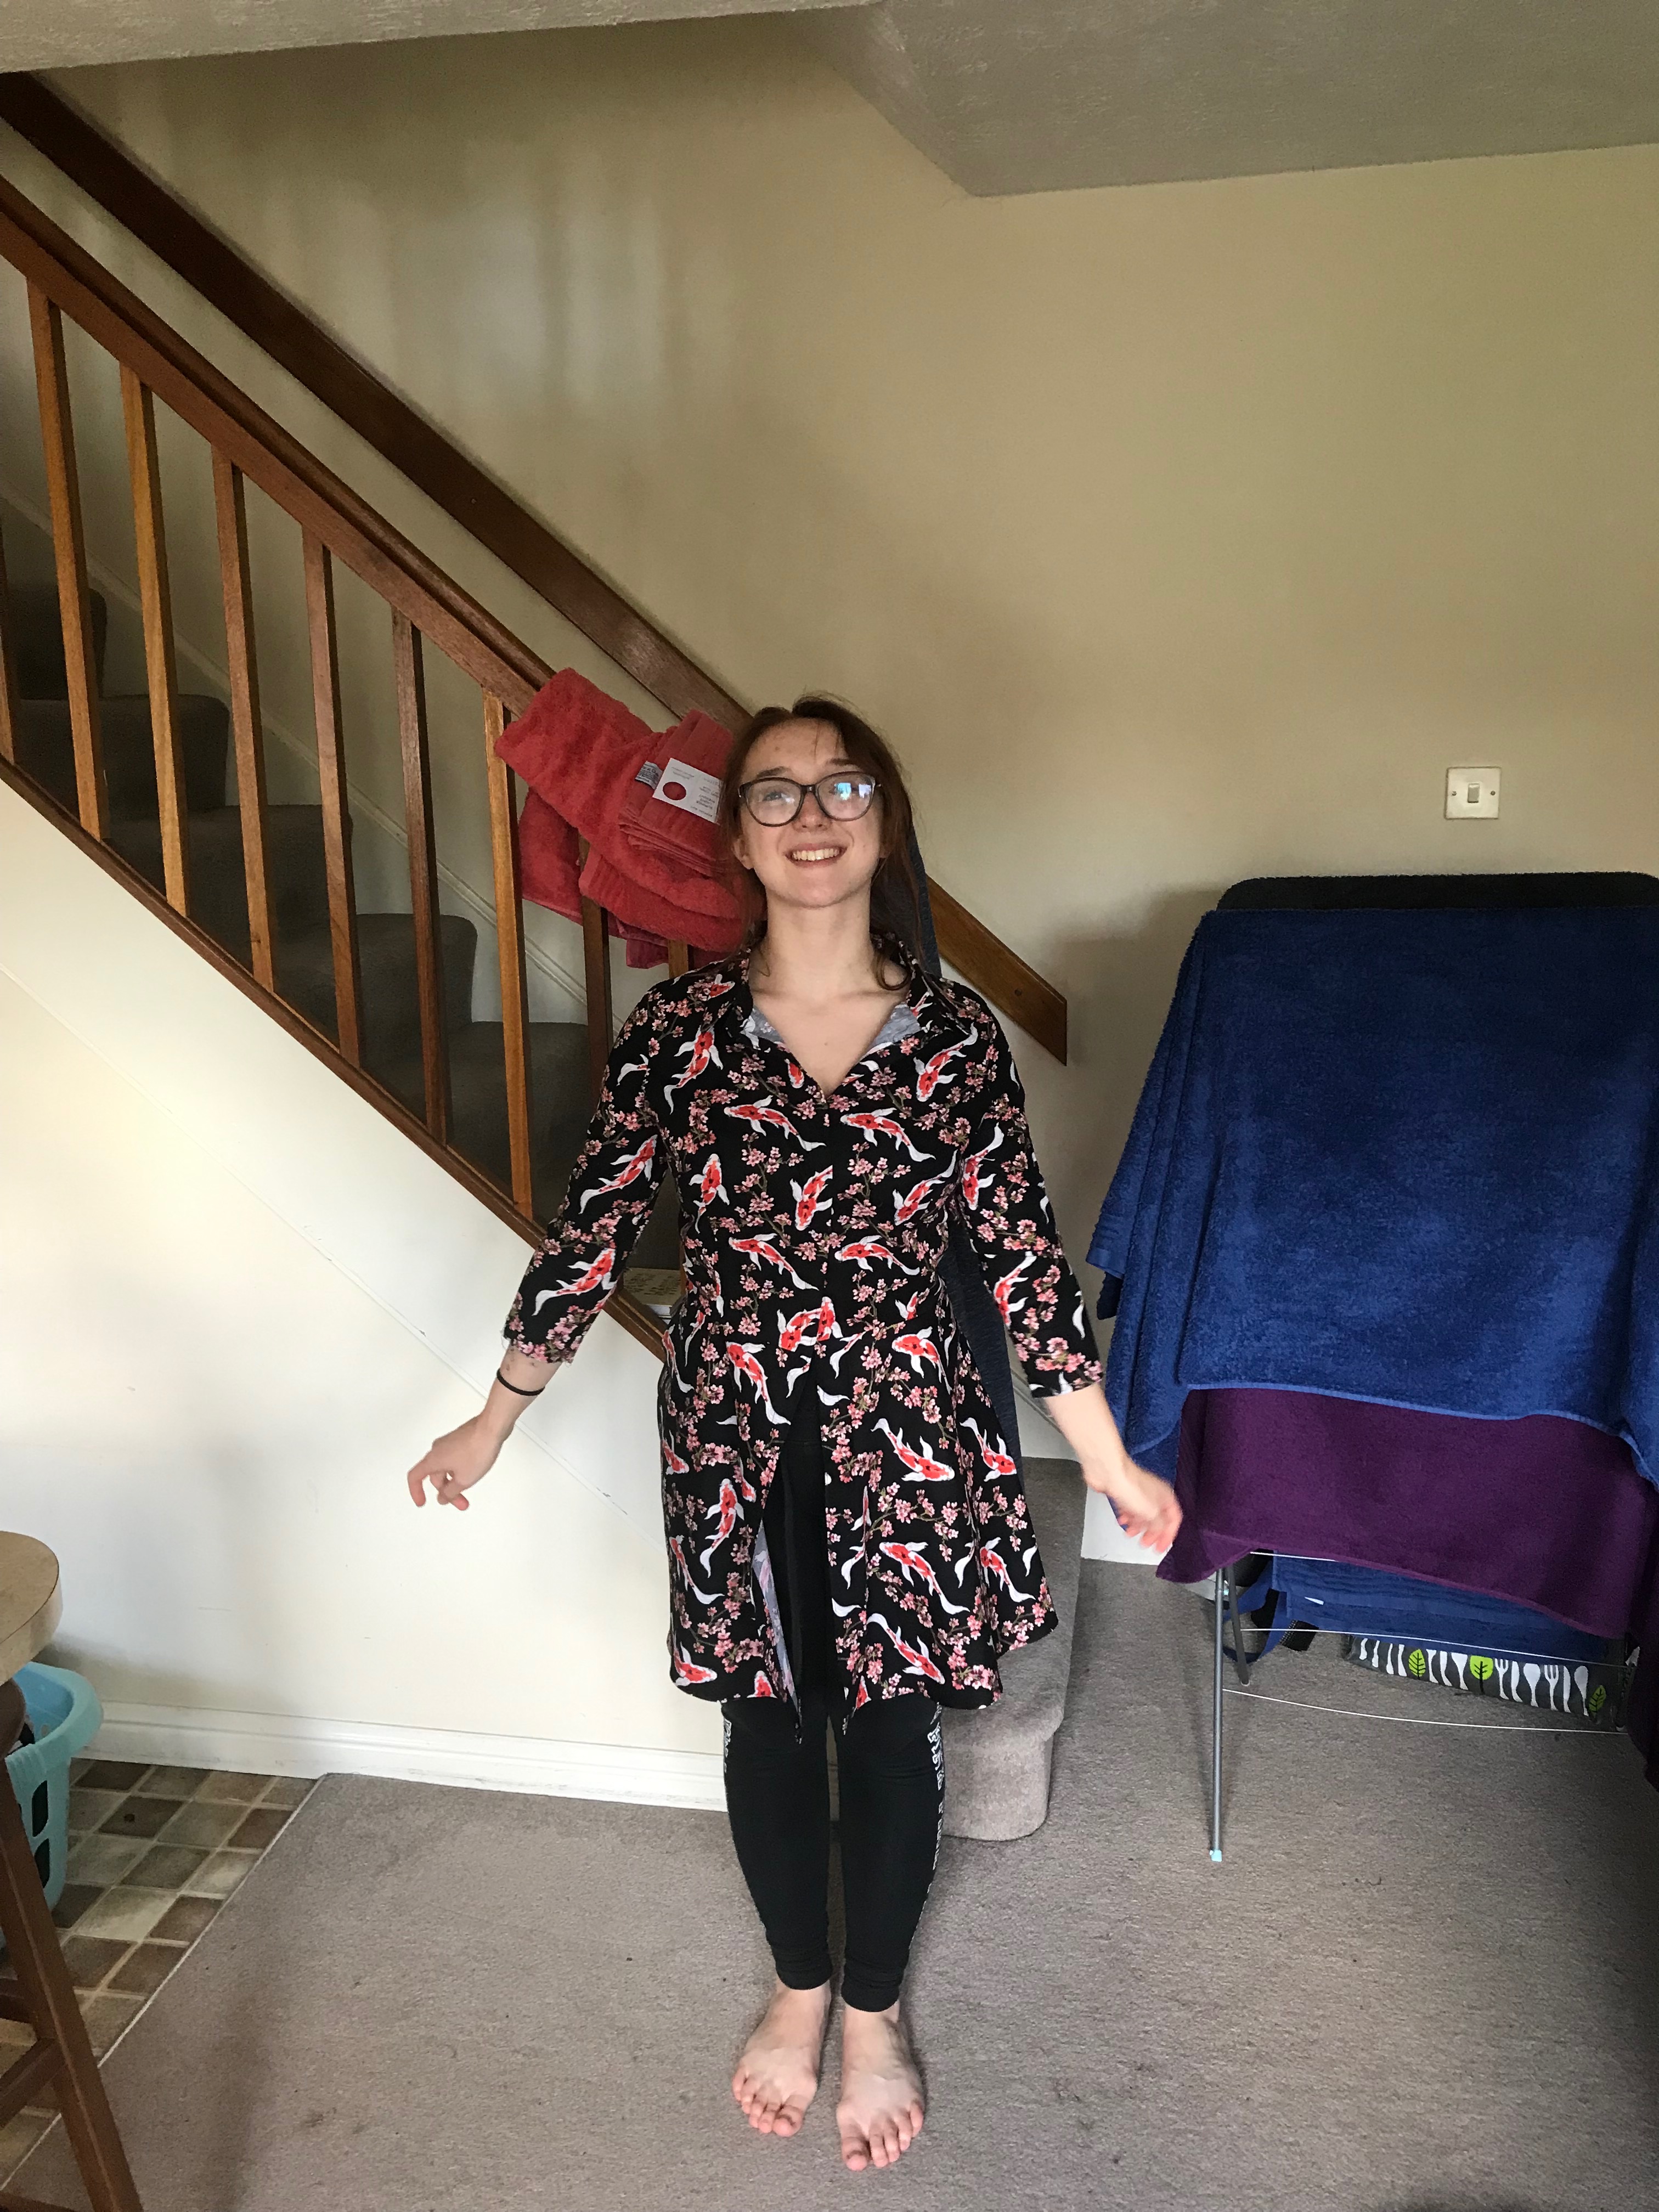
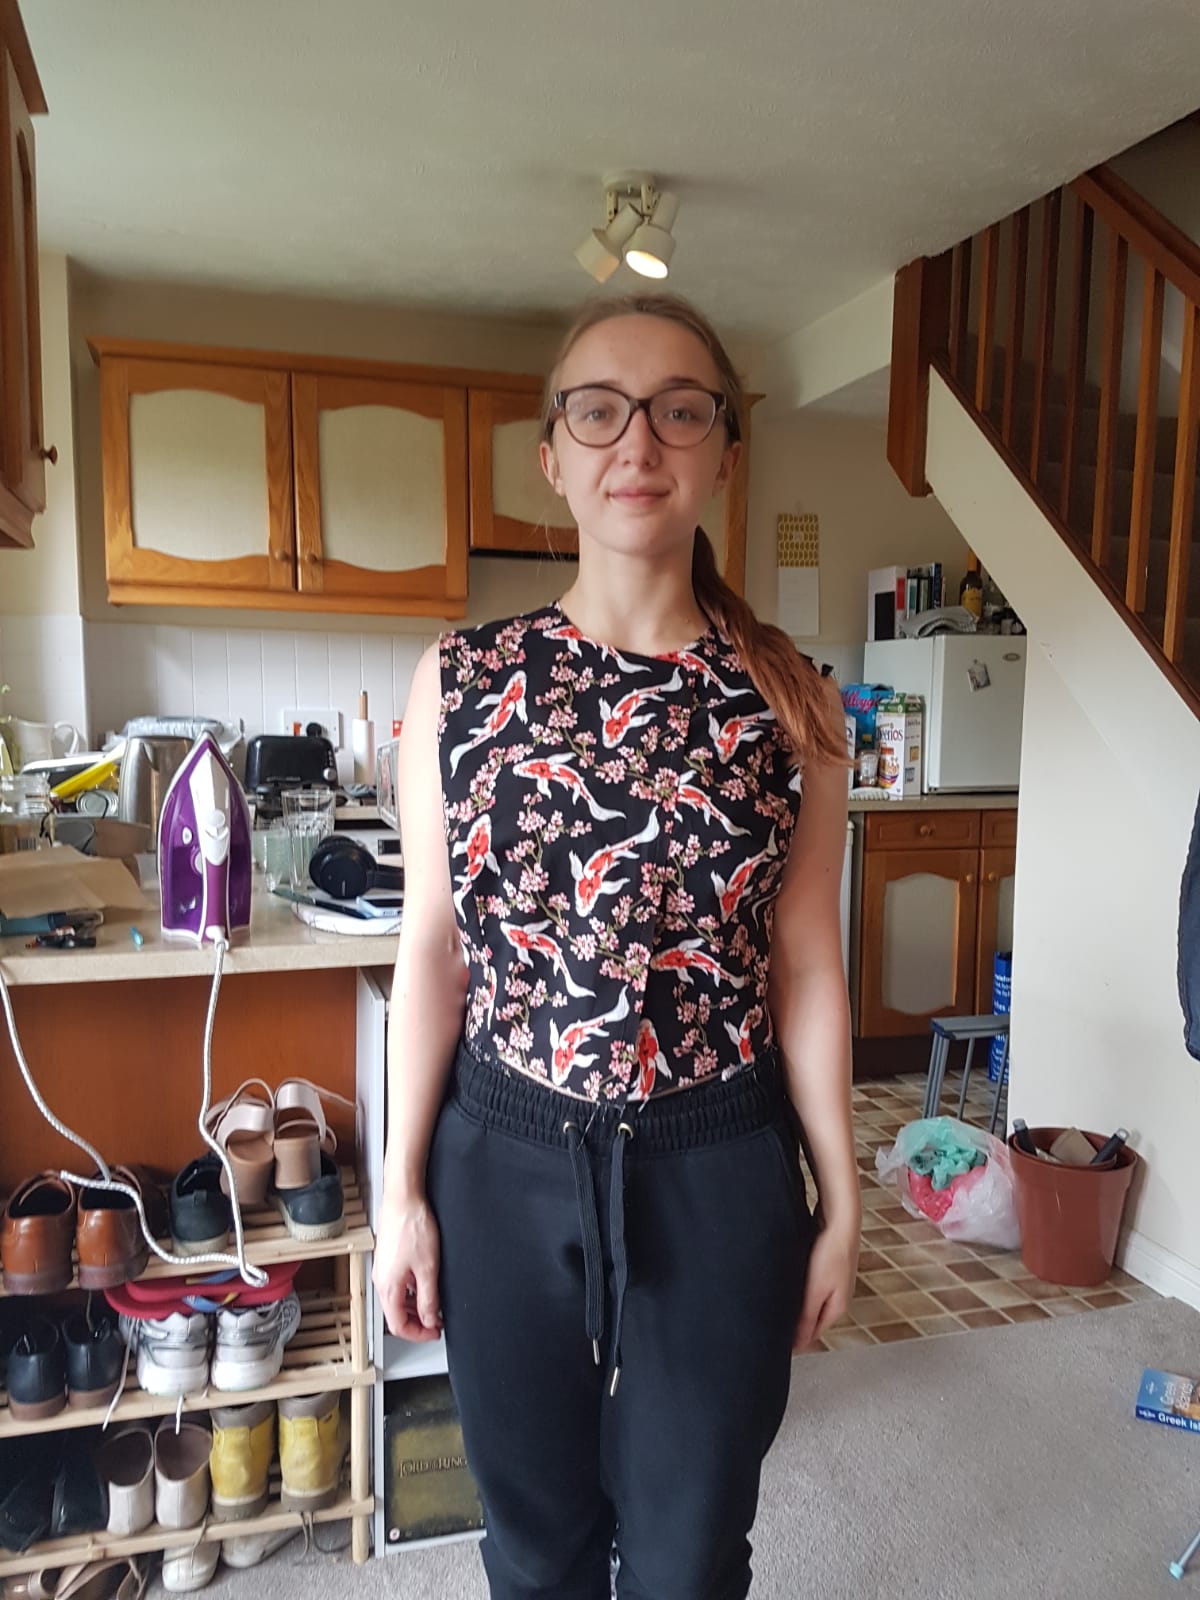
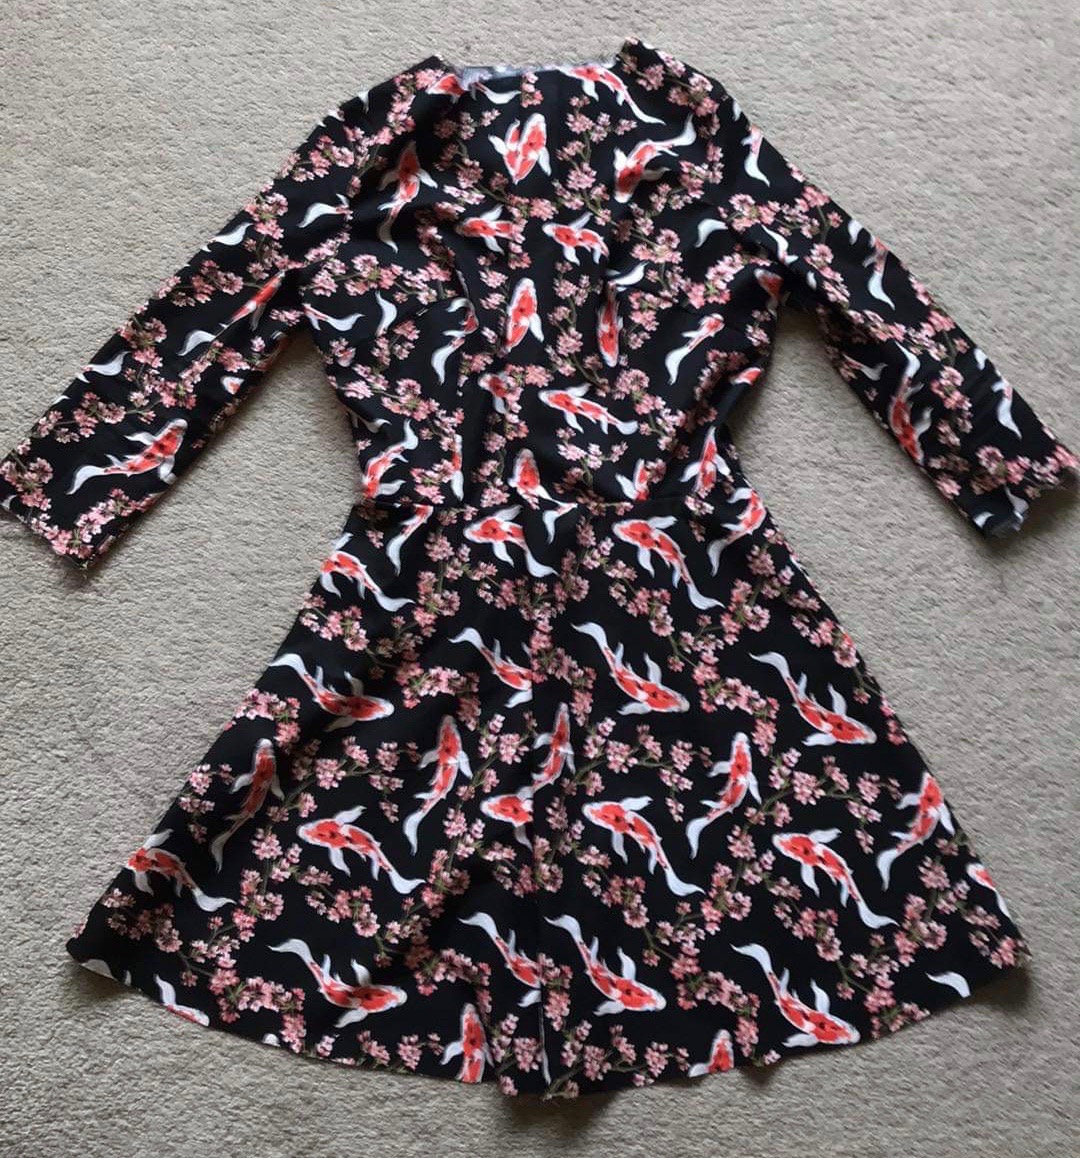
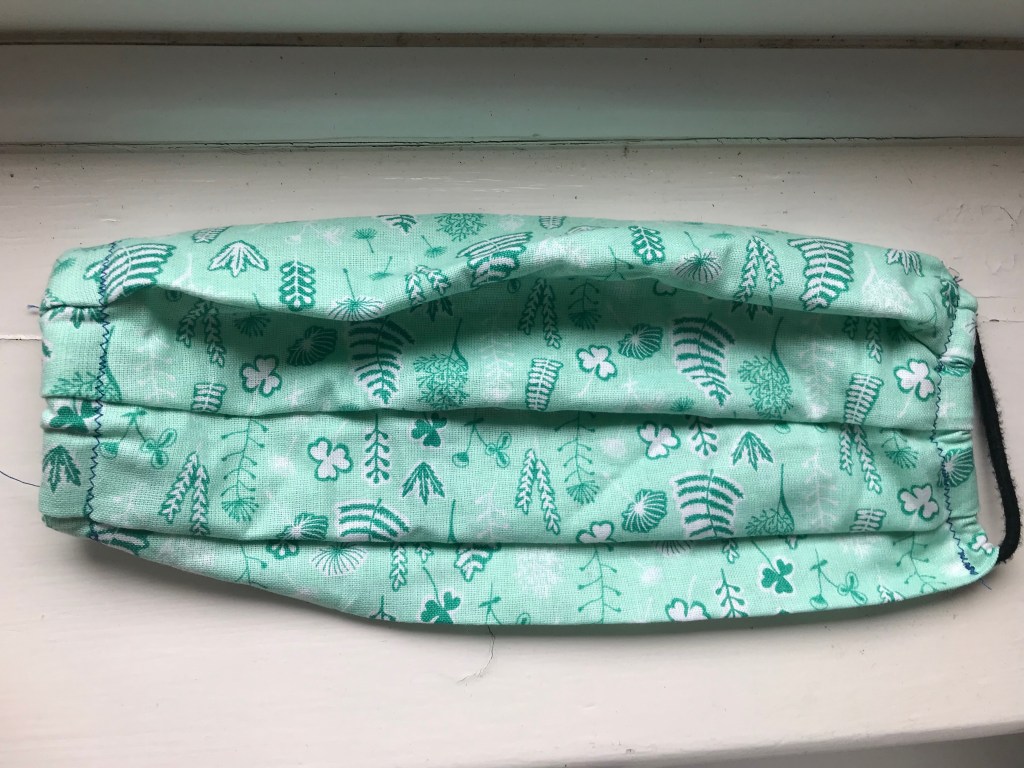
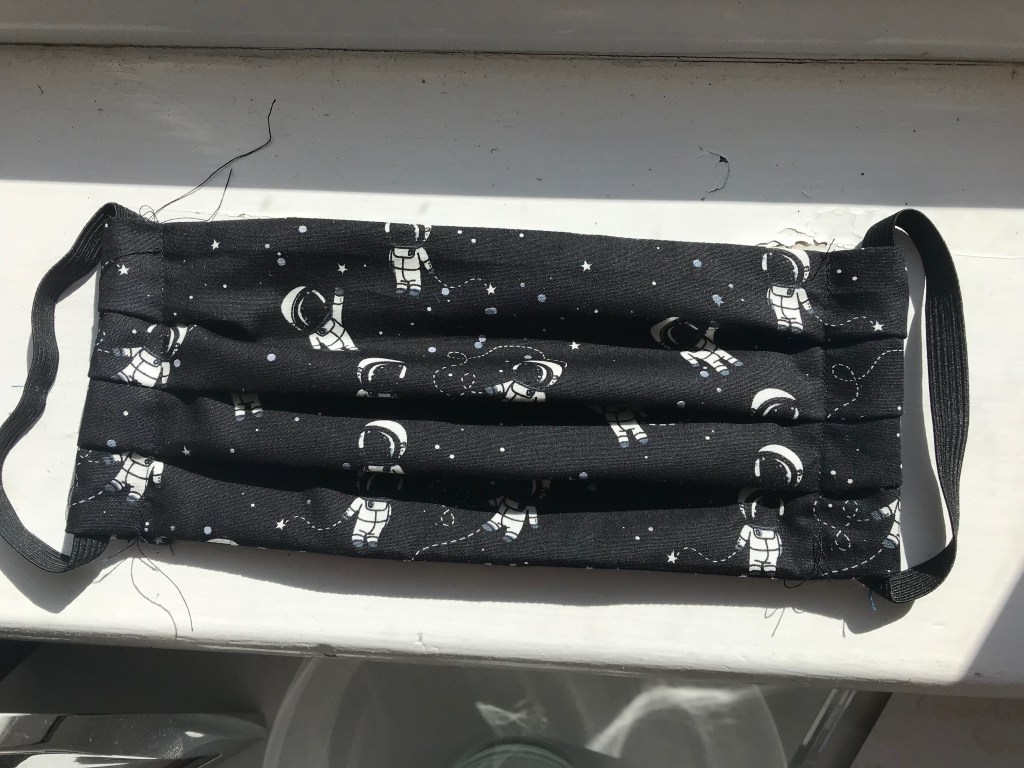
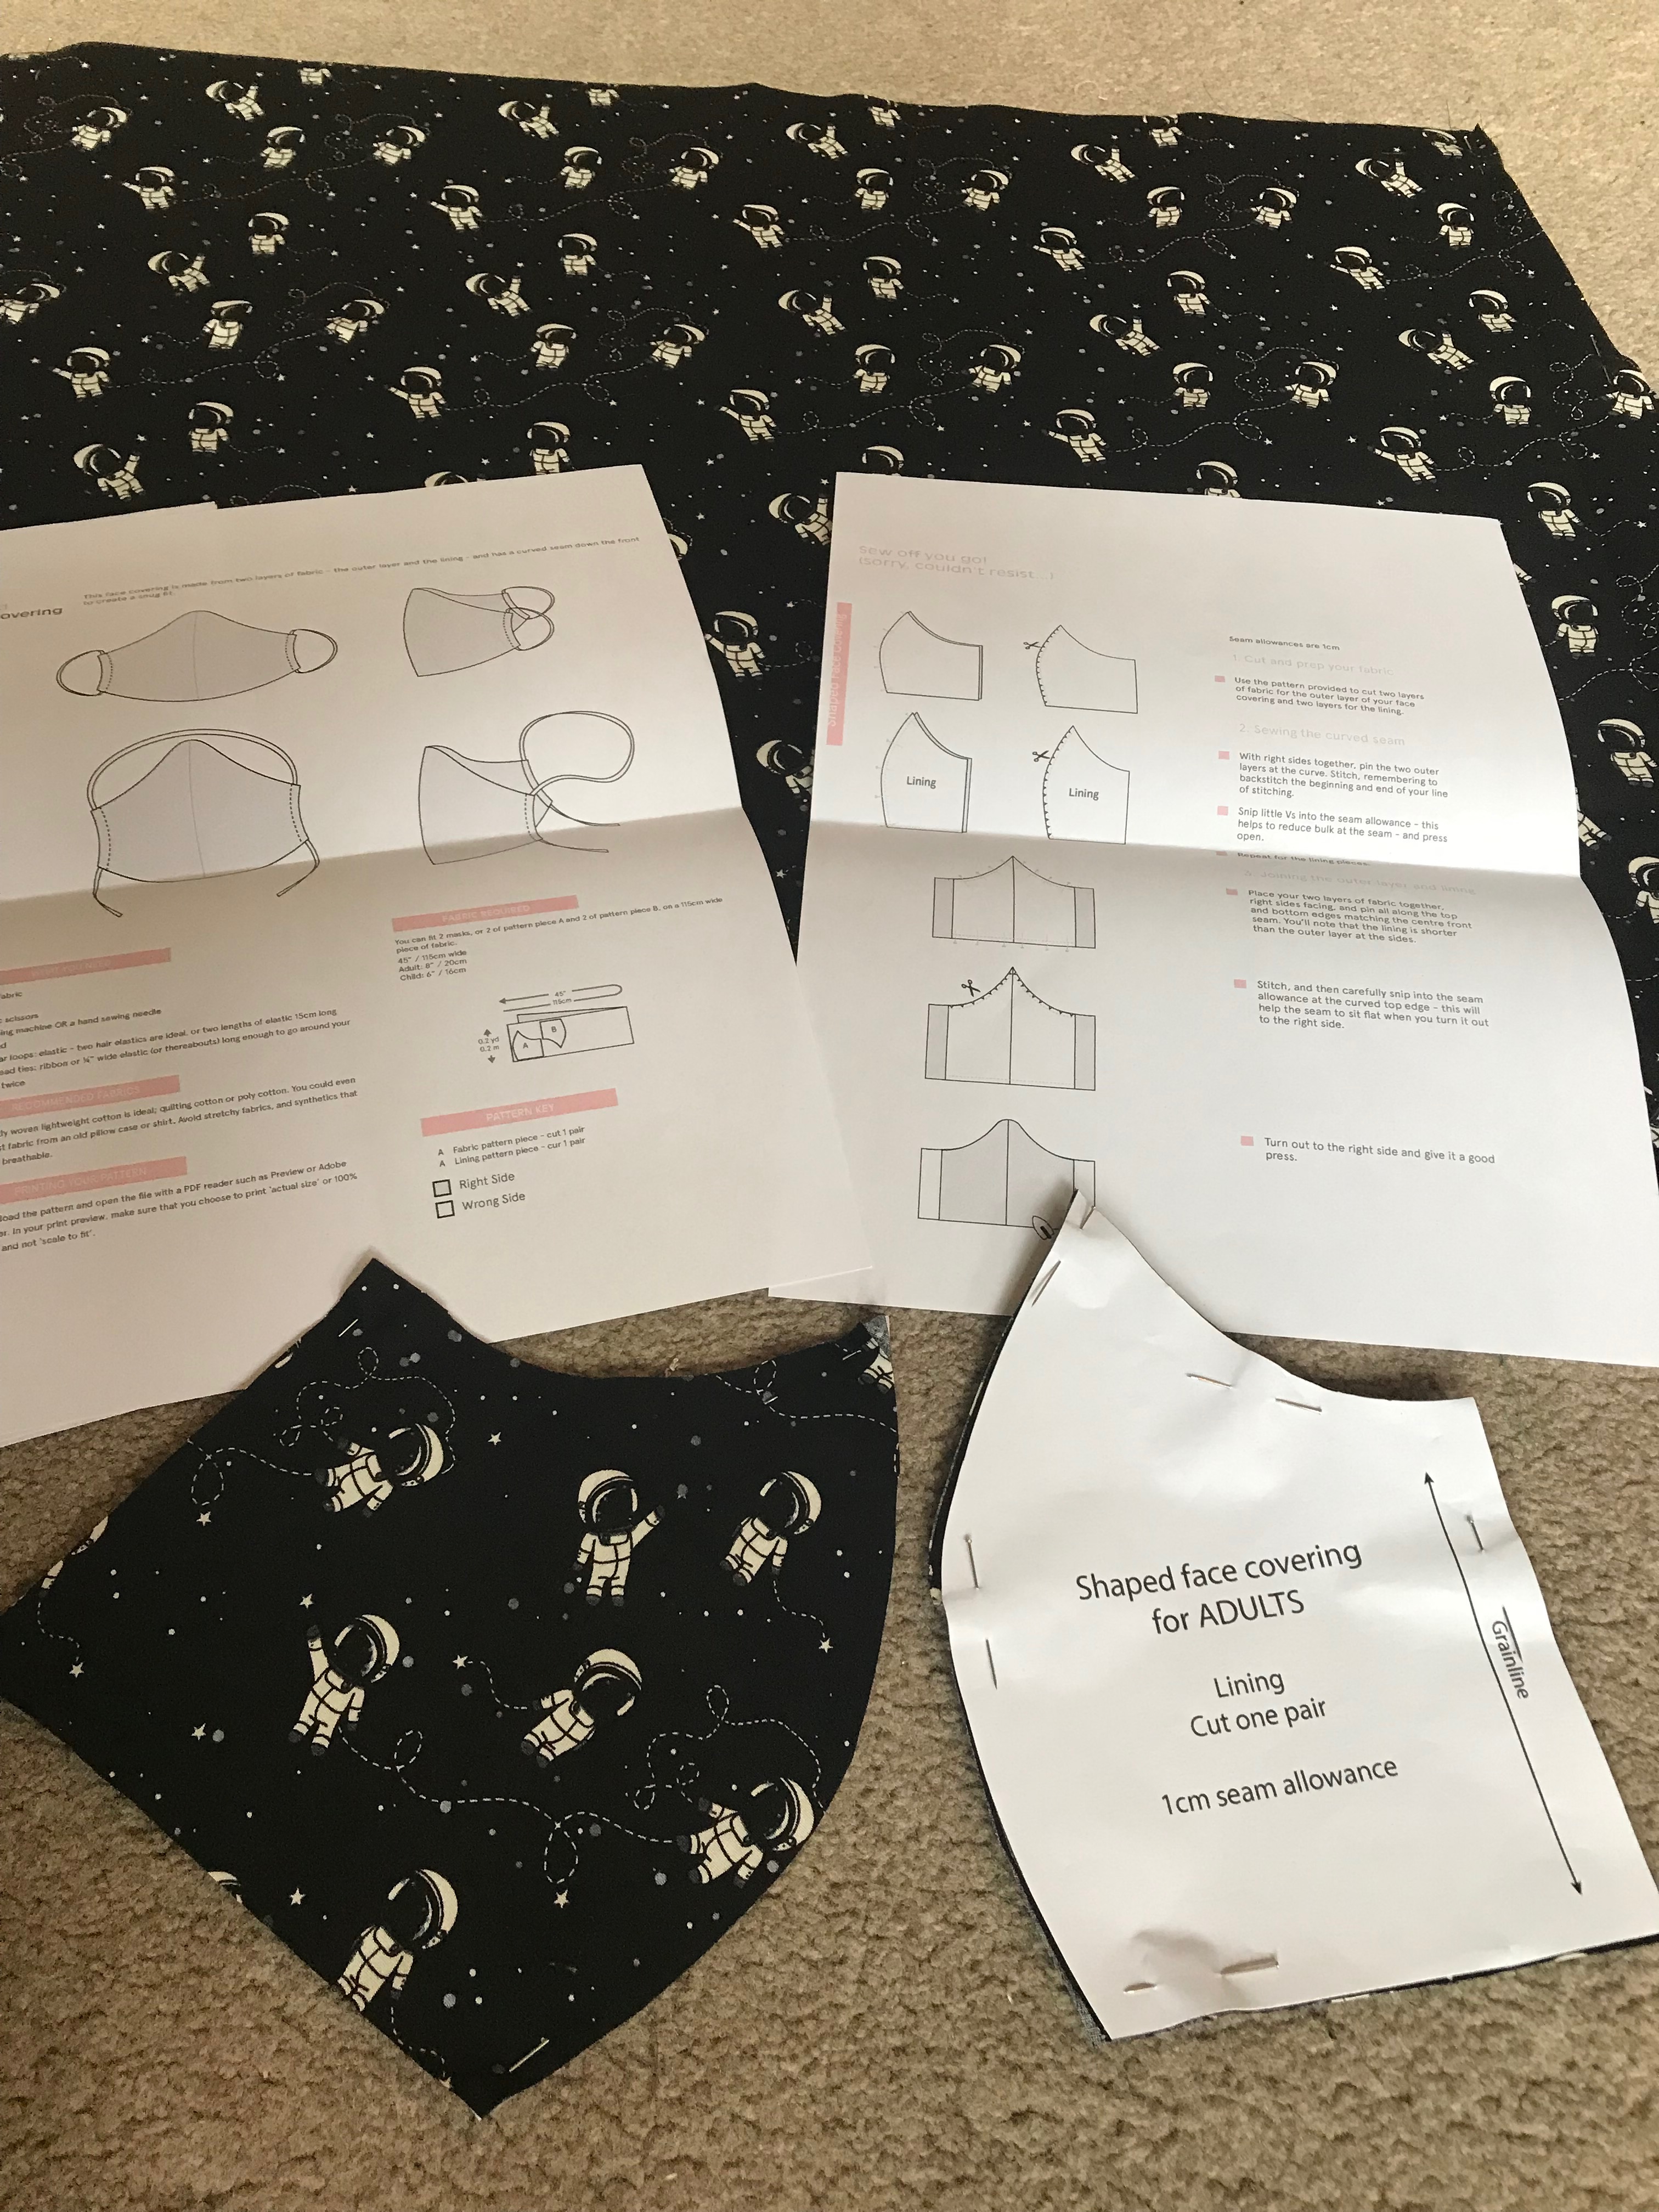
So here I am in the dress so far. Please forgive the greasy sewing hair, poor lighting and washing in the background, I promise I will go and take a pretty picture when its actually finished. The next, and final, step is buttons! I have never done a button down dress before so wish me luck. In the meantime I have a pillow case to finish and a few masks to whip up for my grandparents so I will let you know how I get on, see you next time!

Sewing Project: Pyjama Shorts

This time last year I asked my sisters what they wanted for Christmas and they both asked for pyjamas. My middle sister jokingly asked for ‘Crab Pyjamas’ so I went fabric hunting! I made one pair of brushed cotton monster patterned pyjamas for my eldest sister who lives in the UK but I decided to go with pyjamas shorts for my middle sister as she lives in a Australia. Above is the result! I found the most incredible fabric from Liberty, its so soft and cool to the touch and I love the little crabs so I used this and then bought a t-shirt and applied an appliqué crab patch to the top so they made a matching set. Today I am revisiting this pattern as my eldest sister also wants a pair for her birthday (which was in April but lockdown prevented me from getting elastic!). Here is my lovely cotton from Fabrics Galore, for pyjamas I like a fun and interesting pattern and my sister wanted something space themed.

I’m going to have to do the pattern in two stages not because of time but because I have really struggled to get hold of wide waist elastic during lockdown as all the sewing shops shut and I couldn’t get hold of quite the right size elsewhere online. As these shorts are a present, and lets face it I can’t go and give the shorts to her, I decided to wait for the perfect elastic. This cotton is wonderful to work with and so soft so fingers crossed she likes them!

  • Pattern: Simplicity 1563A
  • Fabric: Black Spaceman Cotton, Fabrics Galore
  • Time to sew: 4-5 hours
  • Pattern Cutting Out & Adjustments

This is a lovely easy pattern to use. I would say that the waist/torso element of the pattern is very very long so I cut that down. Also stupidly the first time I used this pattern I cut it to my size rather than leaving it so I have measured the difference between the current pattern size and the size I want and I have added that measurement at the edge. As I’ve used this pattern quite a few times I didn’t want to pin it so I used some travel books, little city guides actually make really good pattern weights as they are small and flat and slide easily on fabric. I then measured out the difference and used my blue pencil to mark out the new pattern line.

  • Assembly

These shorts are a lovely easy sew, I really took my time and they still only took about two hours to assemble. Straight seams to start with for the leg section and then you turn one leg inside out, slot one leg inside the other right sides together and sew around the u-shape. Then, voila! You have a basic pair of shorts.

  • Buttonholes

I did my first ever machine button holes on this project and it was so much fun. I normally do my button holes by hand but I thought it was about time for me to learn how to use the function on my machine and I’m pleased with the result. They are a bit messy due to the size but they have to be big enough for a large ribbon drawstring. Although I do not recommend using black thread on black fabric for your first button hole as it definitely complicates things and makes it much harder to see what you are doing! I marked my buttonhole length with white tailors pencil which did help a lot.

  • Hemming

I always do the hems on this pattern before I start with the elastic so I can work with the fabric flat rather than distorted. I do a reinforced double hem on the edge of the shorts because pyjamas are worn heavily and need to be able to withstand all the weird stuff we do in our sleep. For the same reason, I do a zigzag stitch up the middle of the centre seam from front to back which reinforces the seam as well as making it sit flat. I then measure the waistband and press the edge down firmly as a guide.

  • Elastic Waist & Drawstring

The most important part of the elastic waist for me is the width of the elastic. For pyjamas you really want a lovely wide elastic for maximum comfort. If its too narrow, the elastic can dig in and make the shorts uncomfortable. In terms of length, I always make the elastic waistband a couple of inches shorter than the waist size so that it fits comfortably with a bit of stretch. When sewing the waistband I take the front off my sewing machine and use the sleeve set-up so I can pull the elastic taught and sew the waistband straight. Then I thread the waist ribbon through normally using a chopstick or similar. I used quite thick grossgrain ribbon which moves well inside the waistband and I leave the ribbon on the spool until it comes out of the otherside of the shorts and I can assess how long I want the ties to be. Honestly I do this bit by eye and then I double fold the end of the ribbon in on itself and stitch a square to secure.

  • Finished!

Then give them a good press with an iron and you’re done! Here they are in all of their glory. I’m pretty proud of these to be honest and I hope my sister loves them.

Sewing Project: Shirt Dress (Pt. 1)

I think that most sewists and dressmakers have one item of clothing or one design that they’ve always wanted to make. One thing that prompted them to start sewing or to take their sewing more seriously. For me it was the inability to find a shirt/blouse that would fit. I have a larger bust, a narrow back and a narrow waist and as I got older I got embarrassed and frustrated that I just couldn’t get a shirt to fit me. Either I had to buy a shirt three sizes too big or risk an embarrassing button based incident. It was a problem at school and still is a problem at work if I’m honest. I had always thought shirts were outside of the realm of sewing possibility for me until I started sewing more often and realised that, whilst there were more techniques at play than in other patterns, a shirt is still made from a sewing pattern.

As I had never been able to get a shirt to fit there is one garment I have always wanted but never had the confidence to buy and that is a shirtdress. That is I didn’t have the confidence until I received my Christmas present from my boyfriend, a wonderful book called ‘Sew Many Dresses, So Little Time by Tanya Whelan’ which contains a series of bodices, skirts and sleeves and enables the sewist to make over 200 different dresses from those combinations. This book also has a fantastic section at the back on pattern adjustments and it was with the aid of this chapter I began to slowly and very carefully adjust the bodice pattern to my own measurements. I really made myself take my time, working slowly and methodically and stopping every time I remotely lost concentration. I then paired my button-down bodice with a three-quarter length sleeve and a full skirt, also with a button-down front. Every single piece of the pattern was altered or drafted by me. I wasn’t sure if the pattern would work in practice as there were so many skills I’d never tried so, as every good dressmaker should, I made a toile of the bodice complete with collar, button tabs, bust darts and a cap sleeve.

Once I made my toile and realised that my pattern might actually work I went fabric hunting and I finally found the perfect fabric. Its a medium weight cotton with painted fish on a black background and I love it. Its got enough structure to make an excellent shirt and it hangs really well in a full skirt.

Fast forward to yesterday when the fabric arrived in the morning and 6 hours of feverish sewing later and I have the outline of my dress! This dress is the first time I’ve ever inserted sleeves, my first self-drafted bodice and I am actually really proud of myself. I used to be really scared of sleeves but they really aren’t that bad, I don’t know what I was worried about! I understand there are more difficult sleeve patterns out there but its reassuring to know that I can insert basic sleeves.

The next stage is to add the collar and then create the buttonholes, add buttons and then hem the skirt and sleeves. It sounds like a lot and I am definitely going to take my time on those elements to make sure the garment comes out perfectly. For now here I am in the shell!

Lockdown Sewing: Making My Own Face Mask

There has been one sewing trend that has been sweeping the UK since lockdown. Since there was a PPE shortage in March and lots of sewists stuck at home Patrick Grant, of Sewing Bee fame, decided to galvanise us all into action with The Big Community Sew, an online platform containing advice and instructions for making your own facemasks at home as well as two different patterns. Its a fantastic community resource and means that those of us with fabric and sewing machines at home can make masks for those who can’t get one.

A lot of people will be reading my post and wondering why it has taken me four months of lockdown to make my own mask. The answer is two-fold. Firstly I am quite badly asthmatic so I have been shielding as far as possible and therefore haven’t actually needed a mask. When I go for walks in the countryside I stay far away from people and my partner goes to the shops/chemists if we need anything, otherwise, we get our shopping online. The second reason is my asthma. Masks are incredibly effective and if you can wear one, particularly on public transport or in closed spaces, PLEASE DO. However for most people with respiratory problems face masks can exacerbate their condition and cause further breathlessness and in some cases can significantly increase your risk of an asthma attack. I can manage a mask for about an hour maximum before I get very breathless and have to take it off. Until now I wasn’t going to bother making a mask as I am medically exempt from wearing one however I decided that it would still be a very useful thing to have for emergencies or short journeys and my partner definitely needs one as he goes out to the shops and interacts with more people. I though therefore as a fun sewing challenge I would try both patterns from The Big Community Sew and see how I got on.

Version 1 – Pleated Mask

So the first thing to be aware of here is that somehow, and I honestly do not know how, I accidentally used inches instead of centimetres. Literally looking back I did every step of this wrong but somehow I still created a basic mask and although it’s far too big for me it does actually fit Adam rather well. It was a good practice opportunity though!

Version 2 – Pleated Mask

This worked much better although the pattern is a little bit small and I could still do to enlarge it slightly to fit my partner’s face better. One thing I would highlight is that you need a very hot iron to iron to flatten the double sided rectangle otherwise its too bulky and hard to get the pleats to stay. Otherwise its an incredibly easy sew. You don’t even really need a machine if you are an accomplished hand-sewist. It pretty much fits Adam and doesn’t fall off when he talks and sits with minimal adjustment. I would say that this pattern gives you a lot more flexibility in terms of size.

Version 1 – Shaped Mask

This was definitely the most comfortable design and fits my face really well however I would say that it makes quite a small, neat mask so if you have a bigger face / head or a prominent nose, for example, I would enlarge the pattern to allow you the space to talk without the mask moving around. I originally made this mask for my boyfriend but unfortunately, it didn’t fit his face so I made him the pleated mask instead. Stupidly I sewed this the wrong way around originally with the right side in. This is because the pattern instructions were not incredibly clear so for the sake of clarity, start the pattern right side to right side and it will turn out the same way. Also its really hard to press open the seam curve but worth doing as the mask sits so much more comfortably and fits the face better. I will definitely be making another version of this mask for Adam so I will see how I get on enlarging the pattern.

Here I am in my shaped mask covered in Spacemen, I don’t know if I will get used to only seeing people’s eyes but for now, we can at least make the masks look fun! I know that I am by no means to only one who has made their own face mask so do let me know how you got on. What fabrics have worked well for you? Have you successfully enlarged the shaped mask pattern? If so, please let me know if you have any tips!

Sewing Essentials For Beginners

Sewing can be a mystifying world, the language, the equipment and even the space required can feel like a barrier. Today I want to talk you through my essential sewing equipment and talk about starting.

Sewing is an interesting hobby as while most of us start with the same basic ingredients it is possible to create wildly different garments or create the same effect using entirely different techniques. The world of sewing is awash with hacks, tricks and tips for all levels of sewers. On top of that everyone’s sewing space looks different. Some people have a room to themselves some people make do with the Kitchen table. Even the language of sewing can be mystifying to a beginner so below I have unnumerated my basic essentials and what I work with on a daily basis. What is important is there is no one single formula for sewing.

If you are still look at me going, “yes but where do I start?”, I have listed what I consider to be my sewing box essentials that I can’t do anything without. Over the years I have built up my own equipment store purely based on things I actually like using and make me better rather than panic buying fancy equipment that I wont ever feel confident using.

  • Sewing Machine (Obviously)

This is my little red sewing machine, a John Lewis JL110SE, bought in 2015. Until then I used my mum’s Janome machine. I am currently saving up for a new one next year as this one won’t really do denim or thick fabrics such as wool. However this machine is an ideal starting place as it will do about 90% of the things you need it to do as an experienced sewer and 100% of the things you need to do as a beginner. Honestly I wouldn’t be thinking about getting a new machine but I used one of the Pfaff Quilting Machines on a sewing course and I fell in love and would now like a machine with some of the automatic features.

  • Quick Unpick

The dressmaker’s best friend! Apart from a needle and a sewing machine the quick unpick allows you to fix all of your mistake and re-do a technique again and again until you get it right. A quick unpick costs almost nothing but I don’t think I have gone a single day without using one since I started sewing, which may be an indictment of my sewing more than anything. Its one of the more wonderful things about sewing that you can fix your mistakes pretty easily in most cases.

  • Dressmaking Pins & Pin Cushion

Here is my gorgeous little pin cushion that my mum got me when i first started sewing. One of my favourite things about it is that has a band underneath so I can wear it on my wrist while I’m pinning. Especially good when working on something big or on mannequins. In terms of pins everyone is different. Some people use pins when cutting out patterns, some pattern people just use pattern weights but pins are nearly always used for seams, hems and fabric to fabric work. The only time I’ve not used pins was when making a bra because the fabrics are so fine, fiddly and sheer that you don’t want to make any holes.

  • Tailors Chalk / Pencils

Everyone transfers marks from patterns differently. Personally I favour dressmaking pencils, can you tell which one I use more? I transfer marks through with these on the wrong side of the fabric and then they wash off afterwards which is great. For fabrics that you don’t want to draw on you can use a pattern wheel which is a little spikey wheel, that looks a bit like a cowboy’s book spur, but allows you to imprint lines such as darts on to the fabric without drawing or marking it in any other way. The usefulness of this will depend on the fabric you are using but I found it helpful on lighter fabrics. The pencils have been with me for a lot longer and are definitely my favourite method.

  • Fabric Scissors

In the context of sewing, I really don’t think its possible to have too many pairs of scissors. I have a weird love for sewing scissors because they are just so sharp and effective and there are so many different types. Below is my current collection of scissors including pinking shears, fabric scissors, regular scissors and embroidery scissors and a small Stanley knife for button holes and very fiddly cutting out.

  • Steam Iron

I wont insult you with a picture of an iron because hopefully you all know what a steam iron looks like. I hate that this has to be on the list as I’m an extremely lazy ironer but ironing is absolutely central to sewing. Ironing at every single stage of the process is vital so you have to make sure you have a good iron to hand. My iron is slightly terrible so I will be purchasing a new one as soon as I can! (Any recommendations please put in the comments below)

These are the most basic but essential items that are central to sewing if you’re looking for a beginners list of equipment. What’s in your sewing essentials toolkit?

Welcome To… So What If I Sew

Welcome to the So What If I Sew blog, a place for me to learn new sewing techniques, explore different patterns and document my progress as I go.

The Blog Logo

As a human being my three main hobbies are reading, yoga and sewing. Yes I enjoy other things but those are the three that I am genuinely extremely passionate about. Sewing is also one of those hobbies that comes with an incredible community spirit which is lovely. I wanted to make this blog because I really love sewing and I feel like I have actually have something to share. I want to document my own progress as well. I inserted a sleeve perfectly yesterday for the first time and it made me realise how far I have come in just a year. This blog is all about progress, projects and developing new skills.

Sewing has always been a big part of my life; growing up I was surrounded by sewing. I was lucky enough to have an incredibly skilled mother who taught me the basics of sewing at a young age and did various sewing projects with me such as bunting and quilts. Once, on one memorable occasion, we saw an amazing pillow in a fabric shop that wasn’t for sale so mum decided we would get the exact same fabrics and we replicated it perfectly at home. I have always been quite headstrong and I just wanted to get on with it but sewing requires patience. Before I was event allowed thread and fabric, my mum taught me to machine sew by drawing lines on paper and getting me to sew along the paper until I could sew straight. She had endless patience with me and still does. Even now I ring her up even though I live hundreds of miles away to get her to talk me through facings, sleeve insertions and demystify sewing language for me. I started sewing in earnest in 2014 and now I am here in 2020. I have made multiple garments that I wear often and now I can do zips, sleeves, bust adjustments, bodices, dresses and even wired bra’s!

One of my favourite things about sewing is fit. The ability to create a garment perfectly crafted for your own body is so incredible to me. Fit is something I have always struggled with as I have what would best be described as a 1940’s build and its hard to find modern clothes that fit everywhere. Hence my particular interest in pattern hacks and pattern drafting. I am hoping one day to draft an entire dress pattern from scratch based on my own measurements.

What is the main focus of the blog?

  • Patter Adjustments & Pattern Drafting – Fit is so important to me and I can’t wait to document the tricks I am learning.
  • Dressmaking – I’m not really a “craft” sewing person, I don’t make things, occasionally I will make a quilt or similar but my main focus has always been clothes.
  • Improving my sewing – The main reason I am doing it is to document my sewing and see how much I’m improving.

I want to start a public blog to add my voice to the sewing community and contribute the little amount of experience I have. Sewing is a hobby you have for life, its a skills that never really leaves you and no matter what there is always something you can make. My big project for the next month is a Shirt Dress and for this year I want to make my own coat! I have a lot of sewing practice left to do and lots of garments to make along the way but that is my next big milestone. Hopefully you will all join me on my sewing journey!